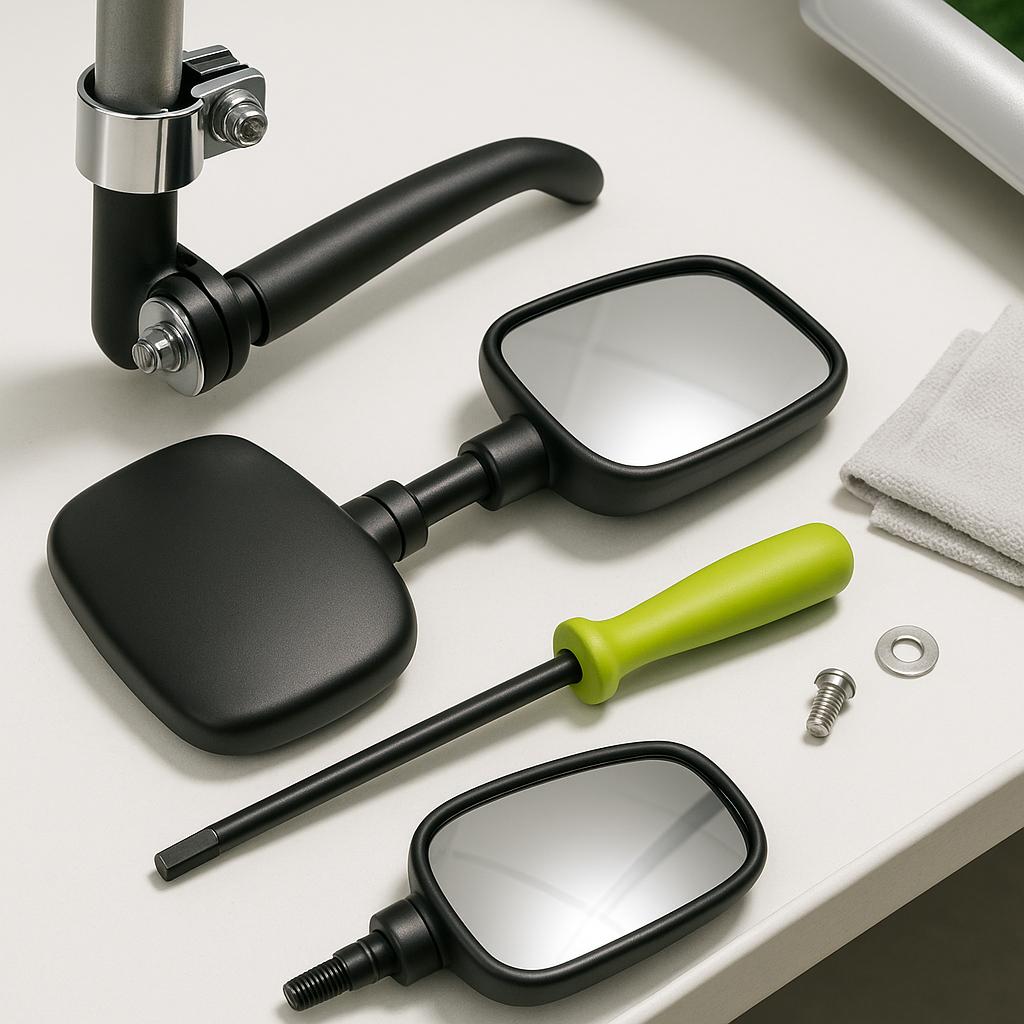
Side mirrors are one of the most practical upgrades you can add to a golf cart, especially if you use it on public paths, campgrounds, or any situation where traffic — foot or otherwise — approaches from behind or beside you. Unlike a rearview mirror that mounts to the roof or windshield frame, side mirrors extend your field of view laterally and are particularly useful when backing up or navigating tight spaces. Installing them is a straightforward DIY job, but getting the mount placement and angle right takes a little patience.
What You'll Need Before You Start
Most golf cart side mirrors come with their own mounting hardware, but you'll want to have a few basic tools on hand: a screwdriver or nut driver, an adjustable wrench or small socket set, and possibly a drill if your cart doesn't have pre-existing mounting points. A marker or pencil for marking positions is helpful, as is a second person to hold mirrors in place while you confirm placement before tightening anything down. Read through your mirror's included instructions first — mounting styles vary between clamp-style (which attach to the windshield frame or roof support strut) and bolt-on or screw-in styles that anchor directly to the body.
Step 1: Choose Your Mounting Location
The most common mounting points for golf cart side mirrors are the windshield frame uprights or the front roof support struts on each side of the cart. These are solid, vertical or near-vertical tubes that provide a stable anchor. Before committing, sit in the driver's seat and hold the mirror up in the approximate position — you want it far enough out and forward that it gives you a clear view of the area beside and just behind the rear wheels without requiring you to crane your neck. The mirror face should be visible with just a slight eye movement, not a full head turn.
Step 2: Install the Clamp or Bracket
Clamp-style mirrors are the most common type for golf carts and require no drilling. Slide the clamp around the mounting strut at your chosen height, position it so the mirror arm will extend outward (not backward or forward), and hand-tighten the mounting bolt or screw enough to hold it in place temporarily. Don't fully tighten yet — you'll want to adjust the angle in the next step. If your mirror uses a bracket that bolts directly to the cart body or a drilled hole, mark your drill point carefully, use the correct bit size for the included hardware, and keep the hole placement away from any wiring routed inside body panels.
Step 3: Set the Mirror Angle and Final Tighten
With the clamp or bracket loosely secured, adjust the mirror head so the reflective face angles slightly downward and outward. When seated normally, you should be able to see the ground just beside and behind your rear wheels, as well as a reasonable distance down the path or road behind you. This low-and-wide angle is generally more useful on a golf cart than a perfectly horizontal automobile-style angle, since golf carts sit lower to the ground and move at lower speeds. Once you're satisfied with the view, tighten the mirror head's pivot joint first, then tighten the clamp or bracket to the frame — firm and snug, but don't overtorque on hollow aluminum struts, which can deform or crack under excessive force.
Step 4: Repeat on the Passenger Side (If Applicable)
If you're installing mirrors on both sides, repeat the process for the second mirror. Try to match the mounting height and outward extension of the first mirror so the cart looks balanced and so both mirrors are equally easy to check while driving. Sit back in the driver's seat and check both mirrors in sequence — a smooth left-right scan should give you a continuous picture of the area around and behind the cart with no major blind spots between the two views.
A Few Things to Check After Installation
Give the mirrors a gentle tug and wiggle to confirm the mounts are solid. Take the cart for a slow loop and check whether vibration causes the mirrors to shake or rotate out of alignment — some clamp-style mounts loosen over time and may need a small amount of thread-locking compound on the clamp bolt to stay put. Also check that the mirrors don't interfere with any passenger entry or exit, and that they won't catch on garage doors, storage areas, or low-hanging obstacles on your typical route. A properly installed side mirror should stay put through normal use and only need occasional re-angling as needed.


