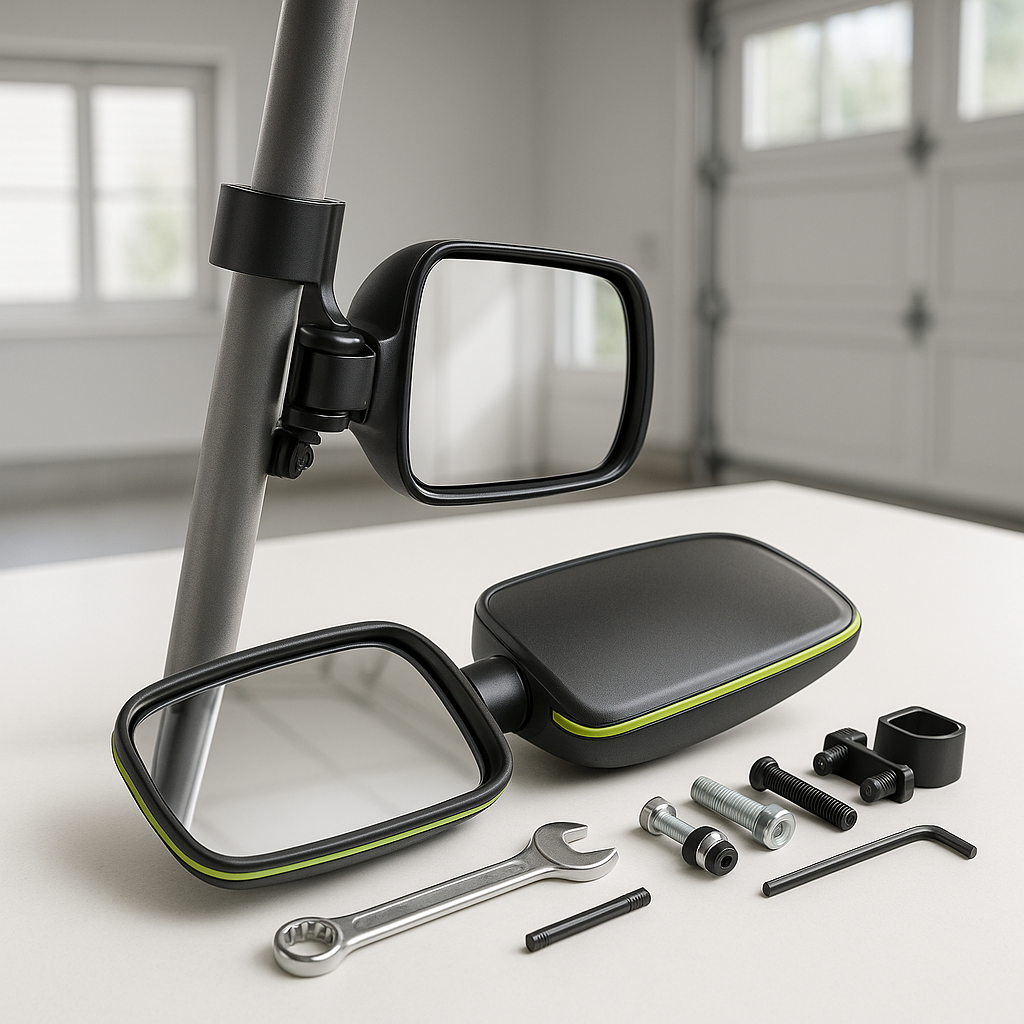
A rearview mirror gives you a center line of sight behind you, but side mirrors fill the blind spots that a single mirror simply can't cover. If you're driving on roads, in neighborhoods, or anywhere with cross traffic and pedestrians, side mirrors aren't just a nice upgrade — they're a real safety tool. Installing them is a straightforward DIY job, but doing it right means picking the correct mount style, getting the positioning dialed in, and making sure everything is tight enough to stay put at speed. Here's how to approach the whole process from start to finish.
Understand Your Mount Options Before You Buy
Golf cart side mirrors attach in a few different ways, and the right method depends on your cart's frame and whether it has a roof or windshield frame you can use. The most common mount types are clamp-on mounts that grip a round tube on the roof support or A-pillar, flat-surface mounts that bolt directly to a panel or windshield frame, and universal-arm mounts with adjustable brackets designed to work across different frame sizes. Before purchasing, measure the diameter of your roof struts or uprights — clamp-on mirror mounts are typically sized to fit a range of tube diameters, and getting a clamp that's too large or too small will result in a mirror that vibrates, slips, or won't tighten properly.
What You'll Generally Need
Most side mirror installations require only basic hand tools — a wrench or socket set and possibly a screwdriver, depending on the hardware included with your mirrors. You won't typically need to drill or modify your cart for clamp-style mounts, which is one reason they're the most popular choice for DIY installs. If your mirrors use bolt-through mounting, you may need a drill and appropriate bit for your material. Always have a second person nearby when working at awkward angles on a roof strut — it makes holding the mirror in position while tightening much easier.
Step 1 — Determine Placement Before Tightening Anything
This is the step most people rush, and it's the one that matters most. Sit in the driver's seat in your normal driving position before you commit the mirror to a location. Hold the mirror (or have someone hold it) where you're considering mounting it and check what you can actually see. A side mirror that's too far forward shows you the side of your own cart; too far back and the viewing angle narrows. Generally, positioning the mirror near the front of the roof support on each side — roughly in line with your shoulder when seated — gives the widest useful field of view. Mark your chosen spot lightly before you start mounting hardware.
Step 2 — Attach the Mount to the Frame
Slide the clamp bracket around your roof strut or upright at the position you marked. Most clamp-style mounts have a bolt that runs through the clamp body — hand-tighten this first so the clamp holds position but can still be adjusted. If your mount uses a flat bracket, align it with the surface you're fastening to and start the bolts by hand. Do not fully tighten anything yet. You want everything snug but moveable until the mirror head angle is also confirmed.
Step 3 — Attach the Mirror Head and Set the Angle
With the mount bracket in place, attach the mirror head to the arm or bracket according to the hardware included. Most mirror arms have a ball-and-socket or pivot joint that lets you adjust the mirror face independently of the mount. Sit back in the driver's seat and adjust the mirror face until you can see clearly along the side and rear of the cart without craning your neck. The goal is a natural glance — your eyes should reach the mirror comfortably from your normal driving position. Once you're satisfied with the angle, tighten the mirror head pivot point so it holds that position firmly.
Step 4 — Final Tighten and Shake Test
Now go back to the clamp or bracket at the frame and tighten it fully. On tube clamps, snug the bolt firmly — the mirror should not rotate or slide on the strut when you push on it with moderate hand pressure. Avoid overtightening on plastic or thin-wall tubing, which can crack or deform. Once both sides are tight, physically grab each mirror and try to move it in every direction. A properly installed side mirror should feel solid with zero wobble. Then take a short slow drive and recheck — vibration from the road will reveal any looseness that hand testing missed.
Final Tips for Long-Term Performance
Check your side mirror hardware every few months, especially if you drive on rough terrain. Vibration gradually loosens fasteners, and a mirror that drifts out of position is worse than useless because you may not notice until you need it. If your mirrors are exposed to full weather, apply a small amount of corrosion-resistant spray or anti-seize compound to any steel bolts that contact aluminum or steel frame tubing — this prevents them from seizing or stripping over time and makes future adjustments easy. Keeping the mirror glass clean is obvious, but worth saying: a dirty mirror in bright sun creates glare that reduces visibility just as much as a poorly positioned one.


