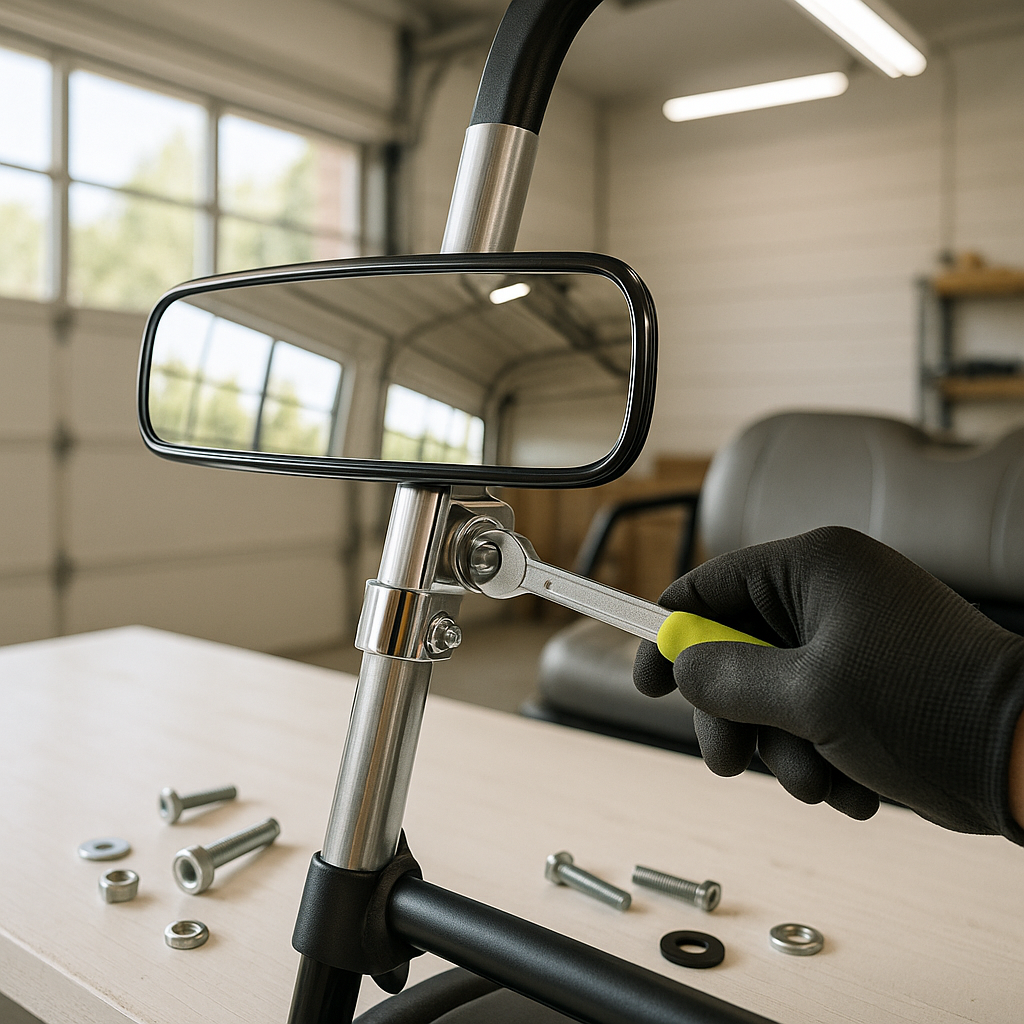
Adding a rear view mirror to your golf cart is one of the simplest, most practical safety improvements you can make — especially if you use your cart on roads, paths with pedestrian traffic, or around property where kids and pets are present. The installation is straightforward enough for most cart owners to handle in under an hour, but doing it right means choosing the correct mount location, getting a stable fit, and positioning the mirror so it actually gives you useful sight lines. This guide walks you through the whole process.
Choose Your Mounting Location First
Before you pick up a wrench, decide where the mirror is going. The most common mounting points on a golf cart are the overhead frame or windshield frame. Windshield-frame mounting typically uses a clamp that wraps around the frame tubing near the top, centering the mirror over the dashboard. Overhead canopy/roof frame mounting does the same thing but positions the mirror slightly higher. Either location works well — the key is that the mirror should be centered left-to-right and positioned so you can see it with a natural forward head position, not by craning your neck. Avoid locations that put the mirror right in your sightline through the windshield.
What You'll Typically Need
Most rear view mirror kits designed for golf carts include the mirror head, a mounting clamp or bracket, and the necessary hardware. Beyond that, you'll generally need a hex key or small wrench to tighten the clamp bolts, and possibly a flathead screwdriver depending on the clamp design. No drilling is required for standard clamp-style mounts — they grip the existing frame tubing without modifying anything. Have a clean rag handy to wipe down the frame tubing before mounting, since grime and wax can cause a clamp to slip over time.
Step 1 — Clean and Inspect the Mounting Area
Wipe down the section of frame tubing where the clamp will sit. Look for any rust, cracks, or damage to the tubing at that spot. A cracked or heavily corroded frame section is not a reliable anchor point — choose a different location or address the frame issue first. Also check that the tubing diameter at your chosen spot is compatible with your clamp. Most golf cart frame tubing falls within a common range, but if your cart has aftermarket components or a custom frame, measure the tube diameter before buying a mirror so the clamp fits properly.
Step 2 — Assemble the Mounting Hardware
Most clamp-style mounts consist of two curved pieces that sandwich around the tubing and are held together by one or two bolts. Loosely thread the bolts through so the clamp can open wide enough to fit around the tubing. If your mirror has a separate pivot joint or ball joint between the clamp and the mirror head, leave that joint loose for now too — you'll dial in the final angle after the clamp is secured.
Step 3 — Attach the Clamp to the Frame
Slide the clamp around the frame tubing at your chosen location. Make sure it's centered where you want it before tightening. Snug the bolts down evenly — alternate between them if there are two so the clamp compresses squarely on the tube. Tighten firmly but don't overtighten to the point of distorting the clamp or tubing. Give the mounted clamp a firm tug in different directions; there should be zero movement. If the clamp rocks or rotates on the tube, continue tightening until it holds fast.
Step 4 — Set the Mirror Angle
With the clamp secured, adjust the mirror head to its final position. Sit in the driver's seat in your normal driving posture. Tilt and rotate the mirror until you can see clearly behind the cart with minimal head movement — you want to catch both rear corners of the cart and a good distance behind it. Once you have the angle dialed in, tighten the pivot joint or ball joint so the mirror holds that position without drooping. Some mirrors use a tension-based system rather than a bolt; if yours is tension-based, check that the friction is tight enough that vibration during normal driving won't shift the angle.
Step 5 — Test Before You Drive
Take a moment to verify everything before heading out. Sit in the driver's seat and confirm the mirror gives a clear, useful field of view behind the cart. Have someone walk behind the cart at various distances to confirm you can track them in the mirror — this tells you right away whether the angle needs any fine-tuning. Then gently shake or tap the mirror to confirm the clamp hasn't shifted. If you notice any play or movement in the mount after a day or two of regular use, re-tighten the clamp bolts. Clamps can settle slightly after first installation and may need a quick follow-up snug.


