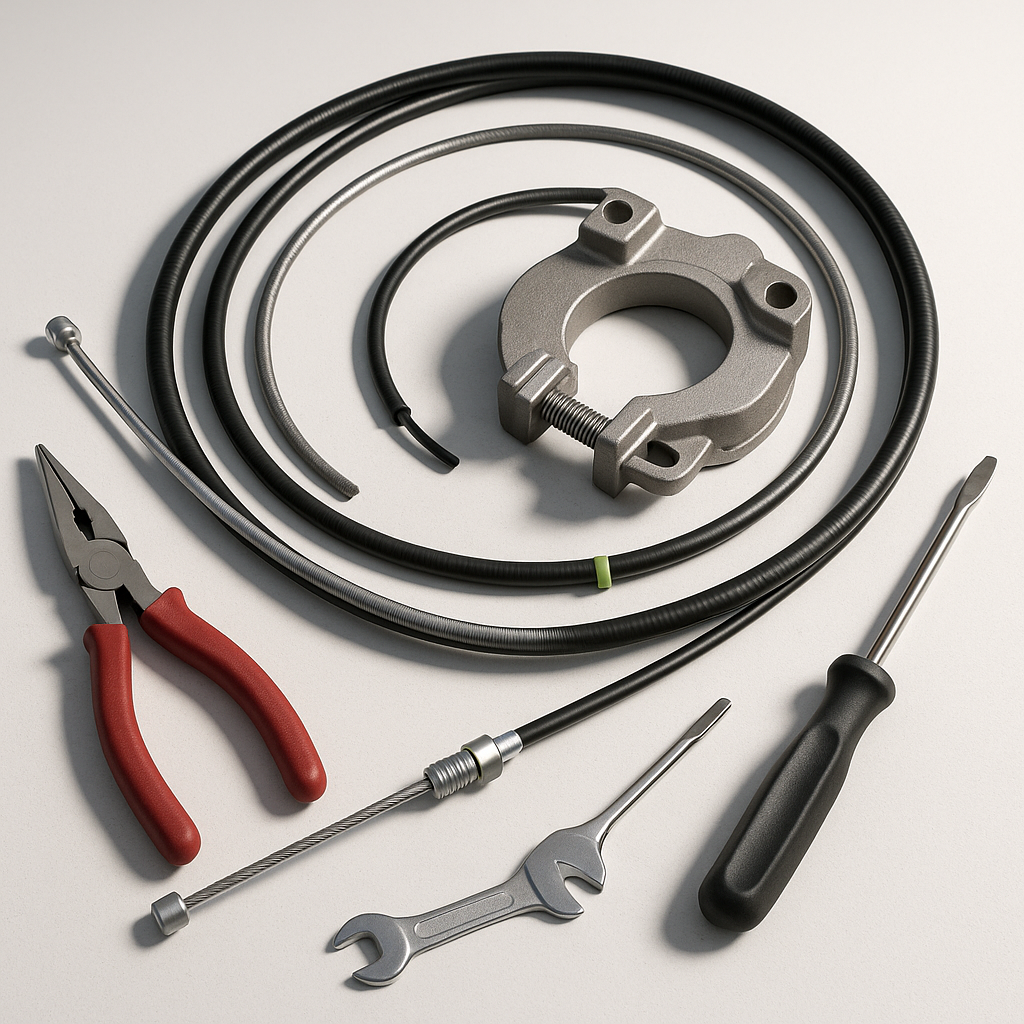
The brake cable is one of the most overlooked components in a golf cart's drivetrain — right up until it snaps or gets so stretched that your cart barely stops. Unlike brake pads or drums, a cable failure can happen suddenly, making this a genuine safety issue rather than just a maintenance chore. The good news is that replacing a brake cable is a manageable DIY job if you understand how the system is laid out and take your time with the adjustment at the end.
How Golf Cart Brake Cables Work
Most golf carts use a mechanical drum brake system actuated by a steel cable. When you press the brake pedal, that force travels through one or more cables to a lever or cam at the brake assembly, which forces the shoes outward against the drum. Some carts use a single cable that runs to a cable equalizer before splitting to each rear wheel; others use separate cables for each side. Understanding your cart's layout before you start saves a lot of frustration — trace the cable from the pedal to the wheel before you remove anything.
Signs Your Brake Cable Needs Replacing
The most obvious sign is a soft or spongy pedal that travels too far before braking takes effect, even after you've already adjusted the cable tension. Visible fraying, kinking, or rust anywhere along the cable's length means it's time to replace — a frayed cable can snap without warning. If your cart pulls to one side when braking, one cable may have stretched more than the other. And if you've maxed out the adjuster on the cable or at the pedal and still can't get firm braking, the cable has stretched beyond its useful range.
What You'll Need
Before you start, get the correct replacement cable for your cart's make, model, and year — cable lengths vary, and using one that's too short or too long will create an unsafe or non-functional adjustment. You'll typically need basic hand tools: wrenches, pliers, and possibly a cable crimping tool or zip ties to manage cable routing. Have penetrating oil on hand for any corroded hardware. Lift the rear of the cart safely with a jack and jack stands so you can access the brake assemblies at the wheels without the cart rolling.
Removing the Old Cable
Start at the brake assembly end. The cable end will be attached to a lever or actuating arm — usually a hooked end or a barrel-style fitting. Release it by compressing or unhooking it from the lever, then loosen the cable's housing clamp or bracket near the wheel. Work your way back toward the equalizer or the pedal, releasing any clips or brackets holding the cable housing in place along the frame. At the pedal or equalizer end, back off any adjustment nuts fully before disconnecting — this relieves tension and makes the cable easier to free. Note exactly how the cable was routed through the frame before pulling it out, or take a photo. Routing errors cause cable kinking and premature wear.
Installing the New Cable
Thread the new cable along the same route as the old one, securing it through every clip and bracket. Correct routing keeps the cable away from heat sources, sharp edges, and moving suspension components. Connect the brake assembly end first, seating the fitting fully into the lever or cam. Then route back to the equalizer or pedal and connect that end, leaving the adjustment loose for now. Before you torque anything down, cycle the brake pedal several times to let the cable settle into its natural position.
Adjusting the Cable Tension
This step is just as important as the installation itself. With the rear wheels off the ground, you want enough cable tension that the brakes engage firmly within the first half of the pedal's travel — but not so tight that the shoes drag against the drum when the pedal is fully released. Spin each rear wheel by hand: it should rotate freely with no pedal applied and stop promptly when the pedal is pressed. If the wheels drag, back off the adjuster. If the pedal has to travel too far, take up more tension. When you're happy with the feel, tighten the lock nuts on the adjuster so it can't walk out from vibration.
Test Before You Ride
Lower the cart back to the ground and do a slow test on flat ground before anything else. Brake firmly from a slow roll and confirm the cart stops straight without pulling. If it pulls, the cable tension between the two sides is uneven — adjust until braking is balanced. Once you're satisfied with low-speed performance, test again from a slightly faster pace. A properly adjusted brake cable should give you confident, predictable stopping power every time you press the pedal. Recheck the adjustment after the first few rides, as new cables tend to stretch slightly during the initial break-in period.


