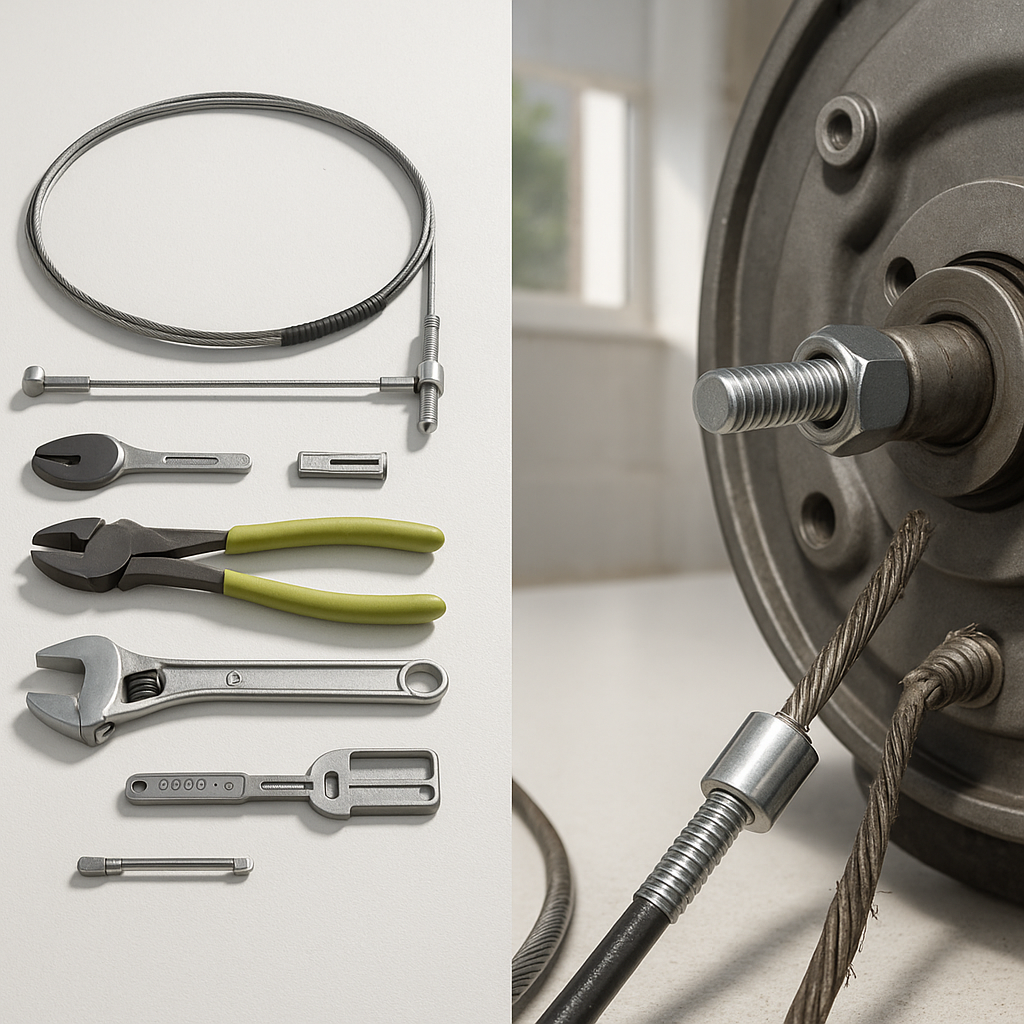
The brake cable is one of the most overlooked components on a golf cart until it fails completely. Over time, cables stretch, fray at the ends, develop kinks, or corrode inside their housing — especially on carts that see rain, mud, or salt air. When your parking brake feels sloppy, won't hold, or the pedal travel has grown noticeably longer, the cable is often the culprit. Replacing it is a straightforward mechanical job that most cart owners can handle in an afternoon with basic hand tools.
Understand What You're Working With
Most golf carts use a mechanical cable-operated brake system where a single cable (or a primary cable splitting into two rear cables) links the brake pedal or parking brake lever to the rear brake assemblies. The cable runs through a metal or plastic housing and terminates at adjustable clevis pins or threaded barrel ends at both the actuator and the brake drum/shoe mechanisms. Before you buy a replacement, identify your cart's make, model, and year — cable length and end fittings vary significantly between manufacturers and model generations, and using the wrong cable will mean it either won't reach or won't seat properly.
Safety First
Always start by parking the cart on a flat, level surface. Chock the front wheels so the cart cannot roll while the rear brakes are disassembled. For electric carts, disconnect the main battery pack by removing the negative cable from the battery bank — this eliminates any risk of accidental motor engagement. For gas carts, simply make sure the engine is off and the key is out. Never work under or near a cart that is only held by a jack without jack stands supporting it securely.
Remove the Old Cable
Trace the cable from the brake pedal or parking brake lever all the way back to the rear axle area so you understand the full routing before you start. At the actuator end (pedal or lever), locate the cable anchor point — usually a clevis pin held by a cotter pin or a retaining clip. Remove the cotter pin, slide out the clevis pin, and free the cable end. Work toward the rear of the cart, releasing any cable clamps, guides, or frame clips that hold the housing in place along the route. At the rear drum or equalizer bar, the cable end will again be pinned or threaded into an adjuster nut — loosen the adjuster fully to create slack, then remove the cable end. Slide the cable and housing free of the cart completely, noting exactly how it was routed through the frame.
Install the New Cable
Feed the new cable through the frame using the same routing as the original — this matters both for function and to prevent the cable from chafing against moving parts or hot surfaces. Seat the cable housing into any frame guides or clips as you go. Attach the rear end of the cable to the equalizer bar or brake arm first, then route back toward the pedal end and connect there. Leave the adjuster at the rear end backed off so the cable is still slack — you'll tighten it in the next step.
Adjust Cable Tension and Test
With the cable installed, adjustment is critical. Too loose and the brakes won't engage fully; too tight and the shoes will drag against the drums constantly, generating heat and accelerating wear. Thread the adjuster nut in gradually while having a helper lightly depress the brake pedal or pull the parking brake. The goal is full brake engagement with firm pedal feel before the pedal or lever reaches its travel limit, and full release with zero drag when the brake is off. Spin each rear wheel by hand to confirm it rotates freely in the released position. Once tension is dialed in, secure the adjuster with a jam nut if one is present, and reinstall any cotter pins you removed.
Final Check Before Driving
Reconnect the battery (on electric carts), release the chocks, and do a slow test drive in a safe open area. Apply the brakes firmly from a low speed and confirm the cart stops straight without pulling to one side — if it pulls, one side is adjusted tighter than the other and you'll need to fine-tune. Test the parking brake on a gentle slope to verify it holds without creeping. Check the cable routing one more time after the first few stops to confirm nothing has shifted or is rubbing against a wheel, tire, or axle component.
A properly adjusted brake cable should feel firm and consistent from the first application. If the pedal still feels soft or the brakes still won't hold after a new cable and proper adjustment, the issue likely lies deeper — worn shoes, a glazed drum surface, or a stretched equalizer bar. But in most cases, a fresh cable and a careful adjustment will restore the braking performance your cart needs to operate safely.


