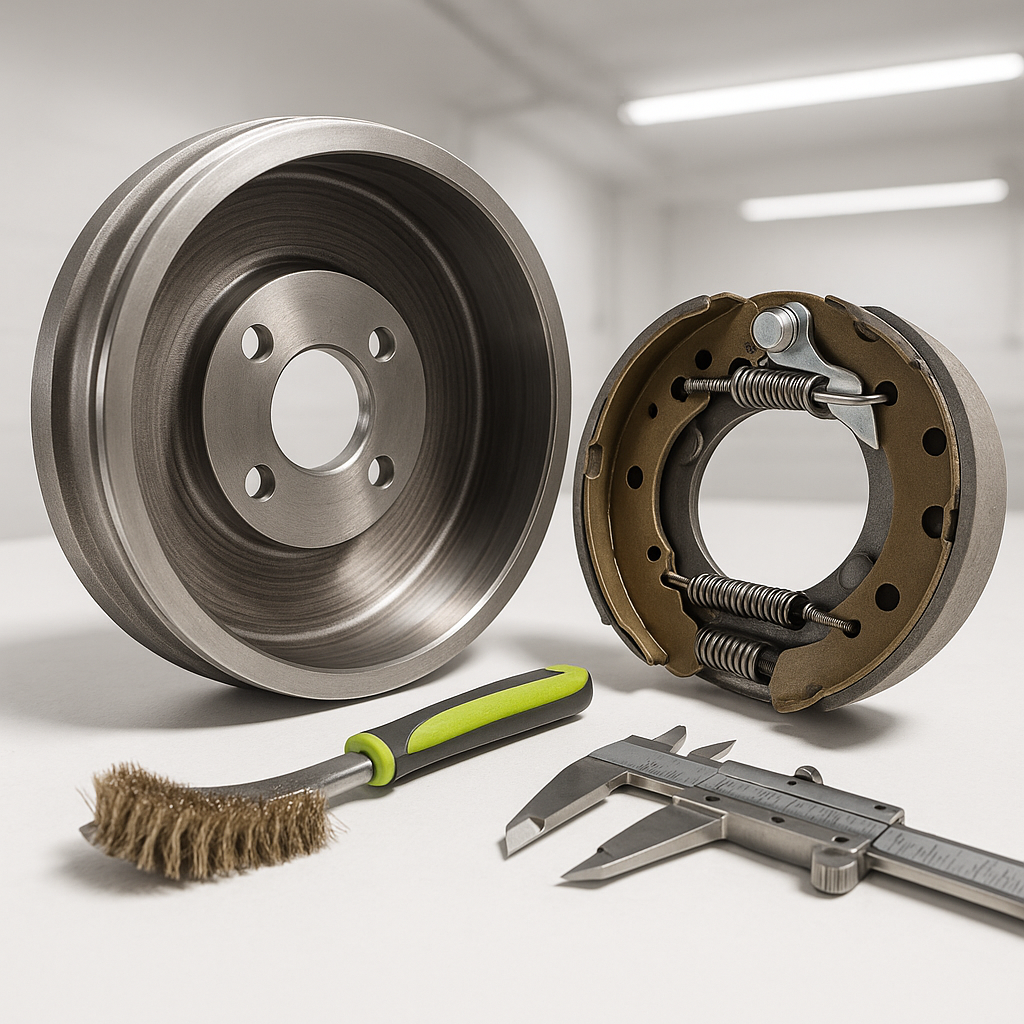
Brake drums don't get nearly as much attention as brake pads or cables, but they're just as critical to your golf cart's stopping power. A drum that's worn thin, scored, or out-of-round can cause grabbing, pulling, or outright brake failure — none of which you want to discover at the bottom of a hill. The good news is that inspecting and replacing a brake drum is well within reach for a mechanically comfortable DIYer, and it's a job that can make a dramatic difference in how confidently your cart stops.
How Golf Cart Drum Brakes Work
Most golf carts — especially older gas and electric models — use a drum brake setup on the rear axle. When you press the brake pedal or engage the parking brake, a cable pulls a lever that pushes curved brake shoes outward against the inside surface of a spinning drum. Friction between the shoes and drum slows the wheel. Over time, that friction surface wears down on both the shoe lining and the drum itself. Once the drum's inner diameter grows beyond a safe threshold from wear, or if it develops deep grooves, heat cracks, or visible warping, it needs to come off.
Signs Your Brake Drum Needs Attention
Watch for these warning signs: a pulsing or vibrating feel when braking, a grinding or scraping noise (especially if the shoes have worn through their lining), uneven stopping where the cart pulls to one side, or a brake pedal that feels inconsistent. Visually, look for rust buildup, scoring grooves cut into the drum's interior surface, or hairline cracks around the drum's edge — heat cracks in particular are a hard stop, meaning the drum must be replaced immediately and should not be resurfaced or reused.
What You'll Need Before You Start
Gather a floor jack and jack stands rated for your cart's weight, wheel chocks, a lug wrench or socket set, a rubber mallet, penetrating oil, and a clean rag. A brake drum micrometer is useful if you want to measure wear precisely, but you can often assess condition visually and by feel. Have your replacement drum on hand before you pull the wheel — you don't want a cart sitting on jack stands while you wait for parts.
Step-by-Step: Removing the Old Drum
Start by chocking the front wheels and engaging whatever parking brake mechanism won't interfere with your work. Loosen the lug nuts slightly before you lift the cart, then jack it up at a solid frame point and support it on jack stands — never work under a cart supported only by a jack. Remove the lug nuts fully and pull the wheel. With the wheel off, you'll see the drum sitting over the hub and axle. In most golf cart setups, the drum is held by the same lug studs as the wheel, or by a central retaining nut — inspect yours before assuming. Apply penetrating oil around the center hub if the drum looks corroded in place, let it soak for several minutes, then work the drum off by hand or with a few taps of a rubber mallet around its outer edge. Do not hammer the friction surface. Once the drum is free, set it aside and take a moment to inspect the brake shoes and hardware inside before reinstalling anything new.
Inspecting the Shoes While You're In There
This is the ideal time to check your brake shoes even if you're only replacing the drum. Look at the lining thickness — if the friction material is thin or worn unevenly, replace the shoes at the same time. Check the return springs for stretching or corrosion, and make sure the adjuster mechanism moves freely. Replacing shoes and drum together ensures your new drum seats evenly against fresh lining from the start, rather than a new drum trying to break in against glazed or half-worn shoes.
Installing the New Drum
Before the new drum goes on, clean the hub surface with a rag and make sure no rust or debris is sitting proud where the drum will seat. Slide the new drum over the hub and studs, confirming it seats flush with no rocking. If your cart uses a retaining nut, tighten it according to your cart's service guidelines — hand-tight is not enough, but overtightening can cause drag. Reinstall the wheel, snug the lug nuts in a star pattern, lower the cart off the stands, and torque the lugs to the appropriate spec for your wheel size. Before driving, pump the brake pedal or actuate the cable several times to seat the shoes against the new drum's surface.
After Installation: Adjustment and Break-In
New drums almost always require a brake adjustment afterward. Because the interior diameter of a new drum is at its minimum, the shoes may need to be expanded slightly via the adjuster star wheel to eliminate excess pedal travel and ensure even contact. Adjust until you feel light drag when spinning the wheel by hand, then back off a click or two. Take the cart for a few slow stops in a safe area before trusting it at full speed — this lets the shoe lining transfer a thin layer of material to the drum surface and seats everything properly. Recheck adjustment after the first few rides, as new components can settle.


