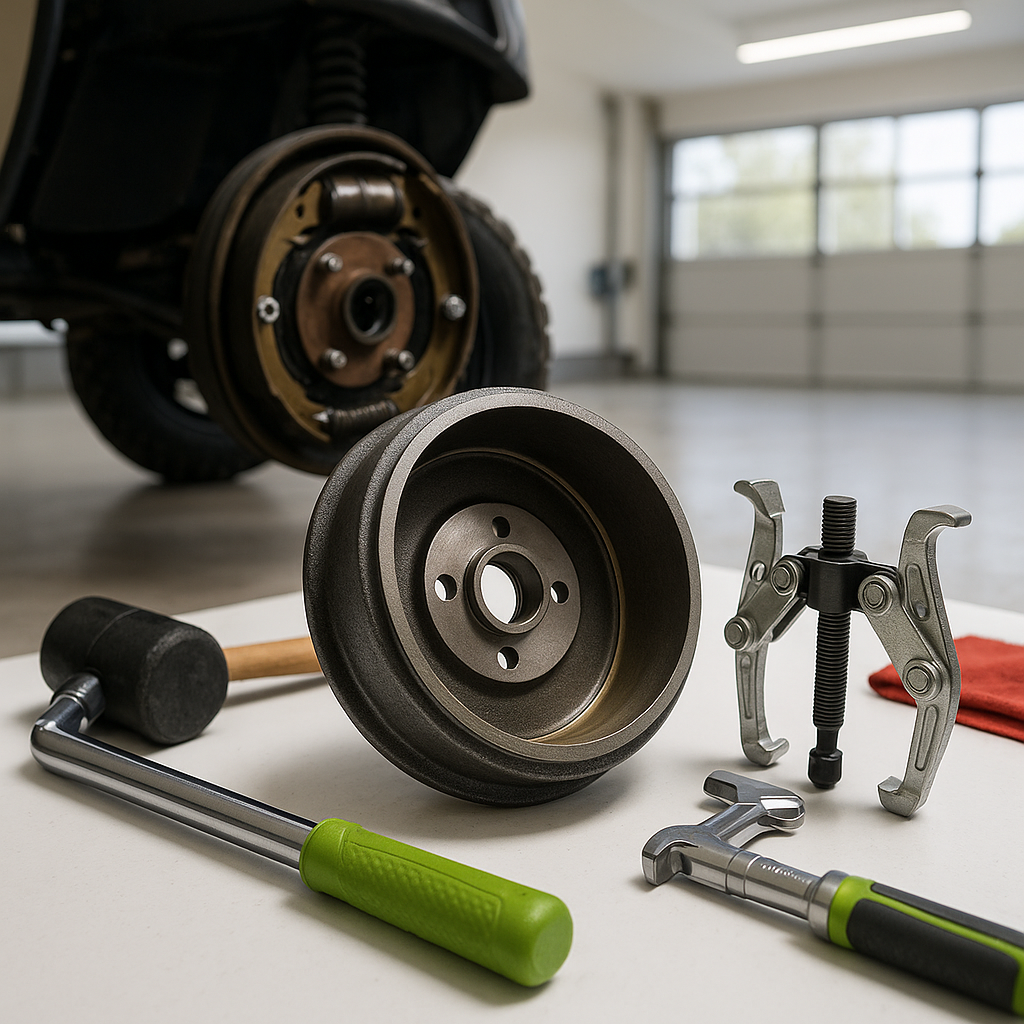
The brake drum is one of those components most golf cart owners never think about — until it fails. Drums take a beating over years of use, especially on carts that see hilly terrain or heavy loads. When a drum is cracked, deeply scored, or worn beyond its serviceable thickness, no amount of cable adjustment or new brake shoes will restore safe stopping performance. Replacing the drum is a straightforward job you can handle at home with basic tools and a solid understanding of what you're doing.
Signs Your Brake Drum Needs Replacing
Before you pull anything apart, confirm the drum is actually the problem. Common indicators include a grinding or scraping noise when braking (especially if you've already ruled out shoe wear), a noticeable vibration or pulsing through the pedal, visible cracks on the drum's surface, or a cart that pulls to one side when stopping. You can also measure the drum's inner diameter with a brake drum micrometer — if it's worn beyond the maximum diameter stamped or cast into the drum itself, it's time to replace it. Glazed or lightly grooved drums can sometimes be turned on a lathe, but deeply scored or cracked drums should always be replaced outright.
What You'll Need
Gather your supplies before you start: a floor jack and jack stands rated for your cart's weight, wheel chocks, a lug wrench or impact driver, a hammer and a brake drum puller (some drums slide off easily; others are seized and need persuasion), brake cleaner spray, and a clean rag. New brake shoes are worth installing at the same time — if the drum is worn enough to replace, the shoes have likely seen similar duty. Having everything ready before you lift the cart keeps the job clean and safe.
Step 1: Secure and Lift the Cart
Park the cart on a flat, stable surface. Engage the parking brake if you're working on the rear, or chock the wheels that will stay on the ground. Loosen the lug nuts on the wheel you're working on before you lift the cart — it's much easier with the tire still on the ground. Jack up the cart and set it securely on jack stands. Never work under a cart supported only by a floor jack. Once it's stable, remove the lug nuts fully and pull the wheel off.
Step 2: Remove the Brake Drum
With the wheel off, the drum is usually visible as a large round housing surrounding the brake assembly. On most golf carts, the drum is retained by the same lug studs the wheel bolts to, so once the wheel is off, the drum should slide straight off the hub — though rust and heat cycles often cause them to seize. If the drum won't budge, apply penetrating oil around the hub area and let it soak. A few firm taps with a rubber mallet around the outer edge (not on the friction surface) can break it loose. For stubborn drums, use a dedicated brake drum puller rather than hammering aggressively, which can damage the hub or bearings.
Step 3: Inspect and Clean Before Installing the New Drum
With the drum off, take a good look at the brake shoes inside the backing plate. Check shoe thickness, the condition of the springs and hardware, and make sure the wheel cylinder (on hydraulic systems) or cable attachment (on mechanical systems) shows no signs of leakage or damage. Spray the entire assembly with brake cleaner and let it dry — brake dust is harmful to inhale, so work outdoors or in a ventilated space and avoid blowing dust with compressed air. Wipe the hub surface clean so the new drum seats flush.
Step 4: Install the New Drum and Reassemble
Slide the new drum onto the hub, making sure it seats evenly and fully against the hub flange. Spin it by hand — it should rotate smoothly with only slight drag from the brake shoes. If it drags heavily or won't turn, the shoes may need to be backed off via the adjuster before the drum goes on. Once seated, reinstall the wheel, snug the lug nuts by hand, lower the cart off the jack stands, and torque the lug nuts in a star pattern to the manufacturer's specification. Never rely on a rough tighten — a loose wheel on a moving cart is dangerous.
Step 5: Bed the Brakes and Test
Before driving at full speed, perform a few slow-speed brake applications to seat the new drum against the shoes. Gradually build up to normal braking pressure over several stops. Listen for any unusual noise, and confirm the cart tracks straight without pulling. If you notice pulling or uneven braking, you may need to adjust the cable tension or check that the opposite drum and shoes are in comparable condition — mismatched brake wear side-to-side is a common cause of directional issues. With everything confirmed, you're good to go.


