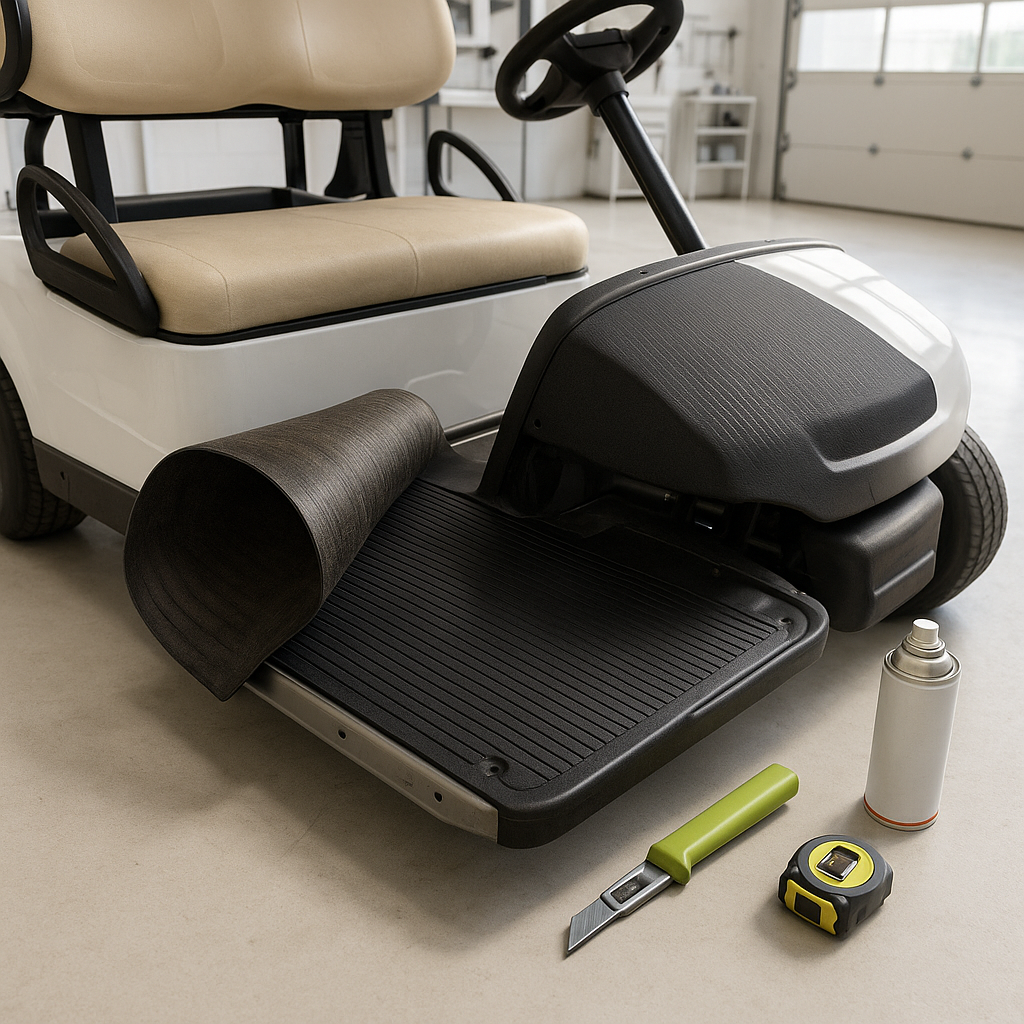
Golf cart floor mats take a beating. Mud, water, UV exposure, and years of foot traffic leave them cracked, compressed, or permanently funky-smelling. Replacing a floor mat is one of the more straightforward interior jobs you can do, but there are enough small details — fitment, fastener types, drainage considerations — that it's worth doing methodically. This guide walks you through the full process using general best practices that apply across most Club Car, E-Z-GO, and Yamaha platforms.
Gather What You'll Need
Before you pull anything apart, have your supplies ready. You'll need a flat-head screwdriver or trim removal tool, needle-nose pliers if your mat uses plastic push-pin clips, a utility knife for trimming if you're working with a universal-fit mat, and a mild all-purpose cleaner for the floor surface underneath. A stiff-bristle brush helps here too — you'll almost certainly find grime built up under the old mat that's worth clearing out before the new one goes down. If your cart has a rubber drainage plug in the floor, note its location so you don't cover it with the new mat.
Remove the Old Floor Mat
Most OEM and aftermarket floor mats are held in place by a combination of friction fit, plastic retaining clips, or small screws near the pedal cutouts. Start by checking the perimeter edges — run your finger along the sides to feel for any fasteners. Pop any clips with your trim tool rather than yanking them by hand; the plastic tabs break easily and you may want to reuse them. Once any fasteners are loose, lift the mat from one corner and peel it back steadily. On older carts, mats sometimes bond to the floor surface from years of moisture and compression — work slowly and use a plastic scraper if needed rather than tearing anything. Set the old mat aside flat so you can compare it against the new one for reference.
Clean the Floor Pan Thoroughly
This step gets skipped more than it should. Spray the exposed floor pan with your cleaner, let it sit for a minute, then scrub. Pay particular attention to corners and the area around the pedal openings. If you find rust on a steel floor pan, knock it back with a wire brush and hit it with a rust-inhibiting spray before the new mat goes down — a fresh mat traps moisture if the pan underneath is already compromised. Let everything dry completely. Laying a mat over a damp floor is how you end up with the same problem in another two years.
Check Your New Mat's Fitment
If you purchased a model-specific mat, dry-fit it before committing. Place it in the cart and check that pedal cutouts line up correctly and that edges sit flush against the footwell walls without bunching. Minor trimming with a utility knife is fine if needed — just take off small amounts at a time. If you're using a universal mat, this dry-fit step is essential: mark your cutouts carefully with a marker before cutting, and leave yourself slightly less than you think you need, then test-fit and trim to final shape. Universal mats rarely drop in without at least some adjustment.
Reinstall and Secure the Mat
Once fitment is confirmed, lay the mat in place starting from the front edge near the pedals — getting this anchor point right makes the rest of the mat align naturally. Work toward the rear, smoothing as you go to eliminate any air pockets or wrinkles. Reinstall any retaining clips or screws, pressing clips firmly until you hear or feel them seat. If your original clips didn't survive removal, most auto parts stores carry universal push-pin retaining clips in common sizes. Double-check that the accelerator and brake pedals move through their full range of motion without the mat interfering — this is a safety step, not optional. A mat that catches under a pedal is a genuine hazard.
Ongoing Maintenance
Golf cart floor mats last significantly longer with minimal upkeep. Shake or vacuum them regularly to keep grit from grinding into the surface. For rubber mats, a quick rinse with a hose and mild soap is fine — avoid harsh solvents that dry out and crack rubber over time. If your cart sits outside or gets regular rain exposure, pull the mat occasionally and let both the mat and floor pan air out. Trapped moisture is the main reason mats degrade and floor pans rust prematurely. A mat that's cleaned and dried periodically can easily last several seasons before needing replacement.


