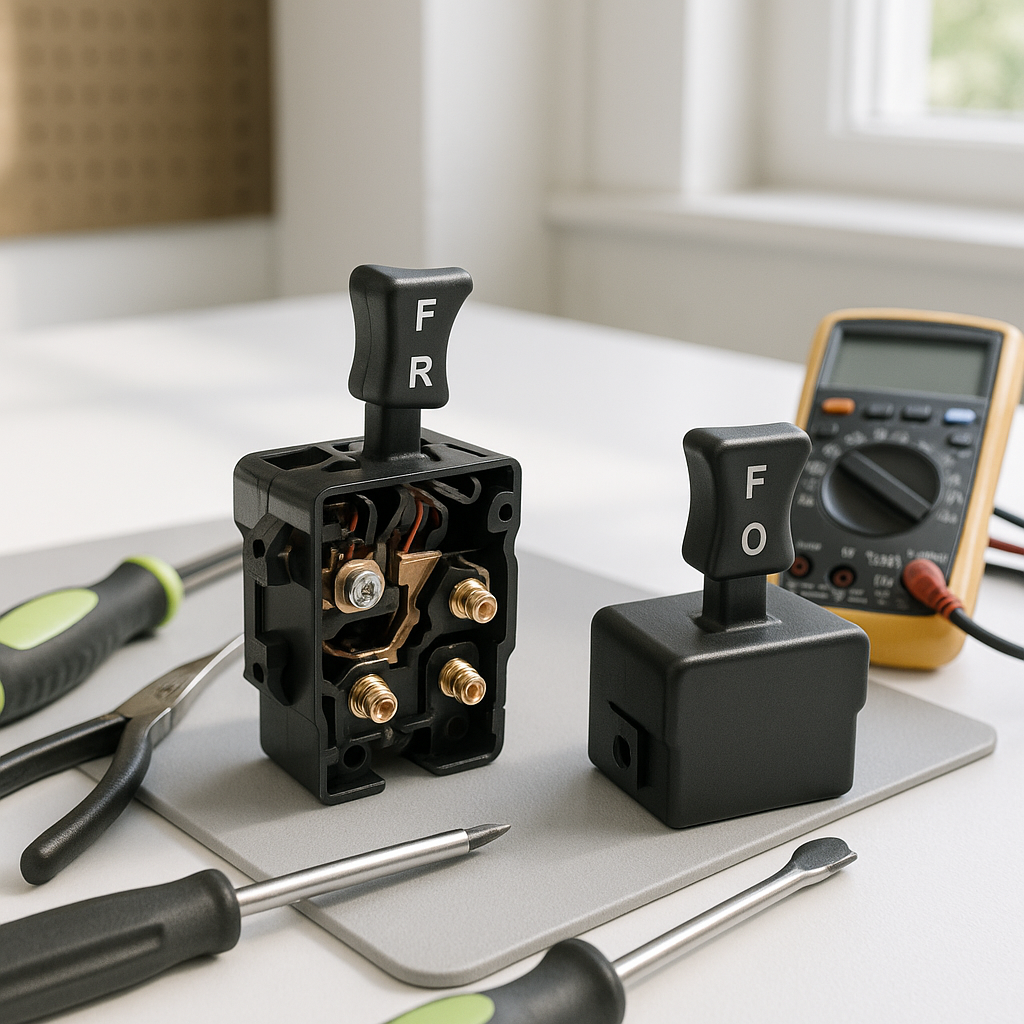
The forward/reverse switch is one of the hardest-working electrical components on your golf cart. Every time you change direction, that switch takes the load. Over time, the contacts inside wear down, corrode, or burn out entirely — and when they do, the cart may refuse to move in one or both directions, move erratically, or throw off a burning smell when you engage the switch. The good news is this is a very DIY-friendly repair if you take it methodically and respect the electrical system.
Confirm the Switch Is Actually the Problem
Before you pull anything apart, do a basic diagnosis. If your cart moves fine in one direction but not the other, the F&R switch is the most likely culprit. If it won't move at all, you'll want to rule out the batteries, main solenoid, and controller first — a dead cart isn't automatically a switch problem. A simple multimeter check can tell you a lot: with the switch in the forward position, you should have continuity across the correct terminals. Swap to reverse and check again. No continuity where there should be means the switch has failed internally. Visible burn marks, melted plastic, or a sharp electrical smell around the switch housing are also dead giveaways.
Safety First — Always Disconnect Power
This cannot be overstated: disconnect the battery pack before you touch any wiring. On an electric cart, that means removing the negative cable from the main battery. On a gas cart with an electric F&R switch, the same rule applies — disconnect the battery. The F&R switch sits in a low-voltage control circuit on most modern carts, but voltage is voltage, and a short or accidental spark in that area can damage your controller, which is a much more expensive fix. Work with dry hands, use insulated tools, and don't rush this step.
Document Everything Before You Disconnect
Take clear photos of your existing switch wiring before you remove a single wire. F&R switches typically have multiple terminals, and getting them back in the wrong order will cause problems ranging from reversed direction logic to a cart that won't move at all. Label each wire with masking tape and a marker if you're not confident in your memory or your photos. Note the orientation of the switch housing in the dash or floor plate as well — some switches are keyed, but others can be mounted upside down accidentally.
Removing the Old Switch
Most F&R switches are mounted in a bracket on the floor plate or dash panel and secured with a couple of bolts or screws. Once the fasteners are out, the switch typically unplugs or has individual spade terminals that pull off by hand. Avoid yanking on the wires themselves — grip the terminal connectors. If the spade terminals are corroded onto the posts, a small flathead screwdriver or terminal puller tool helps release them without tearing the wire. Inspect the wire ends while you have everything apart: if you see green corrosion, fraying, or heat damage on any of the leads, address those before installing the new switch.
Installing the Replacement Switch
Match your new switch to the same terminal count and layout as the original. Slide the terminals onto the correct posts firmly — a loose spade connection is a future failure point and can cause intermittent behavior that's frustrating to chase down later. Seat the switch in its mounting bracket, reinstall the fasteners, and do a final visual check before reconnecting power. Verify no wires are pinched, no terminals are touching housing metal they shouldn't be, and everything looks as clean as when you started.
Testing Before You Reassemble
Reconnect the battery and test direction function before you button up any panels. Engage forward and give the cart a short roll, then stop, switch to reverse, and do the same. The transition should be smooth and immediate — no hesitation, no grinding, no unusual clicking from the switch area. If one direction still doesn't work, recheck your wiring against your photos. If neither direction works, recheck all connections including the main battery cable you disconnected. Once both directions confirm working correctly, reassemble any floor plates or dash covers you removed.
Replacing a forward/reverse switch is a satisfying repair because the result is immediate and clear — your cart either works properly or it doesn't. With careful documentation, proper electrical safety, and a methodical approach, most golf cart owners can complete this job in under an hour. It's also worth inspecting the switch contacts and wiring harness periodically as part of your regular maintenance routine, since catching early wear before a full failure keeps you on the course instead of in the shop.


