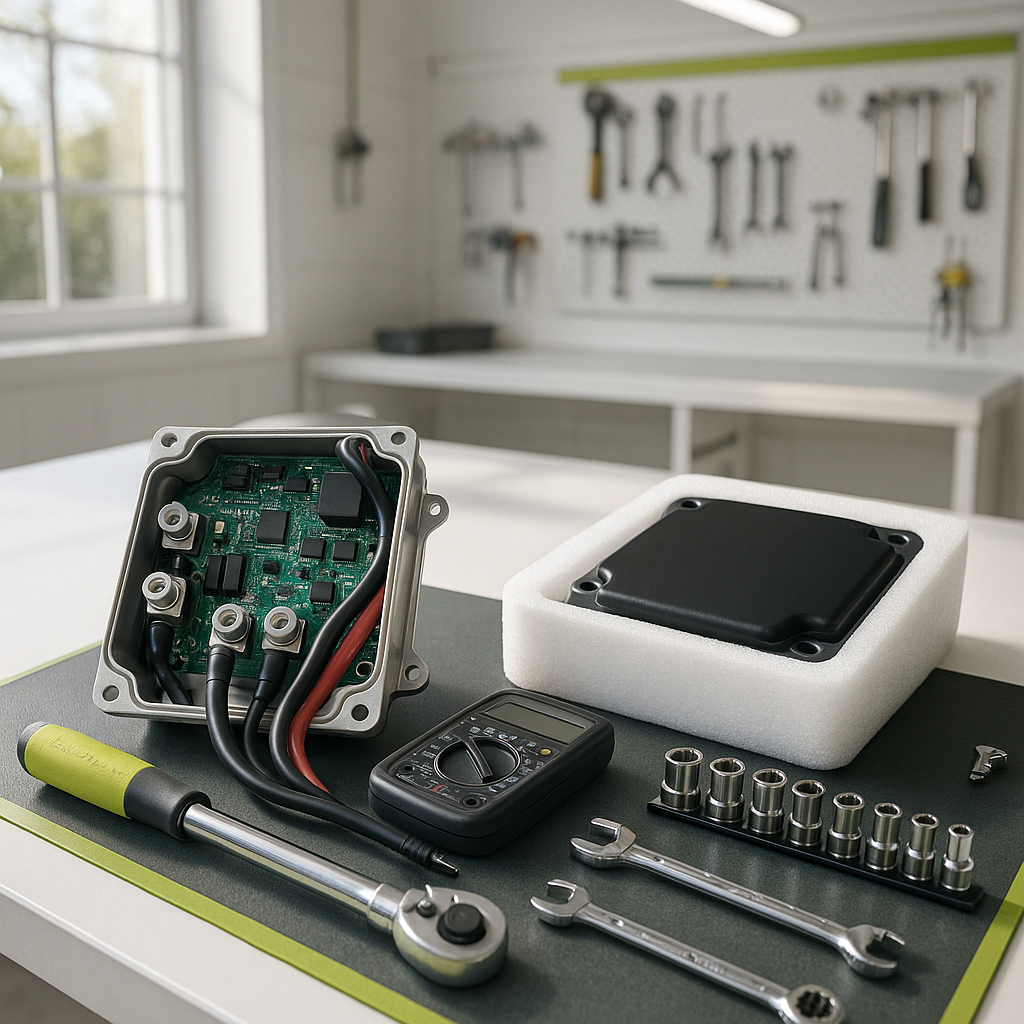
The motor controller is the brain of your electric golf cart. It reads throttle input, manages current flow from the batteries to the motor, and determines how smoothly and powerfully your cart accelerates. When it starts failing — or when you're upgrading for more performance — replacing it is one of the highest-impact jobs you can do on an electric cart. It's also a job most mechanically confident owners can handle themselves if they work carefully and methodically.
Before You Touch Anything: Safety First
Electric golf carts run on high-voltage, high-amperage battery packs. A serious mistake here isn't just inconvenient — it can be dangerous. Before you begin, disconnect the main negative battery cable from your battery pack and set it aside so it can't accidentally make contact. If your cart has a main disconnect plug or battery interlock, pull that too. Wear insulated gloves whenever you're working around the battery wiring, and keep metal tools away from the top of the battery bank. Take photos of all your existing wiring before disconnecting a single terminal — you'll thank yourself later.
Identify the Right Replacement Controller
Not all controllers are interchangeable. The correct replacement depends on your cart's make, model, year, battery system voltage, and the amperage rating your motor and wiring can support. Running a controller with a significantly higher amperage rating than your motor is designed for can shorten motor life. Running the wrong voltage controller will damage it immediately. Cross-reference your cart's specifications carefully — the OEM controller will typically have its voltage and amperage printed on a label. If you're upgrading for performance, match the new controller to what your motor can handle, not just what fits the mounting bracket.
Remove the Old Controller
Controllers are typically mounted in the forward compartment under the seat or in the nose of the cart, often bolted to a metal plate or the cart frame. With the battery pack fully disconnected, label each wire terminal on the old controller with masking tape and a marker before you remove anything — input positive, input negative, motor terminals, throttle input, and any accessory leads. Take additional photos. Then unbolt the wire terminals one at a time and remove the mounting hardware holding the controller to the frame. Some controllers use a heat-sink plate that draws heat into the cart's frame; note how it was positioned for reinstallation.
Install the New Controller
Mount the new controller in the same orientation as the old one, making sure any heat-sink surface has good metal-to-metal contact with the mounting plate or frame — heat management matters for controller longevity. Then reconnect your wiring using your photos and labels as a guide. Follow the new controller's terminal labeling carefully, as pin layouts can vary between brands even when the form factor looks similar. Tighten terminals firmly — loose connections cause resistance, heat, and premature failure. Once everything is connected, reconnect your main battery negative cable or interlock as the final step.
Test Before You Reassemble
Before you button everything back up, do a slow function test. Reconnect the battery, key on, and gently press the throttle from a stationary position. Listen and feel for smooth, progressive engagement — no jerking, no unusual noises, no burning smell. Check that forward and reverse both engage correctly. If the cart doesn't move, doesn't move smoothly, or throws a fault code on carts equipped with diagnostic systems, shut it down and recheck your wiring against your photos. A reversed motor lead is the most common first-time mistake and is easy to correct.
Common Mistakes to Avoid
A few things trip up even experienced DIYers on this job. First, never assume wire colors mean the same thing across different cart brands or controller manufacturers — always go by terminal labels. Second, don't skip the heat-sink interface; a controller that runs hot will fail prematurely. Third, if you're upgrading to a higher-performance controller, inspect your motor cables and solenoid at the same time — those components need to be rated for the increased current capacity or they become the weak link. And finally, if your cart has a programmable controller, take time to learn what the adjustment parameters actually do before changing anything — not all 'performance' settings improve real-world driving.
Done right, a controller replacement or upgrade makes an immediate, noticeable difference in how your cart drives. It's one of those jobs where the payoff is clear the moment you press the pedal.


