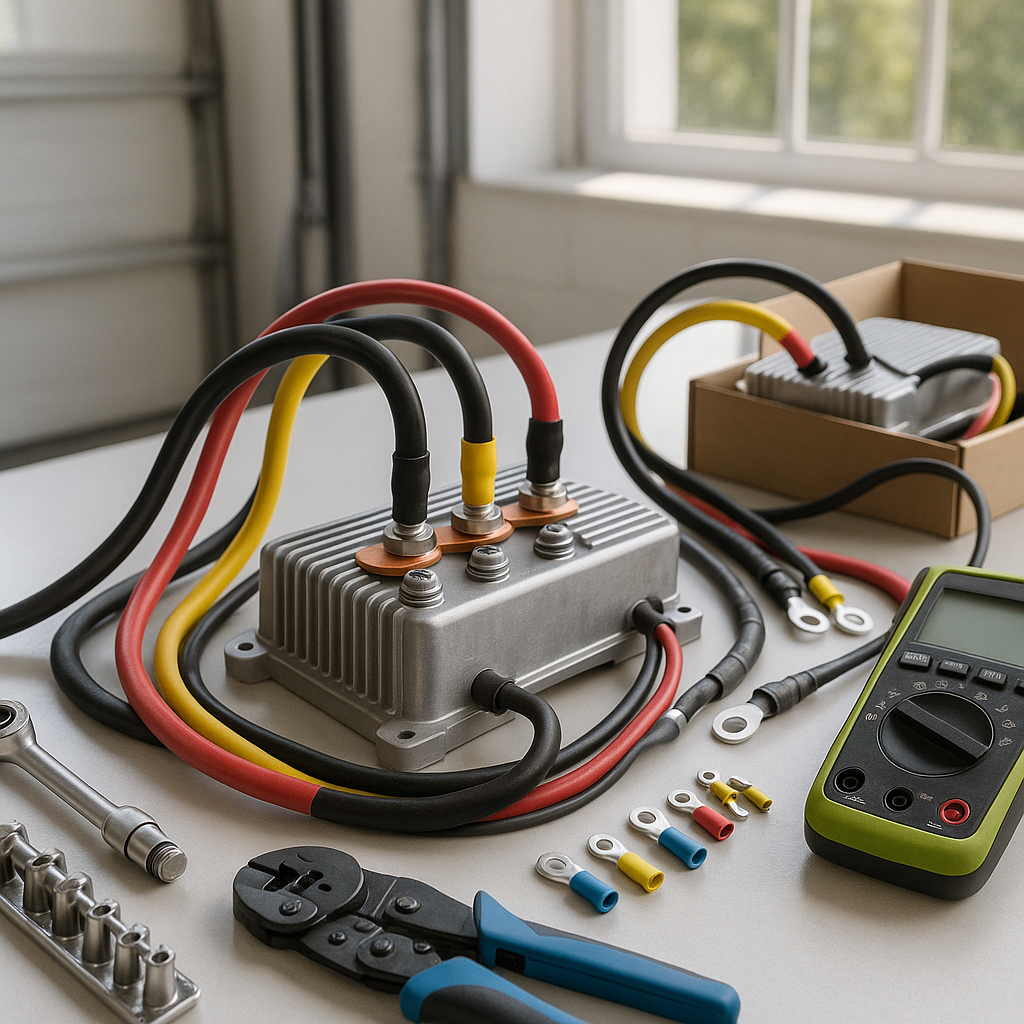
Replacing a golf cart motor controller is one of the more involved electrical jobs you'll tackle, but it's well within reach for a mechanically confident DIYer. The key is working safely around high-voltage DC systems and keeping your wiring organized so the new controller goes in exactly the way the old one came out. This guide covers the general process that applies to most series-wound electric golf carts — EZGO, Club Car, Yamaha, and others — though your specific cart may have minor differences in layout or connector style.
Safety First: Disconnect Power Before You Touch Anything
Before you open the battery compartment or touch any wiring, disconnect your battery pack. On most carts, this means removing the negative cable from the main battery bank and, if your cart has one, tripping the main disconnect or removing the battery connector plug. Controllers store residual voltage even after the cart is off, so never assume it's safe to work just because the key is out. Work in a dry environment, use insulated tools, and keep a multimeter handy to verify circuits are dead before handling terminals.
Document Everything Before You Disconnect Anything
This step saves a lot of headaches. Take clear photos of the existing controller from multiple angles before removing a single wire. Note which terminal each wire connects to — controllers use labeled terminals (typically B+, B-, M-, A1, A2, and various signal wires), but wiring can vary by cart year and model. Some installers also use colored tape to label each wire as it comes off. The more documentation you create now, the less guessing you'll do when the new controller is sitting in front of you.
Remove the Old Controller
With the cart fully de-energized and wires documented, begin disconnecting the terminals one at a time. High-current cables — the ones running to and from the motor and battery — will likely be bolted on; use the appropriate wrench and set those hardware pieces somewhere you won't lose them. Signal wires and throttle connections are usually spade terminals or small connectors that unplug by hand or with light pressure. Once all wiring is free, the controller itself is typically held to a mounting plate or aluminum heat sink by a few bolts. Remove those and lift the unit out. Note how it was oriented — most controllers need airflow around the heat sink to function properly, and you'll want to mount the replacement the same way.
Prepare the New Controller for Installation
Before bolting anything in, compare your replacement controller to the original. Confirm it's rated for your system voltage and your cart's amperage requirements — using an undersized controller will cause it to fail prematurely under load, and using a mismatched voltage unit can damage your entire drivetrain. Check that the terminal layout matches your existing wiring or that you understand any differences. If your new unit came with a heat sink or mounting hardware, assemble that per the included instructions before placing it in the cart.
Mount and Wire the New Controller
Set the controller into position on its mounting surface, ensuring the heat sink has clearance and won't be blocked by nearby components. Bolt it down securely — a vibrating controller is a controller that will wear out connectors and cause intermittent faults. Now reconnect your wiring in reverse order from how you removed it, using your photos and labels as your guide. Start with signal wires and throttle connections first, then move to the high-current power cables. Torque the large terminal bolts firmly — a loose high-current connection generates heat and resistance that can damage the controller or worse. Don't over-tighten, but these connections need to be solid.
Test Before Closing Everything Up
With all connections made, reconnect your battery pack's negative cable or battery plug and turn the key to the on position without pressing the accelerator. Listen for the solenoid to click — that's a good sign the cart is seeing the controller and recognizing a ready state. Then apply very light throttle input and see if the motor responds smoothly. Check for any fault codes if your cart has a display or indicator light system. If the cart moves without hesitation, unusual noise, or smell, take it for a slow test drive before buttoning up the battery compartment cover. If anything seems off — jerky response, no movement, burning smell — disconnect immediately and recheck your wiring against your documentation.
Final Tips for Long Controller Life
Controllers last longest when they run cool, receive clean power, and aren't asked to push beyond their rated capacity. Make sure the heat sink stays unobstructed, your battery connections remain clean and tight, and you're not routinely lugging heavy loads up steep hills on an undersized setup. If your cart has a history of throwing controllers, the root cause is often a dragging motor, bad batteries with high internal resistance, or wiring issues — replacing the controller without addressing those will just repeat the failure. Get the full system in good shape and a quality replacement controller will give you years of reliable service.


