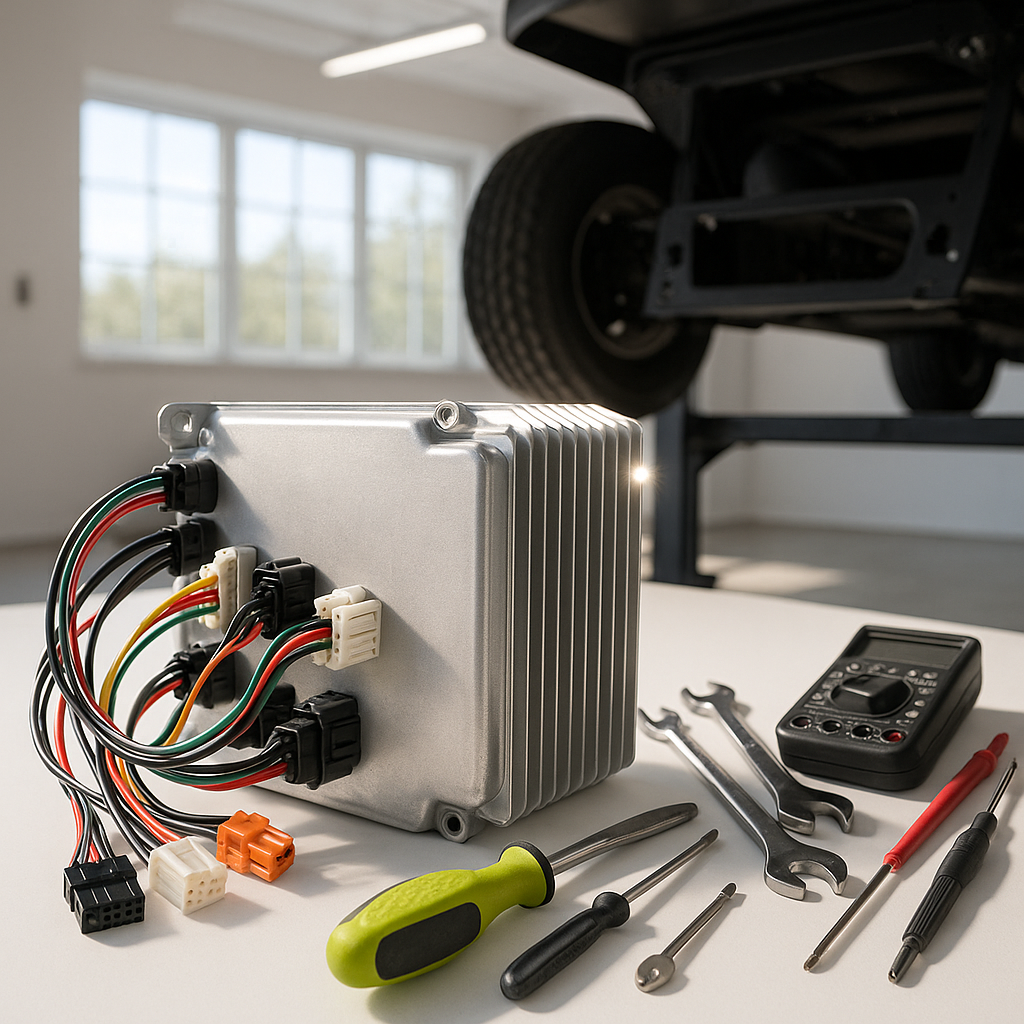
The motor controller is the brain of any electric golf cart. It regulates how much current flows from your batteries to the motor, translating pedal input into actual speed and torque. When a controller fails — whether from age, water intrusion, overheating, or an electrical fault — your cart may refuse to move, surge unpredictably, or lose power under load. Replacing a controller is a manageable DIY job if you work carefully, stay organized, and respect the electrical hazards involved. This guide walks you through the process using general, well-established practices that apply to most electric golf carts.
Safety First: Disconnect and Discharge
Before you touch a single wire, disconnect the battery pack. On most carts this means removing the negative lead from the main battery bank. Do not skip this step — a fully charged battery pack carries enough current to cause severe burns, fires, or permanent injury. If your cart has a main disconnect key or safety plug, remove that first. Then disconnect the negative terminal and set the key aside so no one accidentally reconnects it while you're working. Give the system a few minutes to discharge any residual current in the capacitors inside the old controller before proceeding.
Step 1 — Photograph Everything Before You Touch It
Motor controllers have multiple wire terminals, and getting them reversed during reassembly will damage your new controller immediately or cause erratic, dangerous behavior. Before disconnecting anything, take clear photos of every wire connection on the controller from multiple angles. Note the color of each wire and which terminal it lands on. Many technicians also use painter's tape and a marker to label each wire individually. This step takes five minutes and can save hours of troubleshooting later.
Step 2 — Remove the Old Controller
Controllers are typically mounted inside the battery compartment or under the seat on a metal bracket. Locate the mounting bolts and remove them, but leave the wiring connected for now — you want the unit supported while it still has the wires attached. Once you've loosened the controller from its mount, carefully disconnect each wire terminal in the reverse order you documented. Heavy gauge cables connected to the main battery supply and the motor terminals often use bolt-type lugs; smaller wires for the throttle, key switch, and solenoid inputs use push-on or screw terminals. Keep your tools away from the battery terminals to prevent accidental shorts.
Step 3 — Verify Your Replacement Controller
Before mounting the new controller, confirm it matches your cart's system voltage and is rated for an appropriate current capacity for your motor. Using an undersized controller will cause it to overheat and fail prematurely. Using a controller rated for a different voltage than your battery pack can destroy it immediately. Check your cart's make, model, and year — and your battery pack's total voltage — against the replacement controller's specifications. If you're upgrading to a higher-amperage controller for better performance, also verify that your motor, wiring, and solenoid can handle the increased current.
Step 4 — Mount and Wire the New Controller
Secure the new controller to its mounting bracket before connecting any wires. Many controllers are sensitive to heat and are designed to use their mounting surface as a heat sink, so make sure there's solid metal-to-metal contact. If your replacement came with thermal paste or a gasket, use it. Then reconnect your wires one at a time, working from your photos and labels. Start with the smaller signal wires — throttle, key switch, and any sensor connections — before connecting the heavy battery and motor cables. Tighten all lug bolts firmly; a loose high-current connection causes resistance, heat, and failure.
Step 5 — Reconnect the Battery and Test
Once all connections are made, do a final visual check: every wire landed on the correct terminal, no bare conductors are touching the cart frame, and no tools are left in the compartment. Then reconnect the main battery negative terminal or safety plug. Turn the key on without pressing the accelerator and listen for any clicks from the solenoid or error tones from the controller if yours has a self-diagnostic function. Then take a slow test drive in a controlled space — accelerate gently, test the full range of pedal travel, and verify the cart responds smoothly without surging or cutting out.
Common Mistakes to Avoid
The most frequent errors in controller replacement are wiring terminals in the wrong order, using a controller with the wrong voltage rating, and failing to check for underlying issues that caused the original controller to fail. If your old controller was damaged by water, find and fix the leak before installing a new one. If it failed due to a shorted motor or a faulty solenoid, those problems will kill the new controller too. A controller swap that doesn't address root cause is just an expensive temporary fix. Take the time to inspect the full system before you close everything up.


