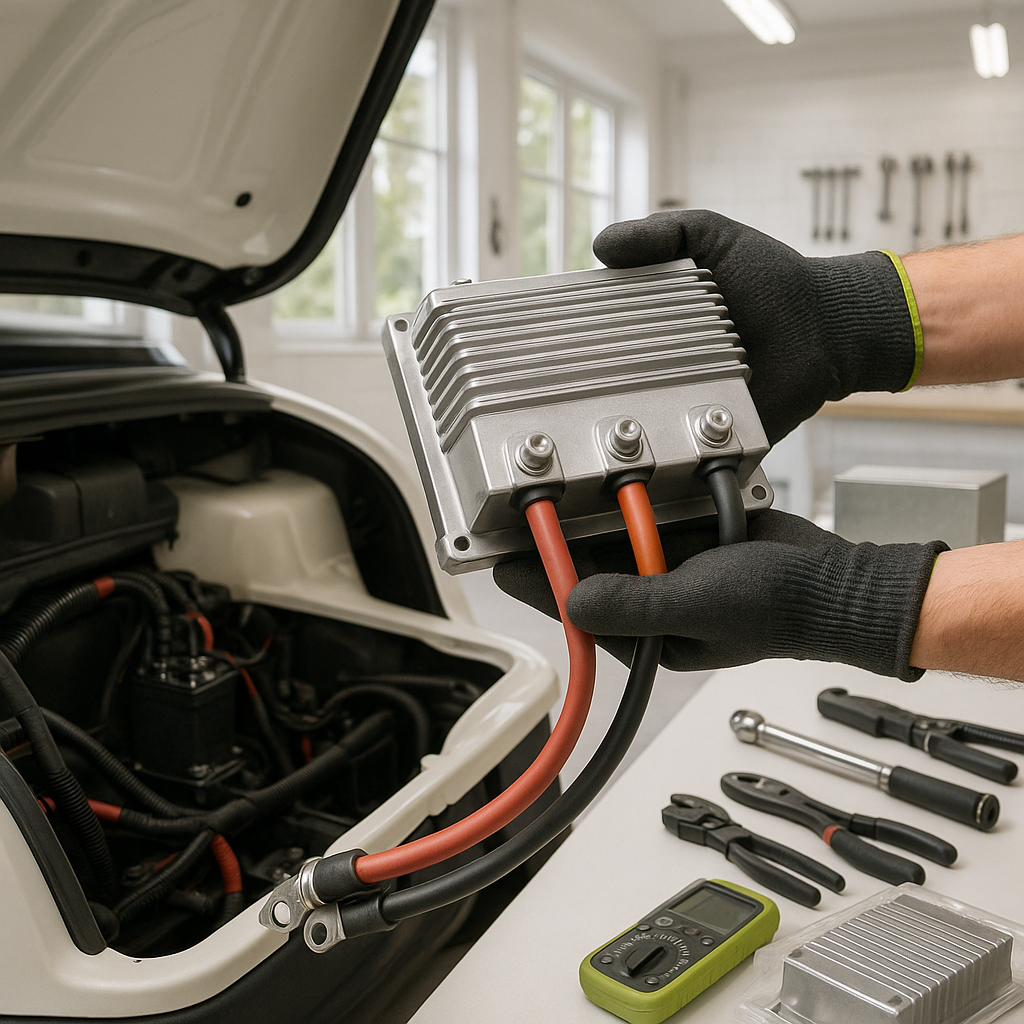
Replacing a golf cart motor controller isn't the most glamorous job, but it's well within reach for a mechanically confident DIYer. The controller is the brain of your electric drivetrain — it regulates current flow between your batteries and motor in response to throttle input. When it fails, the cart either won't move, behaves erratically, or throws error codes. Once you've confirmed the controller is the problem (not the solenoid, throttle sensor, or motor), you're ready to swap it out. This guide walks through the general process applicable to most electric golf carts, whether you're working on an EZGO, Club Car, Yamaha, or another brand.
Safety First: Disconnect Power Before Touching Anything
This step is non-negotiable. Motor controllers handle high-amperage DC current that can cause severe burns, arc flash, or worse if shorted. Before you touch any wiring, disconnect the negative cable from your main battery pack. On most carts, this means removing the cable from the first battery in the series string on the negative side. If your cart has a battery disconnect switch or main fuse, use it — but don't rely on it alone. Physically removing that negative cable is your real protection. Also make sure the key is out, the run/tow switch (if present) is in the tow position, and the cart is on flat ground with the wheels chocked.
Step 1: Document Everything Before You Disconnect
Controllers have multiple terminals — battery positive, battery negative, motor terminals, and a wiring harness connector that carries throttle signal, direction input, and sometimes interlock signals. Before pulling a single wire, take clear photos of every connection from multiple angles. This is your wiring reference when the new unit goes in. Label wires with tape and a marker if your phone isn't handy. On older carts without harness connectors, the individual wires can look similar, and one wrong connection on reinstall can damage your new controller immediately.
Step 2: Remove the Old Controller
On most golf carts, the controller is mounted in the battery compartment — often on a metal bracket near the main battery bank. The heavy gauge cables (battery positive, battery negative, and one or two motor leads) connect via bolted terminals, while the logic signals come through a plug-in wiring harness. Start by unplugging the harness connector first, then remove the bolted heavy cables one at a time, keeping track of which terminal each attaches to. Once all wiring is disconnected, unbolt the controller from its mounting bracket. These units can be surprisingly heavy — have a free hand ready. Inspect the old unit for burn marks, melted terminals, or swollen housing, which can tell you whether the failure was heat-related or electrical overstress.
Step 3: Match the Replacement to Your System
This is where carts go wrong most often. The replacement controller must match your cart's system voltage (the total voltage of your battery pack), your motor type (series-wound DC motors require different controller logic than shunt-wound or AC motors), and the amperage rating appropriate for your use case. Running a controller rated for lower amperage than your original can lead to premature failure. Running one rated higher is generally fine but only beneficial if your motor and wiring can handle it. Check your cart's manufacturer documentation or the label on the old controller for the original specs. Brand compatibility matters too — some controllers are designed as direct replacements for specific OEM units and include the correct harness pinout, while universal controllers may require more wiring adaptation.
Step 4: Install the New Controller
Mount the new controller to the bracket before connecting any wiring — it's much easier to torque down mounting bolts when you're not also managing cables. Most controllers are designed to be mounted on a metal surface, which also serves as a heat sink. Make sure the mounting surface is clean and the controller is seated flush. Then reconnect your heavy cables in the correct positions as documented in your photos — battery positive, battery negative, and motor terminals. Torque the terminal bolts to a firm, secure fit; a loose high-current connection will arc and cause heat damage. Finally, plug in the wiring harness. Verify it seats fully and any locking tab clicks into place.
Step 5: Reconnect Power and Test Carefully
Reconnect the main negative battery cable. Before sitting in the cart or applying throttle, do a visual check: no cables resting on sharp edges, no terminals touching each other, harness connector fully seated. Turn the key to the on position and listen — many controllers emit a quiet click or engage the solenoid at key-on. Then, in an open area, apply throttle gently and observe. The cart should accelerate smoothly without hesitation, jerking, or unusual noise from the motor. Test forward and reverse. If the cart doesn't move, throws a fault code, or behaves strangely, shut it down and recheck your wiring against your photos before assuming the new controller is bad.
A Note on Programming
Some aftermarket and OEM replacement controllers require programming before they'll work correctly with your specific cart's throttle sensor range, speed limits, or regenerative braking behavior. This is especially common on newer carts and performance-oriented controllers. If your replacement came with programming instructions or requires a handheld programmer, don't skip that step — running an unprogrammed controller can cause erratic behavior or damage. If you're not sure whether your replacement needs programming, check the documentation that came with it or contact the manufacturer before powering up.


