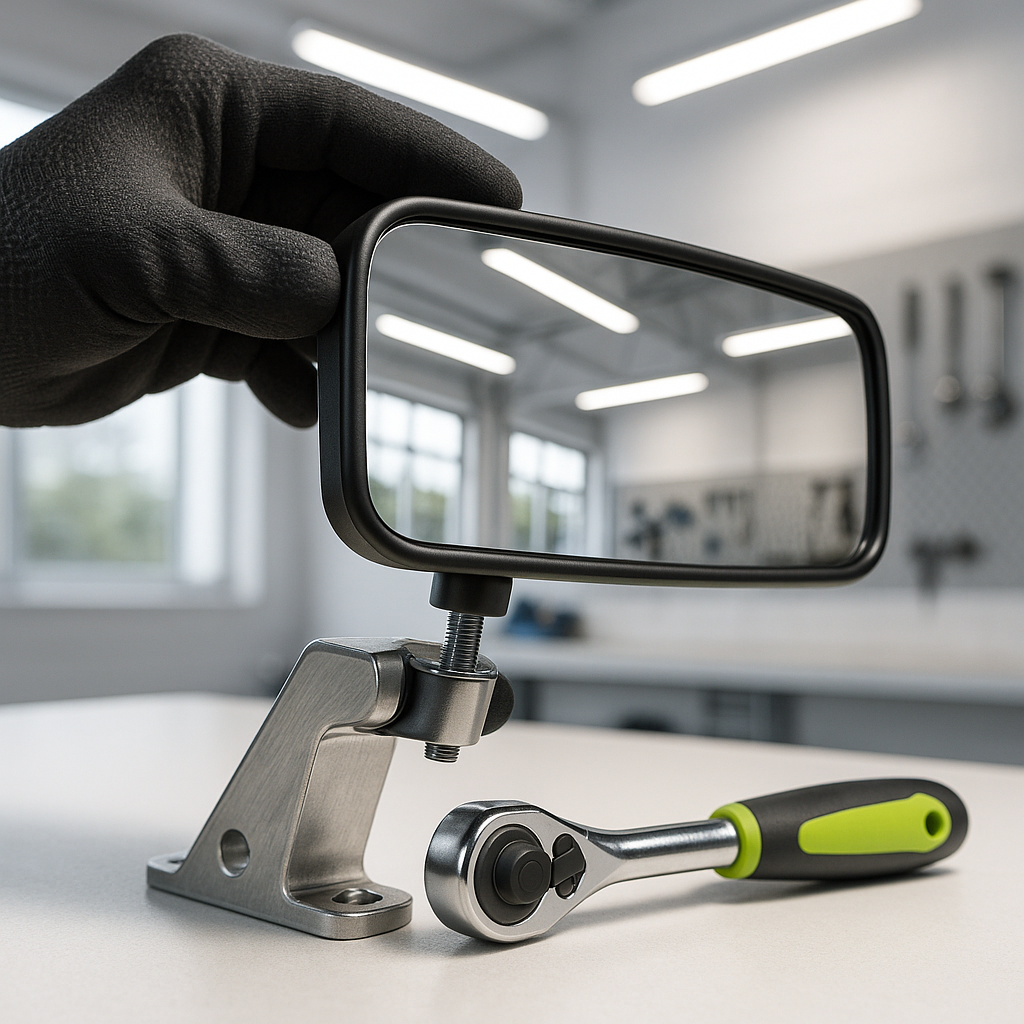
A rear view mirror might seem like a minor detail, but it's one of the most important safety components on a street-legal or neighborhood golf cart. Whether your existing mirror is cracked, has a broken mount, or you're upgrading from a budget clip-on to a sturdier bracket-mounted unit, replacing it is a straightforward job you can handle in under an hour with basic hand tools. Here's a practical walkthrough of what's involved.
Assess What You're Working With
Before you order anything or grab a screwdriver, take a close look at how your current mirror is attached. Golf cart rear view mirrors typically mount in one of two ways: clamped to the windshield frame or roll bar, or bolted directly to the overhead support strut or roof. Clamp-style mounts are the most common — they grip a tubular frame section with a saddle clamp and tighten with a bolt or thumb screw. Bolt-mounted versions require drilling or use existing hardware points on the frame. Knowing your mount type tells you what replacement hardware you need and whether any drilling will be required.
Remove the Old Mirror
For clamp-mounted mirrors, loosen the clamp bolt — usually a standard hex bolt or a hand-tightened knob — until the clamp releases from the frame tube. Some older mirrors may have corroded hardware, so keep a penetrating lubricant handy if the bolt won't budge easily. Once the clamp is loose, slide the mirror assembly off the tube. For bolt-mounted mirrors attached to a strut or bracket, remove the fasteners holding the bracket to the cart's frame, keeping track of any washers or spacers that were part of the original installation. Set the old hardware aside in case you need it for reference.
Choose the Right Replacement
Golf cart rear view mirrors are available in both universal-fit and model-specific versions. Universal mirrors work on most carts by accommodating a range of tube diameters with adjustable clamps, but model-specific mirrors (designed for Club Car, EZGO, Yamaha, and similar brands) tend to fit more cleanly and sit at a better angle out of the box. Consider mirror size as well — a wider mirror gives you a broader field of view, which matters if you frequently carry passengers or drive in traffic. Look for mirrors with an adjustable head so you can fine-tune the angle after installation.
Install the New Mirror
Position the new mirror's clamp around the frame tube at the location where your old mirror sat, or where you want the new one. As a general rule, you want the mirror centered above the windshield on the front support bar or crossbar so it doesn't obstruct your forward sightline. Slide the clamp into place, verify the mirror is roughly level and aimed rearward, then hand-tighten the clamp bolt just enough to hold it. Don't fully cinch it yet — you want to be able to make small adjustments once you sit in the driver's seat. For bolt-mounted mirrors, thread all fasteners in finger-tight before fully tightening any of them, so the bracket seats flush against the mounting surface.
Set the Final Position and Tighten
Sit in the driver's seat and look into the new mirror. Rotate and tilt the mirror head until you have a clear, unobstructed view of the road or path behind you. The goal is to see directly behind the cart without having to lean or crane your neck. Once the angle is right, tighten the clamp bolt firmly — snug but not so tight that you risk cracking a plastic clamp housing. If your mirror has a separate pivot or ball joint for the head, tighten that adjustment as well. Give the whole assembly a firm tug in a few directions to confirm it's secure and won't vibrate loose on rough pavement.
Check for Vibration and Adjust if Needed
Take the cart for a short drive on your typical surface — pavement, gravel, or cart path — and watch for mirror vibration. Some vibration is normal at higher speeds, but if the image is too blurry to be useful, the mirror is either mounted too loosely or the head joint is too loose. Come back and snug things up incrementally. If vibration persists after tightening, check whether the clamp is sitting flat against the tube or rocking slightly; repositioning it even a few millimeters can make a noticeable difference. Rubber-lined clamps tend to grip more evenly than bare metal ones and reduce vibration naturally.
Replacing a rear view mirror is one of the easier maintenance tasks on a golf cart, but doing it carefully — choosing the right mount type, setting the angle from the driver's seat, and tightening properly — makes the difference between a mirror you actually trust and one that folds out of position every time you hit a bump. Take the extra five minutes to get it right and you'll barely have to think about it again.


