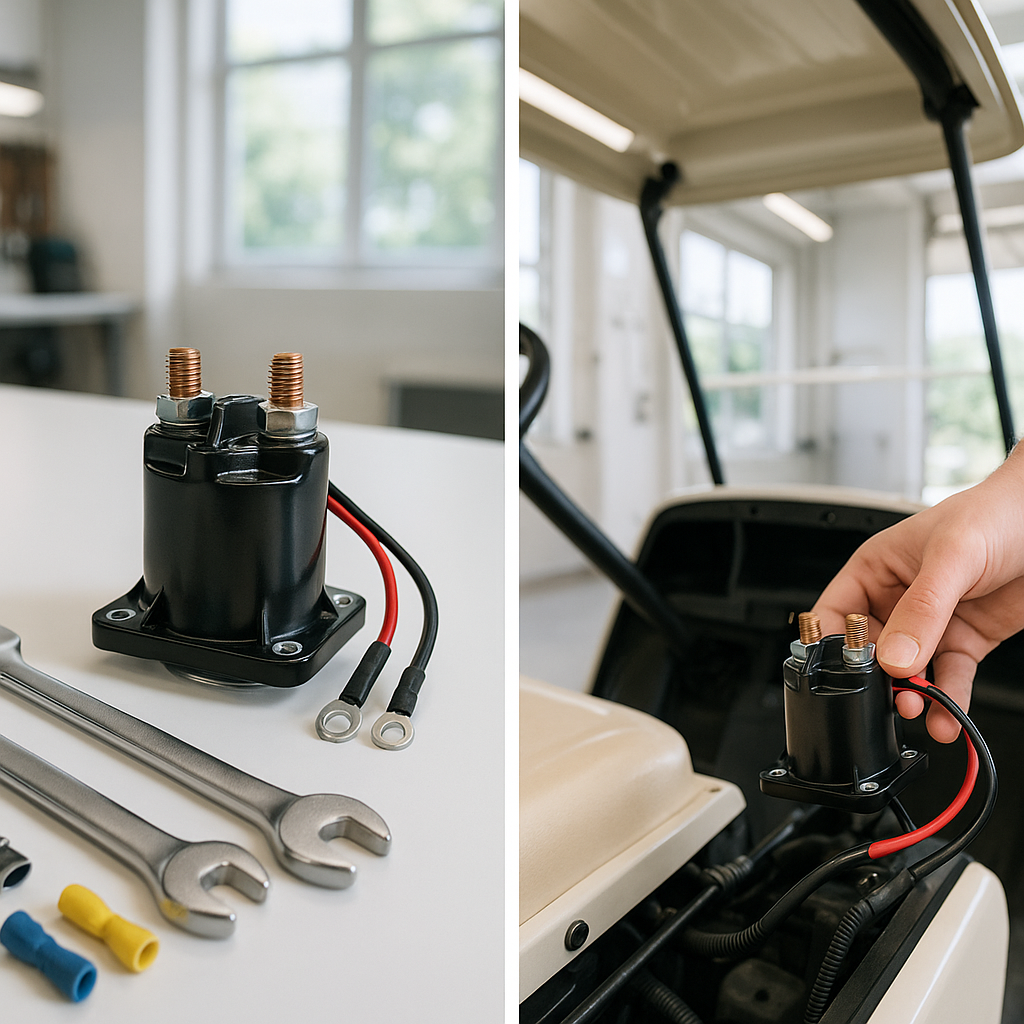
The solenoid is one of the hardest-working components on an electric golf cart. It acts as a high-current relay between your batteries and motor controller, closing the circuit every single time you press the accelerator. When it fails — and eventually it will — your cart either won't move at all or will behave erratically. The good news: replacing a solenoid is a straightforward job you can do at home with basic hand tools, as long as you respect the electrical hazards involved.
Before You Start: Safety First
You're working around a battery pack that carries serious voltage and enough amperage to cause severe burns or start a fire. Before touching anything, disconnect the main negative battery cable from the battery pack. On carts with an accessible battery disconnect switch or tow/run switch, set it to tow or off mode as well. Wear insulated gloves and safety glasses. Keep metal tools away from exposed terminals — a wrench bridging two battery posts will arc violently. Work in a well-ventilated area, and make sure the cart is on a flat surface with the parking brake set.
Locate and Identify the Solenoid
On most electric golf carts, the solenoid sits in the engine bay near the motor controller and battery pack — often mounted to a metal plate or firewall. It's a cylindrical or box-shaped component with two heavy-gauge cable lugs on top (or on the sides) and two small wire terminals for the activation coil. The large lugs carry battery and motor current; the small terminals receive a low-voltage signal from the controller or key switch that tells the solenoid to close. Before removing anything, use your phone to photograph the existing wiring from multiple angles. This takes 30 seconds and can save you significant troubleshooting time later.
Remove the Old Solenoid
Start by labeling or noting which heavy cable goes to which large lug — typically one side connects to battery positive and the other to the controller or motor side. Loosen and remove the heavy cables first, then disconnect the two small coil wires. Keep track of which small wire goes where; polarity matters on some solenoid types. Once all wires are free, remove the mounting bolts or screws holding the solenoid to its bracket. The unit should come out cleanly. Inspect the old solenoid — look for burn marks, pitting on the internal contacts, or a melted housing. This confirms the failure mode and can hint at whether a deeper electrical problem contributed to it.
Match the Replacement Correctly
Golf cart solenoids are not universal. The two most critical specs to match are system voltage (common configurations include 36V and 48V systems — using the wrong voltage rating can cause immediate failure or a fire hazard) and terminal configuration (some solenoids have both large lugs on top, others have them on opposite sides). The coil activation voltage must also match your system. Bring the old unit to a parts supplier or cross-reference it by cart make, model, and year to confirm compatibility. When in doubt, the part number stamped on the old solenoid is your most reliable reference.
Install the New Solenoid
Mount the new solenoid to the bracket using the same hardware, making sure it's seated firmly — vibration on a loose solenoid accelerates wear. Reconnect the two small coil wires first, matching them to the correct terminals per your photos or the wiring diagram in your cart's service manual. Then reattach the heavy cables to the large lugs, tightening them snugly. Loose connections at high-current lugs are a common cause of premature solenoid failure — the arcing that results from a loose lug will pit and burn the internal contacts in short order. Don't overtighten to the point of cracking the terminal, but make sure there's no play.
Test Before Closing Everything Up
Reconnect the main negative battery cable. With the cart in neutral and parking brake set, turn the key to the on position and listen for a single click from the solenoid when you press the accelerator pedal slightly — that click is the solenoid closing and is a strong sign it's receiving its activation signal correctly. Then carefully take the cart for a short test drive. If it moves smoothly and the solenoid doesn't chatter or click repeatedly, the installation is good. If you hear rapid clicking or the cart still won't move, double-check your small wire connections and verify you have the correct voltage-rated solenoid for your system. A multimeter on the small terminals while pressing the pedal will confirm whether the activation signal is reaching the coil.
Long-Term Maintenance Tips
Solenoids don't require much routine maintenance, but a few habits extend their life. Keep the terminal connections clean and corrosion-free — a light coating of dielectric grease on the lugs after installation helps. Periodically check that the mounting bolts and cable connections remain tight, especially on carts used on rough terrain. If your solenoid is clicking but the cart won't move, check the contacts inside (some older-style solenoids have replaceable contact kits) before assuming the whole unit needs replacement. And if solenoids are failing repeatedly at shorter-than-normal intervals, investigate upstream — a worn motor, failing controller, or wiring problem that's causing excessive current draw will keep killing new solenoids until the root cause is addressed.


