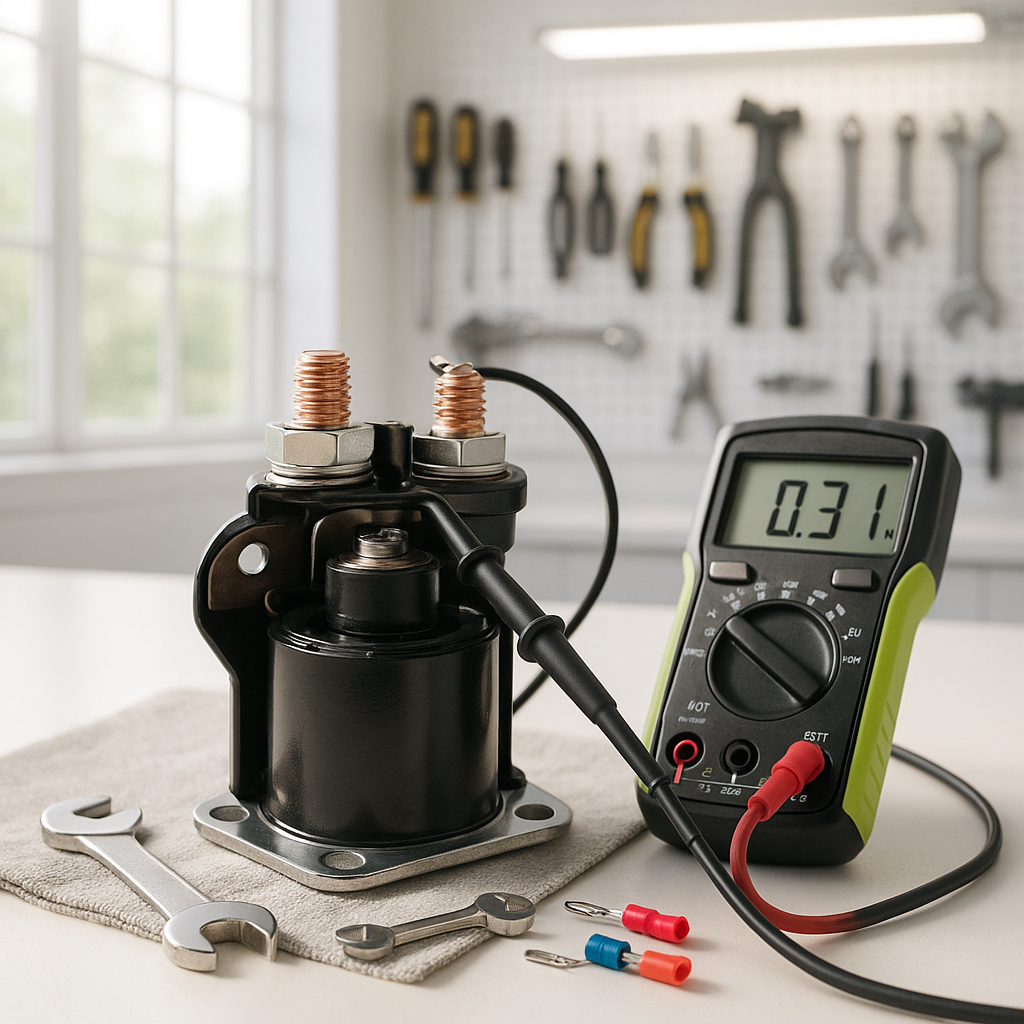
The solenoid is the high-current relay that bridges your battery pack to the motor controller or motor when you press the accelerator. When it fails — and they do fail — your cart may click without moving, make no sound at all, or behave erratically. The good news is that replacing a solenoid is one of the more approachable DIY jobs on a golf cart, as long as you respect the voltage involved and work methodically.
Safety First: Disconnect Power Before You Touch Anything
Golf cart battery packs carry serious voltage and can deliver enormous current. Before you do anything else, disconnect the negative cable from your main battery pack. On electric carts, also locate and disconnect any inline fuse or main disconnect if your cart has one. Wear safety glasses and insulated gloves. Keep metal tools away from battery terminals — a wrench across the wrong terminals can arc badly and cause burns or worse. Don't skip this step because the job looks simple.
Locate the Solenoid
On most electric golf carts, the solenoid lives in the engine compartment under the rear seat or in the front battery/electrical bay, depending on your model. It's typically a cylindrical or rectangular component with two large posts for the main power cables and two smaller terminals for the control circuit wires. The large posts handle the high-current battery and motor connections; the small terminals receive the low-voltage signal that tells the solenoid to engage. Take a clear photo of the existing wiring before you disconnect anything — this is worth doing every single time.
Confirm the Old Solenoid Is Actually Bad
Even if you're fairly sure the solenoid is the problem, it takes two minutes to confirm before buying a replacement. With the battery reconnected and a helper in the seat, use a multimeter set to DC voltage. Probe the two small control terminals while your helper presses the accelerator — you should see battery voltage appear there. If you do, but the solenoid doesn't click and you measure no voltage across the large posts, the solenoid is faulty. If the small terminals never see voltage, your problem is upstream — the key switch, run/tow switch, throttle sensor, or wiring. A solenoid won't fix a dead control circuit. Also listen: a solenoid that clicks audibly but the cart doesn't move often points to a failed internal contact rather than a wiring issue, and replacement is appropriate.
Get the Right Replacement
Solenoids are not universal. The two most critical matching points are voltage rating and coil voltage. The main contacts must be rated to handle your battery pack voltage and the sustained current your motor draws. The coil voltage — the low-voltage control side — must match what your cart's control circuit supplies. Mixing these up will either result in a solenoid that won't engage or one that engages but can't handle the load. Check your cart's service manual or the specs on the old unit. Also note whether your original solenoid is a normally-open or normally-closed type — almost all golf cart solenoids are normally-open (contacts open at rest, close when energized), but confirm before ordering.
Remove the Old Solenoid
With power fully disconnected, label or photograph each wire attached to the solenoid. Remove the large cable lugs from the main posts first, then the small control wires. The solenoid itself is usually held to a bracket with two or four bolts — remove those and the unit will come free. Inspect the cable ends and mounting area for corrosion or heat damage while you have clear access. Clean corroded lugs with a wire brush before reinstalling — a poor connection at the lug is a common source of ongoing problems even after a solenoid swap.
Install the New Solenoid
Mount the new solenoid onto the bracket and snug the mounting hardware — don't overtighten into a plastic bracket. Reconnect the large main cables first, torquing the nuts firmly (a loose high-current connection will arc and burn). Then reconnect the small control wires. Polarity matters on the control terminals on many solenoids — refer to your photo or the wiring diagram in your service manual if there's any doubt. Once everything is connected, reinstall the main battery negative cable.
Test Before You Button Everything Up
Turn the key on and press the accelerator gently. You should hear a clean, solid click as the solenoid engages. The cart should move normally. If it clicks but doesn't move, the problem is downstream — motor or controller. If it doesn't click, recheck your control circuit connections and confirm the small terminals are getting voltage. If everything works, take a short test drive before reassembling the seat or body panels. A solid click, smooth engagement, and no unusual heat at the solenoid body after a few minutes of use are all good signs the job is done right.


