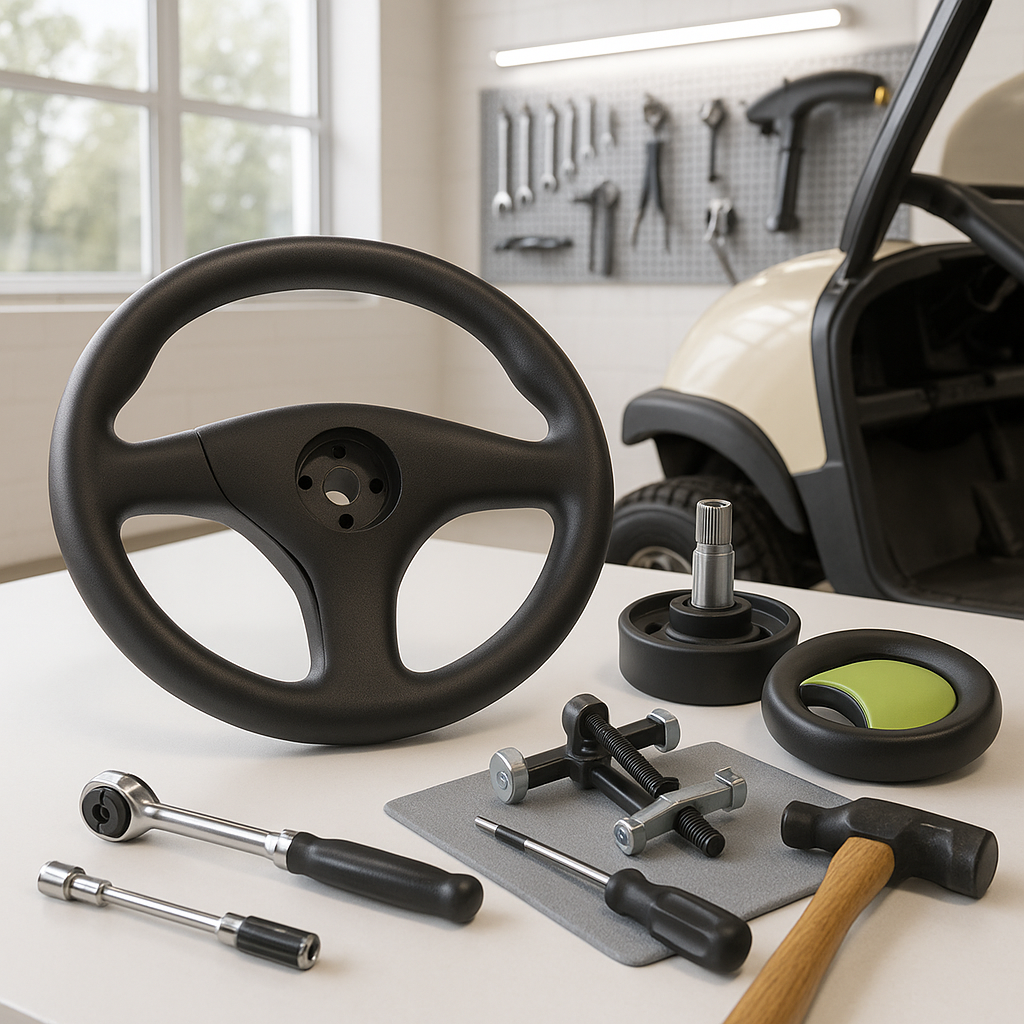
A worn, cracked, or just plain ugly steering wheel is one of the easiest things to upgrade on a golf cart. Unlike most mechanical jobs, a steering wheel swap doesn't require specialized tools or deep technical knowledge — but it does require doing a few things in the right order to avoid damaging the steering column or getting a wheel that wobbles or sits crooked. This guide walks you through the full process using well-established general practice that applies to most gas and electric carts.
What You'll Need
Most steering wheel swaps require a basic set of hand tools: a socket wrench with standard sockets, a flathead and Phillips screwdriver, and — critically — a steering wheel puller. That last tool is the one most people skip and then regret. The steering wheel hub is pressed and sometimes threaded onto a tapered shaft, and no amount of prying or yanking by hand will get it off cleanly. A puller does the job in under a minute without bending anything. You can borrow one from most auto parts stores for free. Beyond tools, make sure your replacement wheel is designed for your cart's column size and spline count — this varies by brand and model year, so verify before ordering.
Step 1: Remove the Horn Button or Center Cap
Start by popping off the center cap or horn button. On most carts this simply pries off by hand or with a flathead screwdriver — work around the edge gently and it should release without breaking. Underneath you'll typically find either a single large nut or a bolt securing the wheel to the column shaft. If your cart has a functioning horn, there will also be a wire or contact underneath the center cap. Take a quick photo before you disconnect anything so you remember how it was routed.
Step 2: Mark the Shaft Before Removing the Nut
Before you loosen the retaining nut, take a marker or a piece of tape and note exactly where the wheel sits on the shaft — specifically the relationship between the wheel's center and the column. This ensures your new wheel goes on straight (with the flat part of the wheel at the bottom when the wheels are pointed forward). It takes ten seconds and saves a lot of frustration later. Then remove the retaining nut completely and set it somewhere you won't lose it — many replacement wheels use the same nut.
Step 3: Use a Steering Wheel Puller
Thread the puller into the holes in the wheel hub (most hubs have two or three threaded holes specifically for this purpose) and tighten the center bolt against the column shaft. As you tighten, the wheel will break free from the taper with a pop. If it doesn't budge after a few turns, don't force it — loosen the puller, make sure it's seated properly, and try again. Once it pops free, the wheel lifts straight off. Be ready for it — it can come off suddenly.
Step 4: Install the New Wheel
Slide the new wheel onto the shaft, aligning the splines carefully. Most shafts have a flat side or a keyway that only allows the wheel to go on in one orientation — use your earlier reference mark to make sure it's centered. Press the wheel down onto the taper by hand as far as it will go, then thread on the retaining nut. Torque it down firmly — under-tightening is the most common cause of a wobbly steering wheel post-install. Reconnect any horn wiring, then press the center cap back into place.
Step 5: Check Your Work
Before you take the cart anywhere, sit in the seat and turn the wheel lock to lock. It should feel smooth with no binding or play. Look at the wheel from straight on — it should sit level and centered. If it's slightly off-center (the wheel is rotated a few degrees when the front wheels are straight), you'll need to pull it off and reseat it. This is common on a first install and easy to correct. Once everything checks out, you're done.
A Few Things Worth Knowing
Aftermarket steering wheels come in a range of materials — molded plastic, wrapped vinyl, wood-look, and padded designs — and the right choice depends mostly on how the cart is used. Padded or wrapped wheels are more comfortable on longer rides; hard plastic holds up better to weather and UV if the cart sits outside regularly. Also keep in mind that some carts have a non-standard column diameter or a proprietary hub, which may require an adapter plate between the new wheel and the column. Check this before you buy the wheel, not after.


