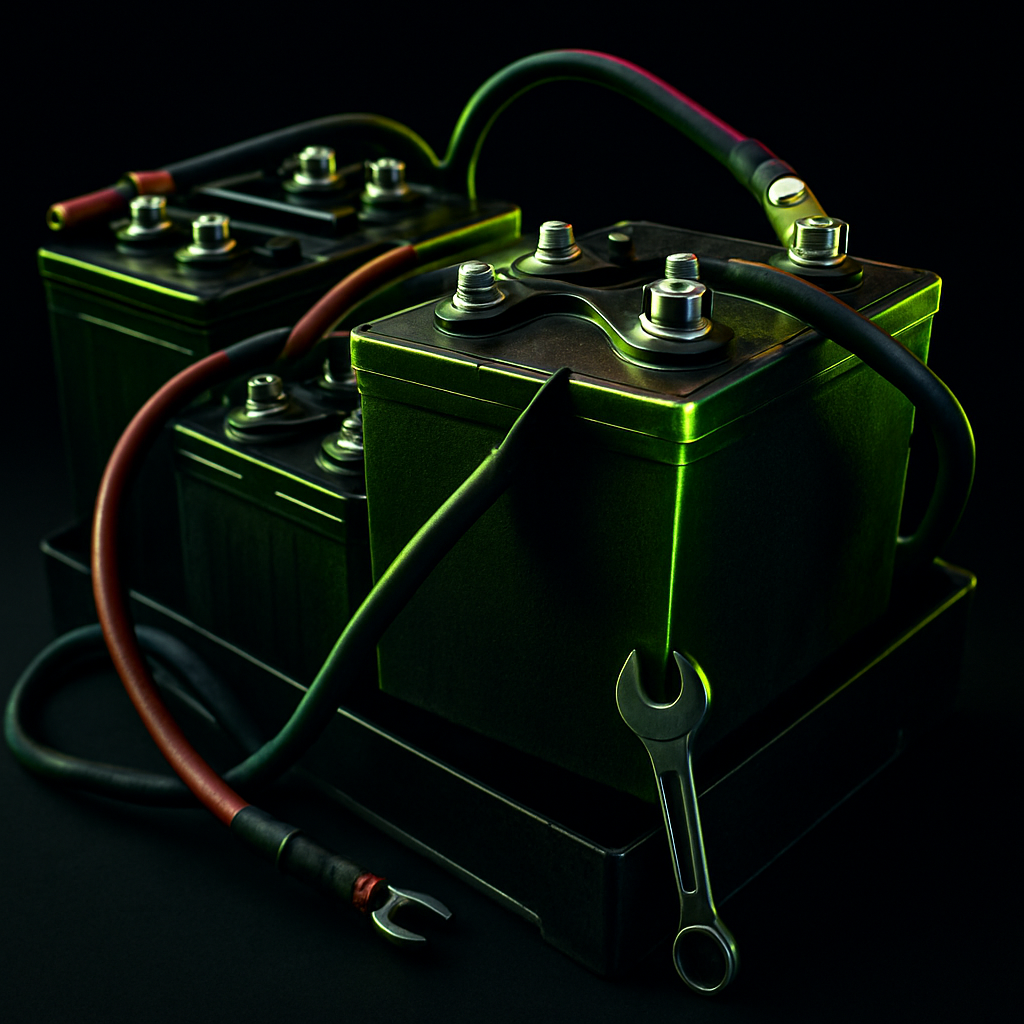
Golf cart batteries typically need replacing every 4-6 years with regular use, depending on the battery type and how well they've been maintained. Here's a safe, methodical approach to doing it yourself.
Before You Start
Wear safety glasses and gloves — battery acid and sparks are a real risk when working around lead-acid batteries. Work in a well-ventilated area, and keep metal tools away from touching two terminals at once, which can cause a short.
Step 1: Disconnect the Main Battery Cable First
Before touching anything else, disconnect the main negative cable running to the controller. This reduces the risk of an accidental short while you're working on individual battery connections.
Step 2: Photograph the Wiring Before Removing Anything
Golf cart battery banks are wired in a specific series/parallel configuration depending on your cart's voltage system. Take a clear photo of the existing wiring layout before disconnecting anything, so you can replicate it exactly.
Step 3: Remove the Old Batteries
Disconnect each cable, working methodically from one end of the bank to the other. Lead-acid batteries are heavy — a full-size golf cart battery can weigh 60-70 lbs, so lift with your legs and get help if needed.
Step 4: Install and Wire the New Batteries
Using your reference photo, reconnect the cables in the exact same configuration. Make sure every connection is clean and tight — a loose or corroded terminal is one of the most common causes of poor cart performance after a battery replacement.
Step 5: Reconnect the Main Cable and Test
Reconnect the main negative cable last, then test the cart on level ground before driving it normally. If you're installing a lithium pack for the first time, double check whether your cart's charger is compatible — lithium and lead-acid batteries generally require different charging profiles.


