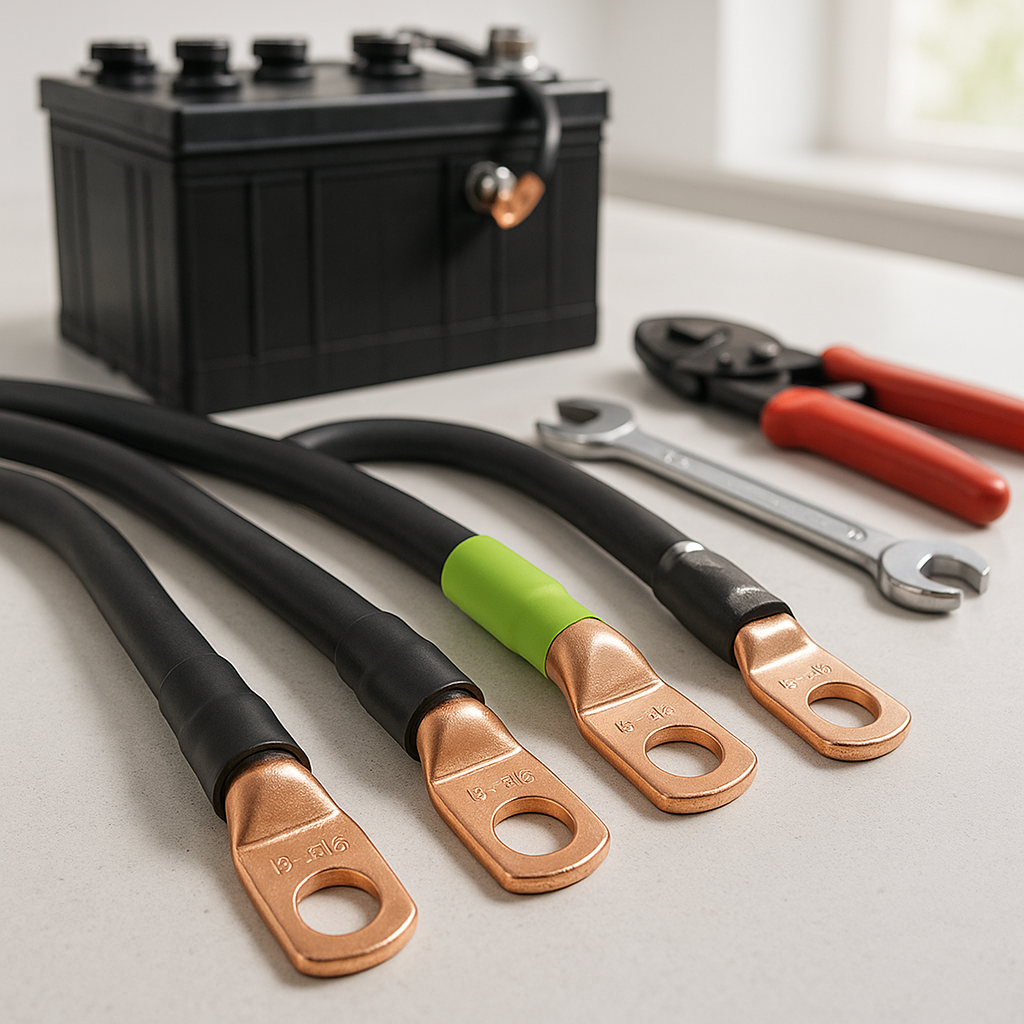
Battery cables are one of the most overlooked maintenance items on a golf cart. They carry every amp your motor demands, and when they corrode, fray, or develop loose connections, the whole system suffers — you'll notice sluggish acceleration, voltage drop under load, or in bad cases, cables that run hot to the touch. Replacing them is a straightforward job for most DIYers, but it does require care around live electrical connections and a clear understanding of your cart's wiring layout before you touch anything.
Safety First: Disconnect in the Right Order
Before you do anything else, put on safety glasses and chemical-resistant gloves. Golf cart batteries — whether flooded lead-acid or AGM — contain sulfuric acid and can deliver serious current even when the cart is switched off. There is no true "off" switch that isolates the battery pack, so treat every terminal as live. On most carts you'll also find a main disconnect plug or tow/run switch; place the cart in tow mode or pull the disconnect before starting work. Always remove the negative (black) cable from each battery first and reconnect it last. This minimizes the risk of accidental shorts.
Document the Existing Wiring Before You Remove Anything
Take multiple clear photos of your existing cable layout from several angles. Golf cart battery packs are wired in series to build up the pack voltage, meaning the positive terminal of one battery connects to the negative of the next in a chain. Getting this sequence wrong will result in a non-functional — or damaged — cart. Note the cable routing, any brackets or guides the cables pass through, and the gauge and approximate length of each cable. Most golf carts use cables in a handful of standard lengths, but confirming before you order saves you a return trip to the parts counter.
Choosing Replacement Cables
Match the wire gauge of your original cables — undersizing the gauge increases resistance and heat, which can damage connections and pose a fire risk. Golf carts typically use heavy gauge, flexible welding-style cable with ring terminals crimped and sometimes soldered at each end. Quality terminals matter: look for thick-walled copper ring terminals with a good crimp, not the thin stamped hardware-store variety. For the charger receptacle cord on carts that have a dedicated charging port (common on many modern models), confirm the connector style matches your charger plug — different manufacturers use different proprietary plug shapes, and mixing them is both a safety hazard and hard on the receptacle.
The Replacement Process
Work on one cable at a time rather than removing all cables at once — this keeps you from losing track of the routing and series wiring order. Loosen the terminal bolt, wiggle the ring terminal free, and immediately cap or tape the exposed battery post with electrical tape before moving to the next step. Route the new cable through the same path as the old one, seat the ring terminal squarely on the post, and torque the terminal bolt down firmly — loose connections are the primary cause of arcing and corrosion. Once all cables are replaced, remove your tape caps and reconnect in reverse order: positive connections first across the series chain, then the final negative last.
Finishing Up and Testing
Before closing the battery compartment, do a visual check: no cables are pinched against sharp metal edges, no terminals are touching adjacent terminals or frame, and all connections are tight. Reconnect your main disconnect or return the switch to run mode. Test the cart at low speed first — smooth, full-power acceleration with no unusual smells or warm cables after a short run is a good sign. If you replaced a charger receptacle cord as part of this job, plug in your charger and confirm it initiates a charge cycle normally. Inspect the new cables again after the first few charge-discharge cycles, as terminals can loosen slightly as everything seats in.
Done right, a fresh set of battery cables can make a tired-feeling cart feel noticeably more responsive. It's cheap insurance compared to the cost of a fried controller or a prematurely worn battery pack caused by chronic high resistance in the cable run.


