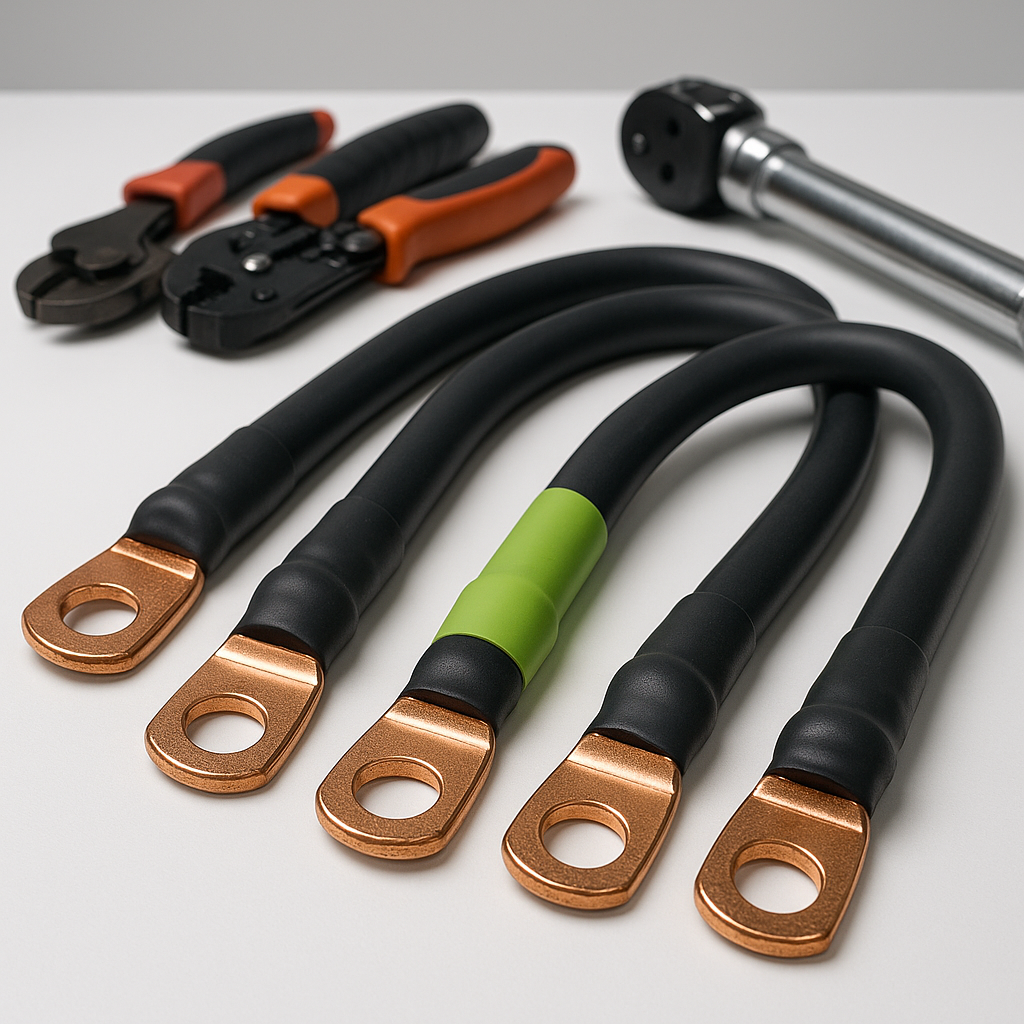
Battery cables are one of the most overlooked components on a golf cart, but they do critical work. Every amp your motor draws passes through those connections, and when cables corrode, fray, or develop high resistance, you lose performance across the board — slow acceleration, reduced range, and in bad cases, heat buildup that can damage your battery pack. Replacing them is a straightforward job that most cart owners can handle in an afternoon with basic hand tools, as long as you respect the voltage involved and work carefully.
Before You Start: Safety First
Golf cart battery packs carry real voltage — 36V or 48V systems are common, and some newer lithium setups run even higher. That's not enough to stop your heart under normal contact, but it can cause severe burns, arc flash, and secondary injuries if you short across terminals. Always wear safety glasses and insulated gloves. Keep metal tools away from the tops of batteries whenever possible, and work on one cable connection at a time so you're never bridging two terminals accidentally. Have a box of baking soda nearby — it neutralizes battery acid if you encounter corrosion or a minor spill.
What You'll Need
Gather your materials before you disconnect anything. You'll need your replacement cables (matched to the correct gauge and length for your cart — more on that below), a wire brush or battery terminal cleaning tool, a wrench or socket set that fits your terminal bolts, and anti-corrosion spray or grease for the finished connections. A camera or your phone is also handy — photograph the existing cable routing and terminal layout before you remove anything. Battery packs can look confusing once you start pulling cables, and a reference photo saves a lot of headaches.
Choosing the Right Replacement Cables
Cable gauge matters more than most people realize. Undersized cables create resistance, which means heat and voltage drop under load. For most 36V and 48V golf cart applications, the main interconnect cables between batteries are heavy-gauge wire — commonly in the range of 2 AWG or 6 AWG depending on the run length and the current demands of the system. Shorter, high-current runs typically need heavier gauge. Match or exceed the gauge of the cables you're removing. Also check the terminal end style — most golf cart batteries use standard post or stud terminals, but confirm before you buy. Tin-plated cable ends offer better corrosion resistance than bare copper, especially if your cart lives in a humid or coastal environment.
Removing the Old Cables
Start by disconnecting the main negative cable from the battery pack — this is always the first connection to remove and the last to reinstall, which minimizes the chance of accidental shorts. Work methodically through the pack, removing one cable at a time and setting it aside. As you remove each cable, note where it came from and where it went (your reference photos help here). Clean each battery terminal with a wire brush as you go — you want bare metal contact for your new connections. If you find significant corrosion, a paste of baking soda and water scrubbed into the terminal and then rinsed off will neutralize acid deposits before you proceed.
Installing the New Cables
Route and install your new cables in roughly the reverse order you removed the old ones — main interconnects between batteries first, then accessory or main positive leads, and the main negative last. Snug the terminal bolts firmly but don't overtighten — you want solid metal-to-metal contact without cracking the battery case or stripping the threads. Once all connections are made, apply a light coat of anti-corrosion spray or terminal grease to every connection. This simple step can dramatically extend the life of your new cables by keeping moisture and oxygen off the copper.
Testing Before You Roll
With everything connected, don't just jump in and go. Visually inspect every connection one more time, then turn the cart on and check for any burning smell, unusual heat at the terminals, or warning lights. Take a slow roll around your driveway or lot before putting the cart into regular use. If you have a voltmeter, checking voltage at the pack and comparing it to voltage at the controller input is a quick way to confirm your connections are solid and not dropping significant voltage under load. A good cable job should show minimal difference between those two readings.
Fresh battery cables make a noticeable difference in how a golf cart feels — snappier throttle response, better hill climbing, and less heat in the pack during heavy use. It's a relatively cheap maintenance job with an outsized impact on overall cart performance, and once you've done it once, it's easy to stay on top of during routine battery maintenance going forward.


