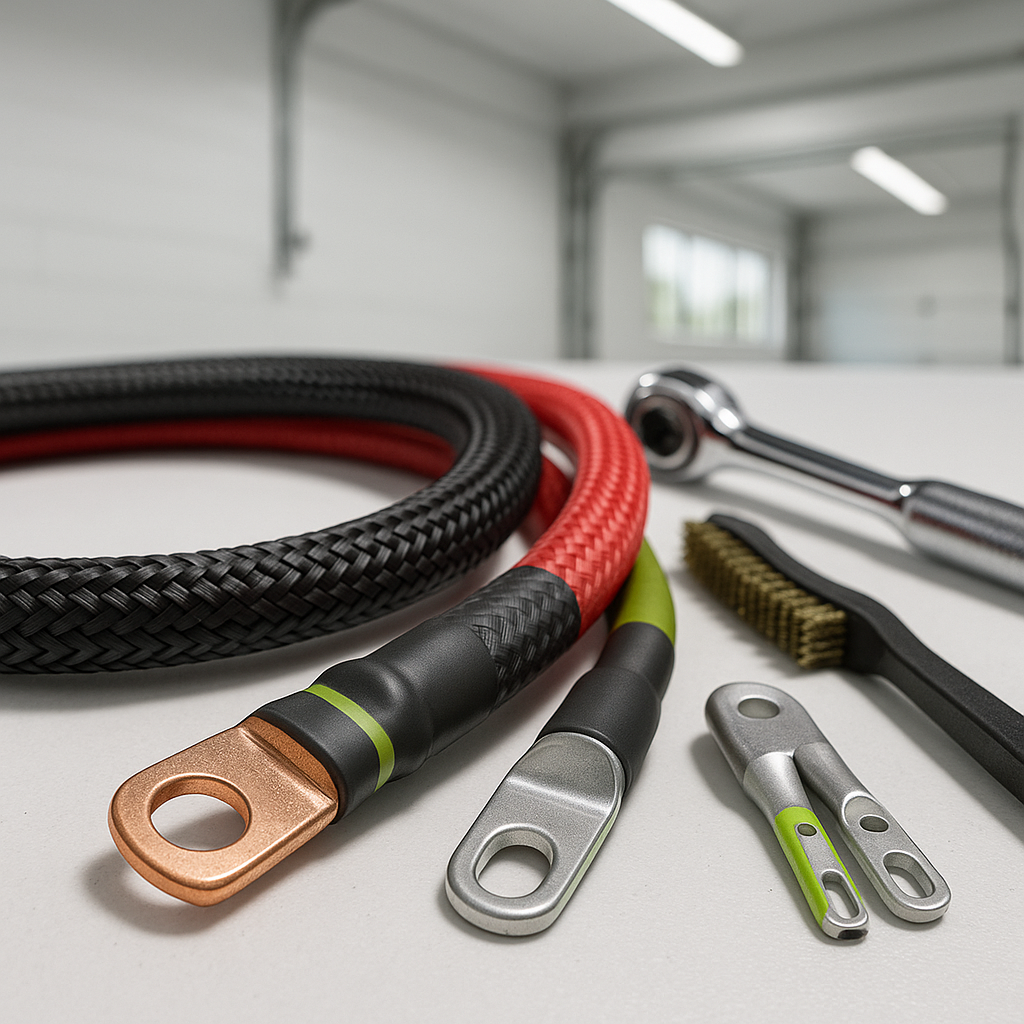
Battery cables are one of the most overlooked maintenance items on a golf cart, but worn, corroded, or undersized cables are a leading cause of sluggish performance, excessive heat, and premature battery failure. If your cart feels weak on hills, takes forever to charge, or you can see green corrosion or frayed insulation on your cables, it's time to replace them. The good news is that with basic tools, careful preparation, and a little patience, this is a job most cart owners can handle at home.
Safety First: Disconnect in the Right Order
Before touching any cables, put on safety glasses and chemical-resistant gloves. Golf cart battery banks — whether 36V or 48V — carry enough current to cause serious burns and arc damage if you create an accidental short circuit. Always disconnect the negative terminal first and reconnect it last. Keep metal tools away from battery terminals while you work, and never lay a wrench across adjacent terminals. If your cart has a main disconnect plug (a large multi-pin connector between the battery pack and the controller), pull that first — it's the safest way to fully isolate the system before you start unbolting anything.
Document Everything Before You Remove a Single Cable
Golf cart battery packs wire multiple batteries together in series, and getting one cable in the wrong spot will either prevent the cart from running or, worse, create a dangerous fault. Before you remove anything, take clear photos of the entire battery pack from multiple angles. Note which post (positive or negative) each cable end connects to, and trace how the series string runs from battery to battery and out to the main harness. A quick sketch on paper is worth the two minutes it takes — you'll thank yourself during reassembly.
Choosing the Right Replacement Cables
Replacement cables need to match the original wire gauge and length as closely as possible. Undersized cable causes voltage drop and heat buildup under load; oversized cable is rarely harmful but may be harder to route. Golf cart battery cables are typically heavy-gauge, stranded copper wire with thick insulation rated for the electrical environment under the cart. When sourcing replacements, make sure the cable ends (lugs) are the correct size for your battery terminals — most standard flooded lead-acid golf cart batteries use a common post diameter, but confirm this before ordering. Cables are often sold as application-specific sets for popular platforms, which takes the guesswork out of length and lug sizing.
Removing the Old Cables
With the pack isolated and your photos taken, use a properly sized wrench or socket to loosen each terminal nut. Work on one cable at a time rather than removing everything at once — this reduces the chance of mix-ups. As you remove each cable, label it with a piece of tape if the position isn't immediately obvious from your photos. Inspect the battery posts themselves: if they're heavily corroded, clean them with a wire brush and a baking soda and water solution before installing new cables. Installing new cables on dirty posts defeats the purpose of the job.
Installing the New Cables
Route each new cable the same way the original ran — avoid sharp bends, contact with metal edges, and proximity to moving parts. Slide the lug onto the post and snug the nut down firmly. Battery terminal connections need to be tight enough that the cable cannot be wiggled by hand, but you're threading into a soft lead post, so avoid over-torquing. A connection that's too loose will arc and corrode quickly; one that's too tight can crack or strip the post. Once all cables are connected, apply a thin coat of dielectric grease or a purpose-made battery terminal protectant to each connection to slow future corrosion.
Reconnect, Test, and Inspect
Reconnect the main disconnect plug (if your cart has one), then reconnect the negative terminal last. Before driving the cart, do a visual check: confirm no cables are touching each other at exposed metal ends, no insulation is pinched, and everything looks the way it did in your reference photos. Then take the cart for a short, slow test run and check for any unusual smells or heat coming from the battery compartment. A properly installed set of cables should run cool and odor-free. Check all connections again after the first few charge cycles, as new lugs can loosen slightly after initial heat cycling.


