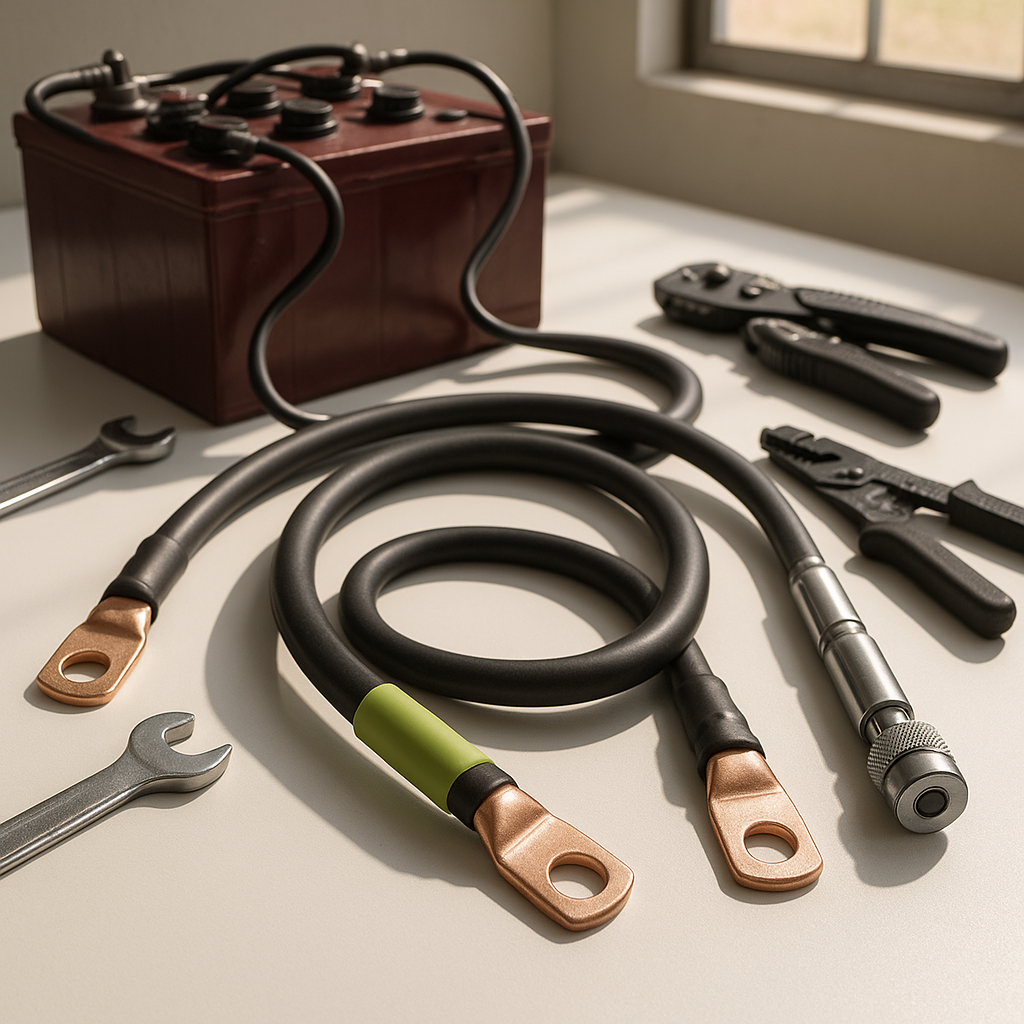
Battery cables are easy to overlook, but they're one of the most important links in your golf cart's electrical system. A corroded, cracked, or undersized cable can cause slow acceleration, voltage drops, excessive heat, and even electrical fires. The good news is that replacing battery cables is a manageable DIY job if you work carefully and respect the voltages involved. This guide covers the process in general terms that apply to most 36V and 48V electric golf carts.
Signs Your Battery Cables Need Replacing
Before you pull anything apart, know what you're looking for. Cables that have visible corrosion buildup at the lugs, cracked or brittle insulation, melted or discolored insulation near a terminal, or loose crimp connections at the ends are past due for replacement. A less obvious sign is a cart that runs sluggishly even with fully charged batteries — a high-resistance cable drops voltage under load, and your motor feels it immediately. If you've already cleaned the terminals and the problem persists, suspect the cables themselves.
What You'll Need Before You Start
Gather your supplies before you open the battery compartment. You'll need a set of wrenches or a socket set that fits your terminal bolt sizes, a battery terminal puller (optional but helpful), safety glasses, and chemical-resistant gloves. Have your replacement cables ready to go — match the gauge of your existing cables at minimum, and go one gauge heavier if the originals were undersized or you're running accessories that draw extra current. Take photos of the existing cable routing and connections from multiple angles before disconnecting anything. This reference will save you significant frustration during reassembly.
Disconnect Safely — Order Matters
Safety is non-negotiable here. Set your forward/reverse switch to neutral and engage the parking brake. Never work on battery cables with rings, watches, or any metal jewelry on your hands and wrists — a short across a battery bank at these voltages will instantly weld metal to skin. Begin by disconnecting the negative cable at the main negative terminal of the battery pack first, which reduces the risk of accidental shorts while you work. Work through the pack methodically, and never allow a loose cable end to rest where it can contact another terminal. If your cart has a main disconnect or battery disconnect switch, engage it before starting.
Remove the Old Cables One at a Time
This is the most important discipline in the whole job: replace one cable at a time. Remove a single cable, note exactly where each end connected, and install the replacement before moving on to the next. Doing it this way eliminates any confusion about which terminal connects where and ensures you don't accidentally leave the pack in a dangerous open-circuit or partial-circuit state. When you remove a lug from a terminal post, inspect the post itself — if it's corroded, clean it with a wire brush and baking soda solution before the new cable goes on. A clean post-to-lug connection is what delivers full current.
Installing the New Cables
Route each new cable the same way the old one ran. Avoid sharp bends, contact with hot or moving parts, and anywhere the insulation could chafe against a metal edge. When you tighten the terminal nuts, snug them down firmly — loose connections are a leading cause of heat buildup and arcing — but don't over-torque to the point of cracking the battery's terminal post, which is a common and expensive mistake on older flooded lead-acid batteries. If your replacement cables come with ring terminals already crimped on, inspect the crimp quality before installing; a poor crimp is just a future failure point waiting for the right moment. Apply a thin coat of dielectric grease or a terminal protector spray to each connection after tightening to slow future corrosion.
Reconnect and Test
Once all cables are installed, reconnect the main negative terminal last — the reverse of how you disconnected. Double-check that every connection is tight and no cable end is touching a terminal it shouldn't be. Then slowly turn the key or engage the run switch and take the cart for a short test drive under load. If everything feels normal and there's no unusual smell, heat at the battery compartment, or warning indicators, you're in good shape. It's worth going back to check terminal tightness again after the first few charge cycles, as new connections can loosen slightly as they seat in.
Replacing battery cables is one of those maintenance tasks that pays for itself immediately in better performance and peace of mind. Done right, a fresh set of properly gauged, corrosion-free cables ensures your battery bank is actually delivering what it's capable of — and keeps a preventable electrical hazard off the table.


