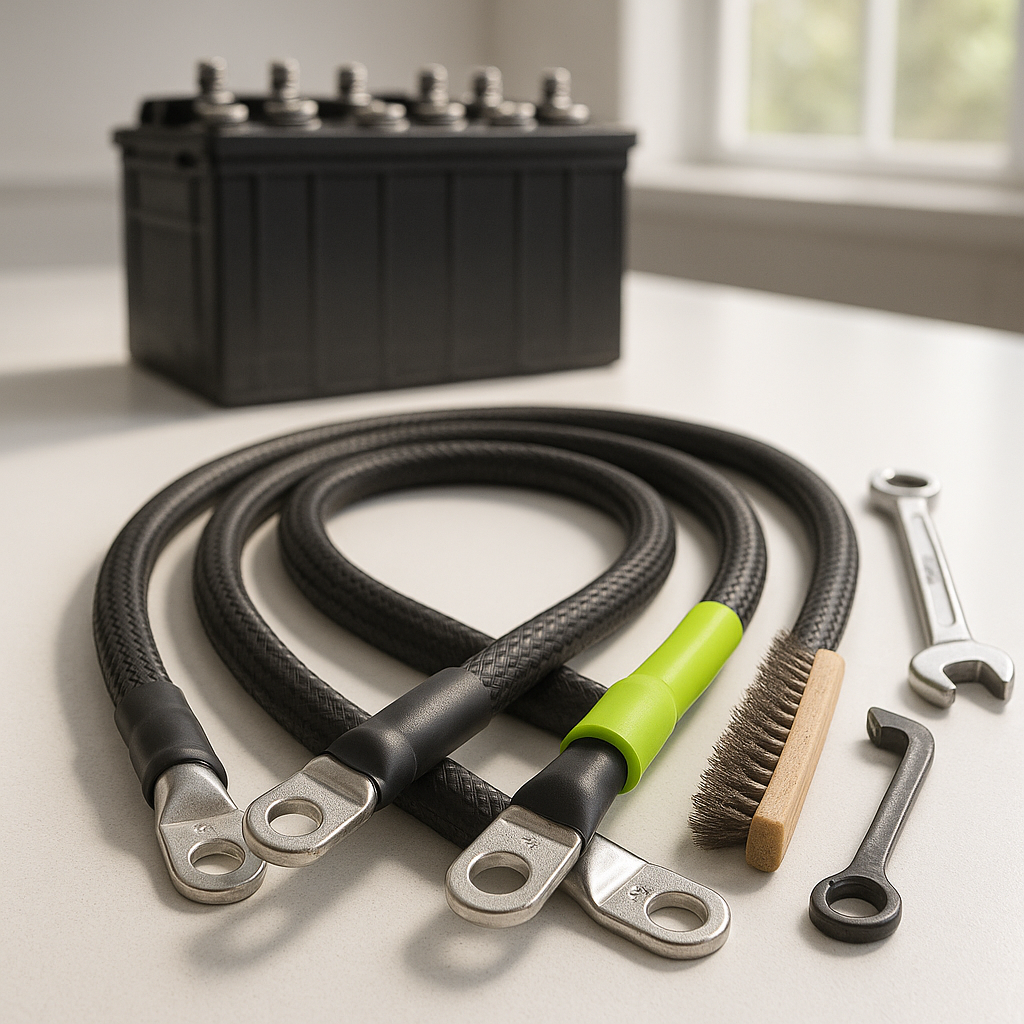
Battery cables are one of the most overlooked components on a golf cart, but they're critical to how well your cart performs. A corroded, cracked, or undersized cable creates resistance in the circuit, which means voltage drop, sluggish acceleration, and heat buildup that can damage other components over time. Replacing battery cables is a straightforward job that most cart owners can handle at home with basic tools — and the payoff in performance and reliability is significant.
Safety First: Disconnect in the Right Order
Before you touch any cable, take a few important precautions. Wear safety glasses and chemical-resistant gloves — battery acid is no joke. Work in a well-ventilated area away from open flames or sparks, since batteries off-gas hydrogen during charging and discharging. The most important rule: always disconnect the negative terminal first and reconnect it last. This minimizes the risk of accidentally shorting the circuit with your wrench if it contacts the cart frame. On a series-wired pack (which is standard for golf carts), also make sure you understand how your batteries are wired before pulling anything loose — take photos before you start.
What to Look for When Inspecting Old Cables
Pull each cable and look it over carefully. Green or white powdery buildup at the terminal ends is a sign of corrosion that may have already worked its way under the insulation. Any cable that feels stiff, brittle, or shows cracked insulation should be replaced regardless of how it looks at the terminal. Also check the ring terminals themselves — if the barrel is loose, discolored, or the metal looks pitted, the connection is compromised. A cable that looks fine on the outside can still have significant internal corrosion, so when in doubt, replace it.
Choosing the Right Replacement Cable
Cable gauge matters more than most people realize. Golf carts draw significant current, especially under load, and undersized cables create resistance and heat. Stick with a gauge that matches or exceeds what came from the factory — going heavier is generally fine, going lighter is not. Pure copper or tin-plated copper conductors are the standard for good reason: they conduct electricity efficiently, resist corrosion, and hold up to the vibration and heat cycling that comes with regular use. Avoid cables with aluminum cores or mystery-metal conductors. The length of each cable should match the original as closely as possible — excess length means excess resistance and a messier battery compartment.
Removing the Old Cables
With your photos taken and safety gear on, start removing cables one at a time rather than all at once. Loosen the terminal bolt, wiggle the ring terminal free, and set the cable aside. If a terminal is heavily corroded and stuck, work it loose carefully rather than prying hard — you can crack a battery post. Clean the battery terminal posts with a wire brush and a baking soda and water solution once each cable is off, then rinse and dry thoroughly. Clean posts ensure your new cables make solid, low-resistance contact from day one.
Installing the New Cables
Route each new cable exactly as the original was routed. Avoid sharp bends, contact with hot or moving parts, and any routing that puts stress on the terminal connection. Slide the ring terminal onto the post and snug the bolt down firmly — tight enough that the terminal doesn't rotate by hand, but don't overtighten to the point of cracking the battery case or stripping the post threads. Work through the pack one cable at a time, and connect the negative terminal last. A light coating of dielectric grease or anti-corrosion terminal spray on the finished connections will significantly extend how long they stay clean.
Testing After Installation
Once everything is reconnected, do a visual check of every connection before you power the cart on. Then test it with a short low-load run before driving it normally. If performance feels noticeably stronger or more responsive, that's a sign your old cables were causing measurable resistance. If you have a multimeter, you can check for voltage drop across individual cables under load — a healthy cable should show minimal drop. Any connection that runs hot to the touch after a short drive needs to be re-examined for a loose terminal or a bad crimp.
Cable replacement is one of those jobs where the difficulty is low but the impact is real. Good cables mean your batteries deliver their full rated power to the motor, your charger reads the pack accurately, and you're not quietly cooking your electrical system every time you press the pedal. Do it right once and you won't have to think about it again for years.


