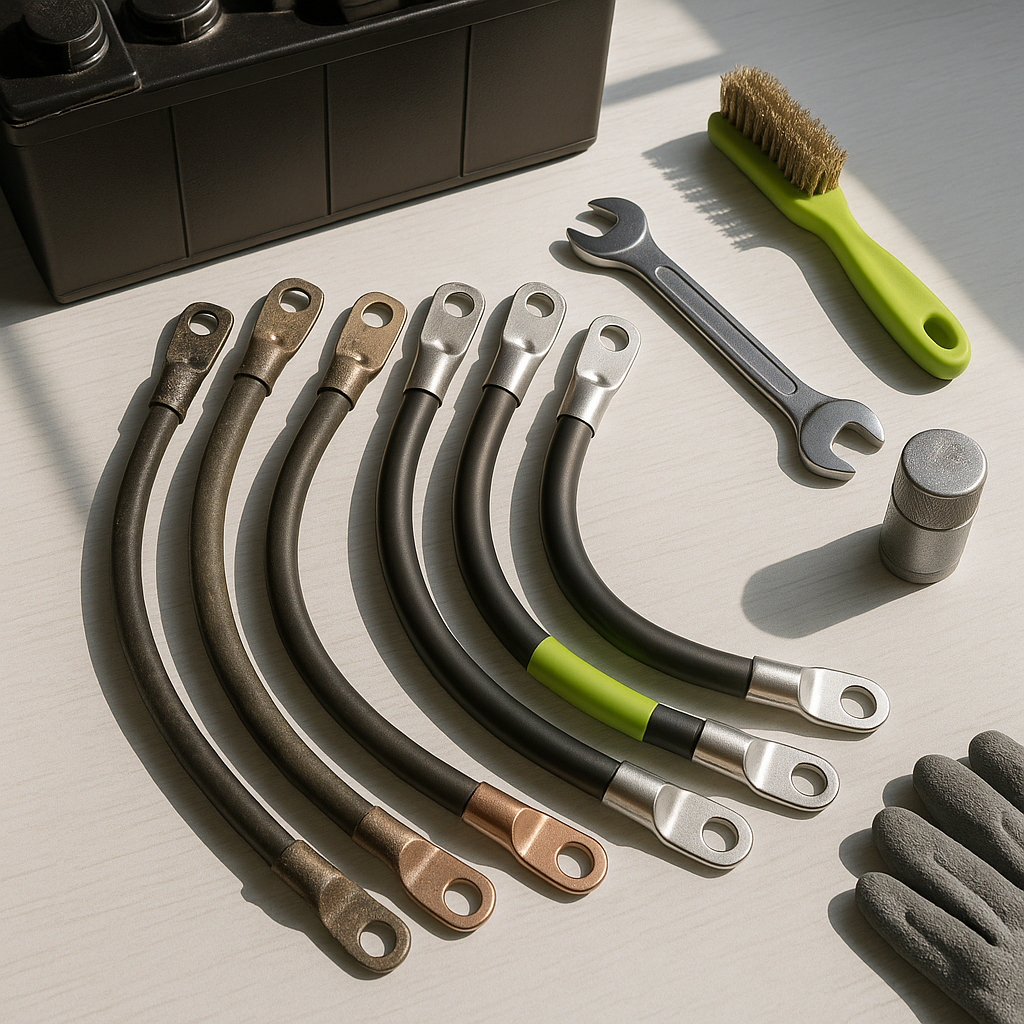
Battery cables are easy to overlook until something goes wrong. Corroded, cracked, or undersized cables cause voltage drop, sluggish performance, heat buildup, and in bad cases, complete loss of power. If your cart feels weaker than it should or you spot cables that are stiff, discolored, swollen at the ends, or coated in green-white corrosion, replacement is almost always the right call. This is one of the higher-impact maintenance jobs you can do yourself — and it doesn't require specialized tools or deep electrical knowledge.
Safety First: What You Must Do Before Touching Any Cable
Before you disconnect anything, put the cart in tow mode or maintenance mode if your model has that switch — this disconnects the main circuit and removes the risk of an accidental arc. Remove any metal jewelry, use insulated tools wherever possible, and keep a dry cloth nearby. Golf cart battery banks store a serious amount of energy and can deliver a dangerous current. Work on one cable at a time so you never accidentally bridge two terminals with a tool. Keep baking soda and water nearby in case of any battery acid contact with skin.
What You'll Need
Gather your replacement cables before you start. Match the wire gauge of your existing cables — on most 36V and 48V carts, the main interconnect cables between batteries are heavy gauge (commonly 2 AWG or 4 AWG), and using undersized wire will cause heat and power loss. You'll also want a wrench or socket set sized for your terminal bolts, a wire brush or terminal cleaning tool, a battery terminal puller if the connections are stubborn, anti-corrosion spray or grease, and safety glasses. If you're replacing the full cable set, it helps to photograph the existing layout from a few angles before disconnecting anything.
Step 1 — Photograph and Label the Existing Layout
Golf cart batteries are wired in series, and the cable routing matters. Take clear photos of how each cable runs — which terminal it connects to on each battery, and which direction the cable exits. On carts with six 6-volt batteries, eight 6-volt batteries, or four 8-volt batteries, the series string can look confusing once you start pulling cables. Labels or masking tape marked with a marker can save you from a frustrating rewiring puzzle later.
Step 2 — Disconnect in the Right Order
Start by disconnecting the main negative cable — the one that runs from the battery pack to the frame or motor — before touching any others. This reduces the risk of completing a circuit accidentally. Then work your way through the interconnect cables one at a time. Loosen the terminal bolt, work the cable end free (use a terminal puller if needed — forcing it can crack the battery case), and set the old cable aside. Don't let disconnected cable ends rest against any terminal.
Step 3 — Clean the Terminals Before Installing New Cables
Once a terminal is exposed, clean it before attaching the new cable. Use a wire brush or battery terminal cleaning tool to remove corrosion from both the post and the cable ring terminal. If corrosion is heavy, a mixture of baking soda and water neutralizes battery acid residue — apply it, let it fizz, then wipe clean and dry thoroughly. Installing a new cable onto a corroded post defeats most of the benefit of replacing it.
Step 4 — Install New Cables and Torque Properly
Route the new cable the same way the old one ran. Seat the ring terminal fully onto the post, thread the bolt, and tighten it firmly — snug plus a solid quarter turn is the general guideline for battery terminal bolts, though you want firm contact without cracking the battery top. Do not overtighten. Work through the interconnect cables first, then reconnect the main positive and negative last. Once everything is connected, apply a thin coat of anti-corrosion grease or spray to all terminal connections to slow future oxidation.
Step 5 — Test Before Buttoning Everything Up
With all cables connected and tow mode switched back off, test the cart before reassembling any panels or covers. Take it for a short run and check that acceleration feels normal and there are no unusual smells or heat near the battery compartment. After the first few charges, it's worth checking that all terminal connections are still tight — new cables can settle slightly. If you notice any connection that's warm to the touch after a run, that's a sign of resistance and the connection should be re-examined and tightened.


