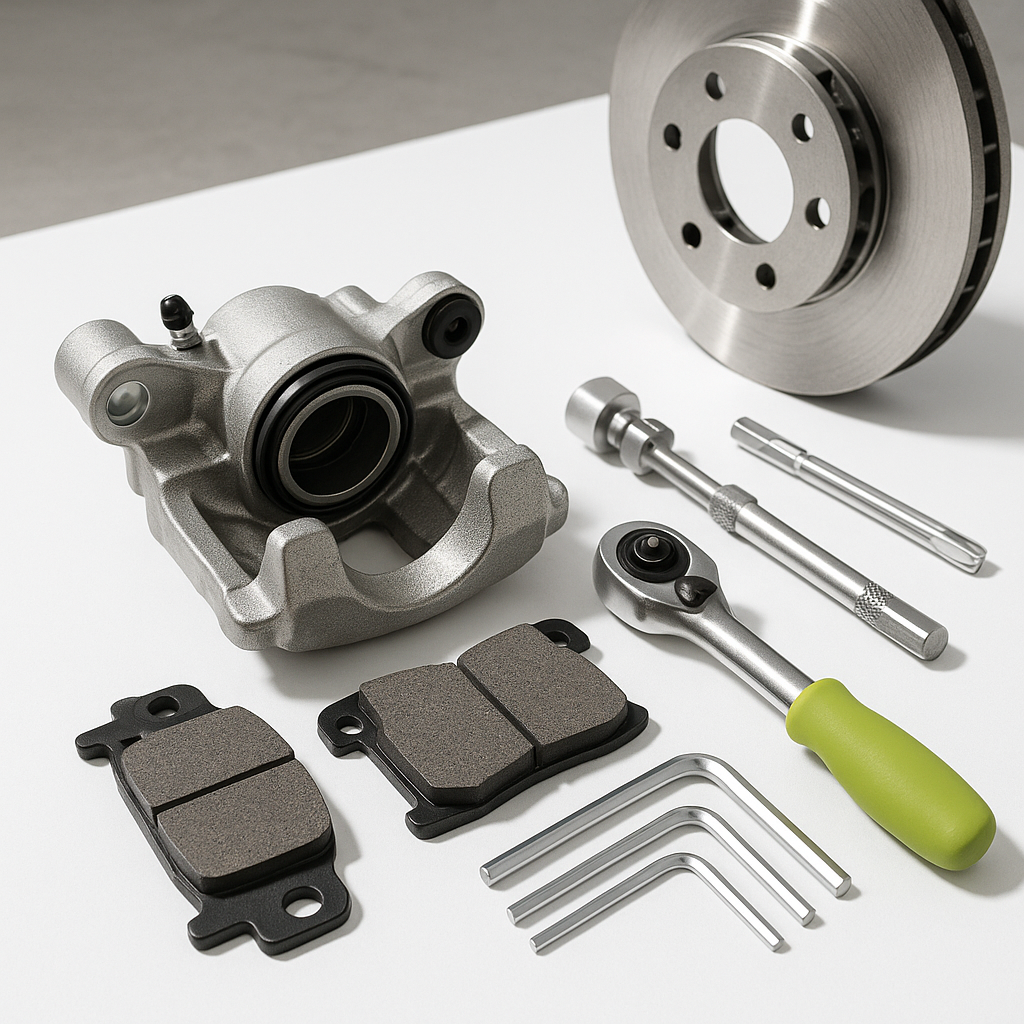
Golf cart brakes don't get nearly enough attention until they start failing — and by then, you're already dealing with longer stopping distances, squealing, or a pedal that sinks to the floor. The good news is that replacing brake pads on most golf carts is a straightforward job you can handle at home with basic hand tools and a few hours. Whether you're working on a Club Car, EZGO, or Yamaha, the fundamentals are the same, though the exact hardware and access points will vary by model and year.
Know What You're Working With Before You Start
Golf carts use one of two brake system types: drum brakes or disc brakes. Older and many current gas and electric carts rely on drum brakes, where curved brake shoes press outward against the inside of a spinning drum. Disc brake systems — more common on newer or performance-upgraded carts — use flat pads clamped against a rotor. The replacement process differs significantly between the two, so confirm your system before ordering parts. Check your owner's manual or look up your cart's model and year. Also note whether your cart has a mechanical (cable-actuated) or hydraulic system, as this affects how the brakes self-adjust and how you'll reset the caliper or wheel cylinder.
Gather Your Supplies
You'll need a floor jack and jack stands (never work under a cart supported only by a floor jack), a lug wrench, basic socket and wrench set, and depending on your system, a brake spring tool for drum brakes or a caliper piston tool for disc brakes. Pick up brake cleaner spray, fresh brake hardware if the clips or springs look corroded, and the correct replacement pads or shoes for your specific make, model, and year. Using the wrong friction material or an incorrect fitment is one of the most common DIY mistakes — take the time to cross-reference carefully.
Remove the Wheel and Access the Brakes
Loosen the lug nuts before jacking the cart up, then raise and support it securely on jack stands. Remove the wheel to expose the brake assembly. On a drum brake system, you'll pull the drum off — it may be stuck from rust or wear, and light tapping around the edge with a rubber mallet usually breaks it free. Avoid prying directly against the friction surface. With the drum removed, you'll see the shoes, springs, and wheel cylinder. On a disc system, the caliper will be visible mounted over the rotor; remove the caliper bolts, slide it off, and hang it with a wire hook — never let it dangle by the brake line.
Replace the Pads or Shoes
For drum brakes, take a photo of the spring and hardware layout before disassembly — the configuration of hold-down springs, return springs, and adjusters is easy to forget. Remove the springs with a brake spring tool, pull the old shoes, and clean the backing plate with brake cleaner. Install the new shoes and reattach all springs, making sure each one seats in the correct position. For disc brakes, slide the old pads out of the caliper bracket, clean the bracket slides and apply fresh caliper grease to the slide pins, then press the new pads in. You'll need to compress the caliper piston back into its bore before the caliper will fit over the new, thicker pads — use a piston tool or a large C-clamp with a block of wood, and do this slowly and evenly.
Reassemble and Adjust
Reinstall the drum or caliper, torque your lug nuts in a star pattern to the manufacturer's spec, and lower the cart. Drum brake systems typically require adjustment — there's usually a star wheel adjuster accessible through a slot in the backing plate or drum. Expand the adjuster until the drum drags slightly, then back it off just until the drum spins freely with a little resistance. This sets the proper pad-to-drum clearance. Disc brakes are largely self-adjusting, but pump the brake pedal several times before moving the cart to seat the pads against the rotor.
Test Before You Drive
In a clear, open area, perform several low-speed stops to bed in the new friction material. Start gently and gradually increase stopping force over the first several stops. This helps the pads conform to the drum or rotor surface and improves long-term braking performance. Listen for any grinding, squealing, or uneven pull. If the cart pulls to one side under braking, one side may be adjusted tighter than the other — recheck your adjuster positions. Once you've confirmed everything feels solid and consistent, you're good to go. Inspect your brake hardware again after the first few rides, especially if you did any cable or spring work.


