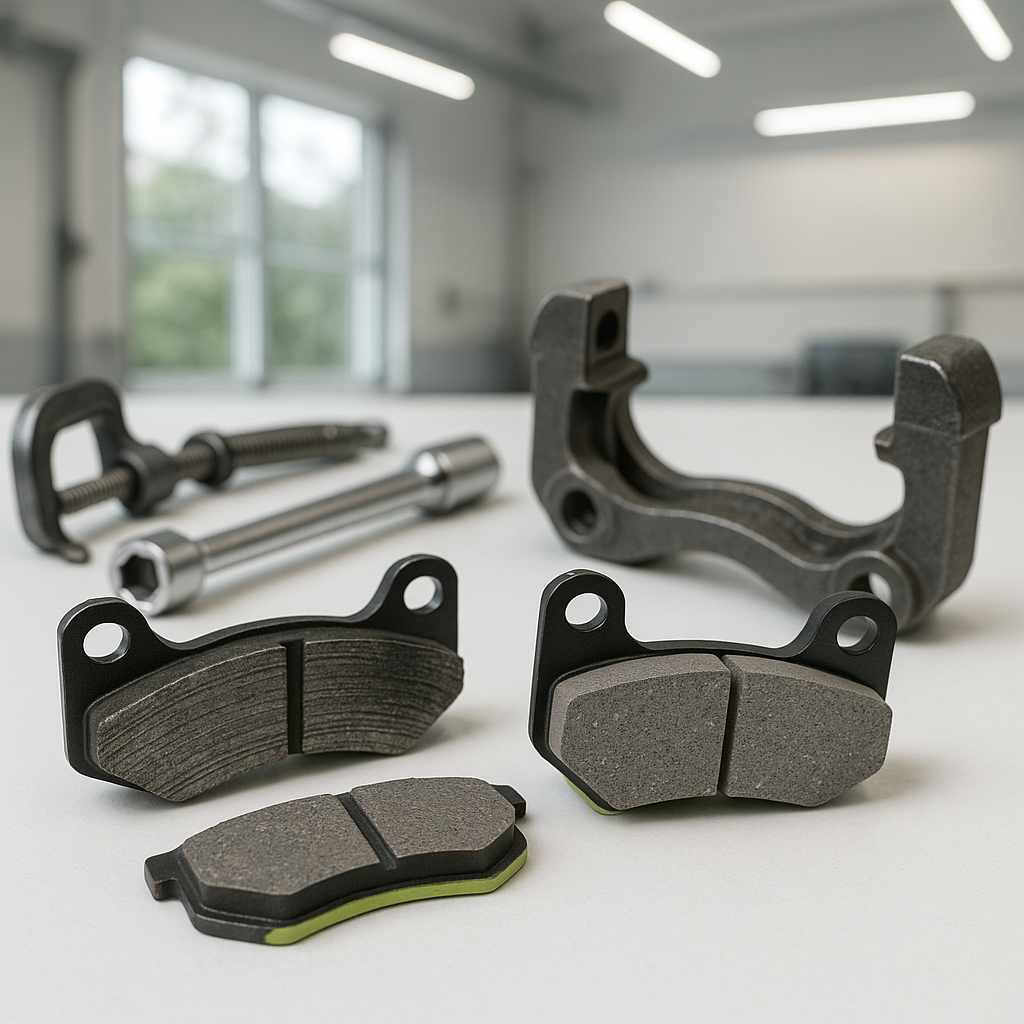
Most golf cart owners think about brakes only when something feels wrong — a grinding noise, a soft pedal, or a cart that takes longer than usual to stop. By that point, you've often already damaged the brake drum or rotor and turned a simple pad swap into a more expensive repair. Inspecting your brake pads on a regular schedule, and replacing them at the first sign of wear, is one of the easiest ways to keep your cart safe and avoid a bigger job down the road.
Disc vs. Drum: Know What You're Working With
Before you do anything, identify what type of brake system your cart has. Older and many current golf carts use drum brakes, where curved brake shoes press outward against the inside of a drum. Some newer or upgraded carts use disc brakes, where pads clamp a rotor from both sides — similar to what you'd find on a car. The inspection and replacement process differs between the two. Drum brake shoes are inspected by removing the drum; disc brake pads are often visible through the caliper without full disassembly. This guide covers disc brake pads specifically, since drum brake shoe adjustment is its own procedure.
What You'll Need
For most disc brake pad replacements on a golf cart, you'll want a floor jack and jack stands or a lift, a lug wrench to remove the wheel, basic hand tools (usually a combination of sockets and open-end wrenches), a C-clamp or brake piston tool to compress the caliper piston, brake cleaner spray, and clean shop rags. Nitrile gloves are a good idea — brake dust isn't something you want on your hands or in the air. Have your new pads on hand before you start so you're not mid-job waiting on parts.
Step 1: Safely Raise and Secure the Cart
Disconnect or power down the cart before you start. On an electric cart, engage the tow/maintenance mode if your model has one. Place the cart on a flat, level surface, chock the rear wheels if you're working on the front, and raise the corner you're working on with a floor jack. Always support the cart on jack stands — never work under or around a cart supported only by a jack. Remove the wheel to expose the brake assembly.
Step 2: Inspect the Existing Pads
With the wheel off, look at the brake pads through or around the caliper. You're checking two things: thickness and condition. Most brake pads have a minimum usable thickness — when the friction material wears down close to the metal backing plate, it's time to replace them. You're also looking for uneven wear (one pad significantly thinner than the other), cracking, glazing, or contamination from oil or grease. Any of those conditions means replacement, regardless of how much material is left. If the rotor surface looks heavily grooved or scored, note that too — deeply grooved rotors should be machined or replaced when you do the pads.
Step 3: Remove the Caliper and Old Pads
Locate the caliper mounting bolts — typically two bolts on the back of the caliper — and remove them. Carefully slide the caliper off the rotor. Don't let it hang by the brake line; support it with a piece of wire or set it on something stable. The pads will either slide out of the caliper bracket or be clipped in place. Note exactly how they're positioned before you remove them so you can mirror the installation with the new pads. Take a photo with your phone if it helps.
Step 4: Compress the Caliper Piston
New pads are thicker than worn ones, so before the caliper will fit back over them, you need to push the piston back into its bore. Place a C-clamp with one end against the piston face and the other against the back of the caliper body, and slowly compress the piston until it's flush. Watch the brake fluid reservoir — compressing the piston pushes fluid back up, and if the reservoir is overfull it can overflow. Keep a rag nearby. Once the piston is seated, install your new pads in the bracket the same way the old ones came out.
Step 5: Reinstall and Bed the Pads
Slide the caliper back over the new pads and rotor, reinstall the mounting bolts, and torque them snugly. Reinstall the wheel and lower the cart. Before you drive, pump the brake pedal several times until it feels firm — this seats the pads against the rotor and restores normal pedal feel. Then do a few slow stops from low speed in a safe area to bed the new pads in. Avoid hard stops immediately after installation; letting the pads transfer a thin layer of friction material onto the rotor improves braking performance and extends pad life. Check the area around the caliper for any fluid leaks before putting the cart back into regular service.


