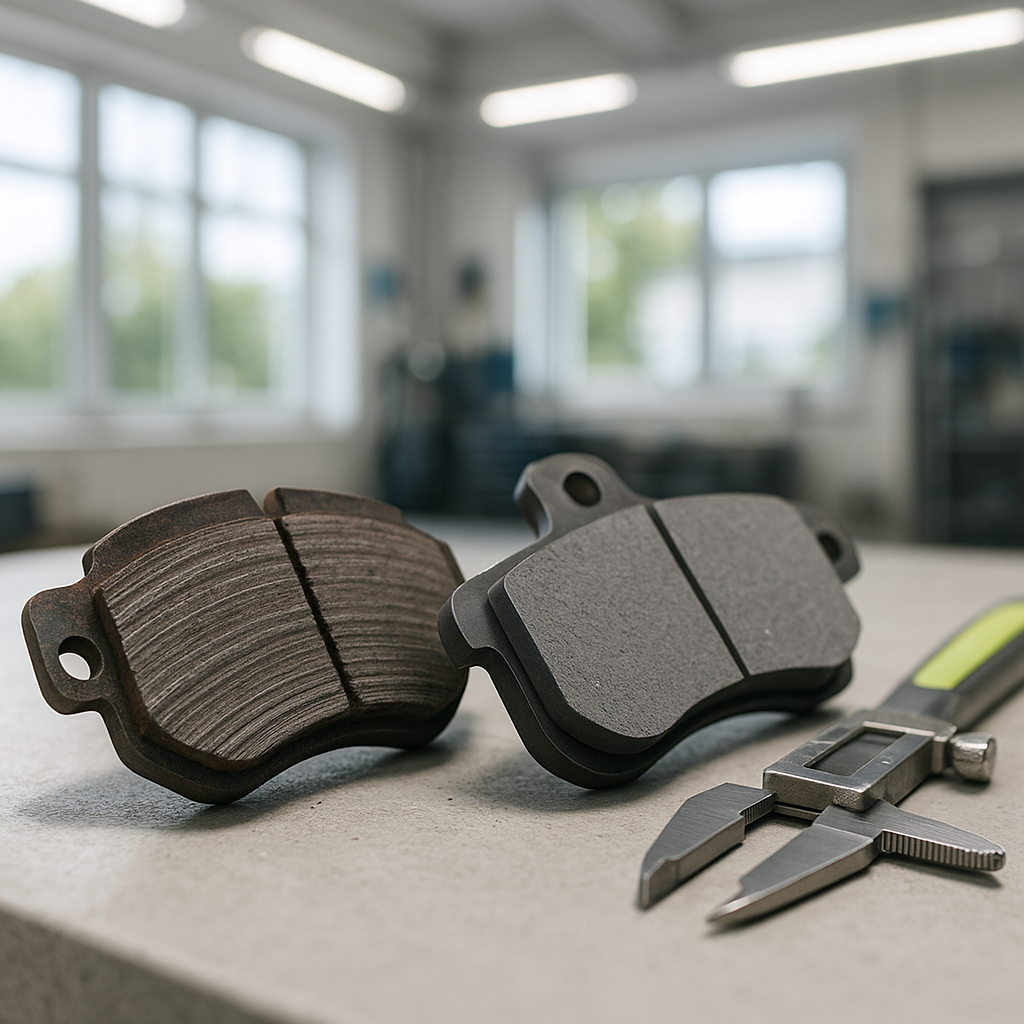
Golf cart brake pads don't get nearly as much attention as they deserve. Most carts sit for long stretches between uses, which actually accelerates pad wear and glazing more than steady daily use would. If your cart is taking longer to stop, pulling to one side, or you're hearing a grinding or squealing noise when you brake, the pads are the first place to look. The good news: inspecting and replacing brake pads is one of the more straightforward brake jobs you can do at home, and it's worth doing on a schedule rather than waiting for obvious symptoms.
Understanding Golf Cart Brake Systems
Most golf carts use one of two brake configurations: drum brakes or disc brakes. Older and entry-level carts almost universally use drum brakes, where curved brake shoes press outward against the inside of a spinning drum. Newer and higher-end carts — particularly those built for street or LSV use — increasingly use disc brakes, where flat pads clamp against a rotor. The inspection and replacement process differs between the two, but the underlying logic is the same: you're checking the friction material thickness and the condition of the contact surfaces. Always confirm which system your cart has before buying parts, since pad and shoe designs are not interchangeable between drum and disc setups.
Safety Before You Start
Block the wheels that aren't being worked on before you lift any corner of the cart. Golf carts are light enough that people underestimate how easily they can shift or roll. Use a proper floor jack and jack stands — never rely on a jack alone to hold the cart while you're working under or around it. Disconnect the battery (negative first on electric carts, kill switch on gas) so there's no chance the cart moves under power while a wheel is off. Keep the parking brake released while working on rear brakes so you're not fighting tension in the system.
Inspecting the Brake Pads or Shoes
Remove the wheel to get clear access. On a drum brake system, pull the drum — it typically slides straight off once the wheel is removed, though rust or buildup can make it stick. Tap it gently with a rubber mallet if needed; don't pry against the friction surfaces. Once the drum is off, look at the brake shoes. The friction material should have even thickness on both shoes, and you want to see several millimeters of material remaining above the metal backing. If the lining is thin, glazed (shiny and hard), cracked, or contaminated with grease or brake fluid, the shoes need replacing. On a disc brake system, you can often inspect pad thickness without removing the wheel by looking through the caliper — but pulling the wheel gives you a much clearer view of both the pad thickness and the rotor surface for scoring or deep grooves.
Removing and Replacing Drum Brake Shoes
Drum brake shoes are held in place by a combination of return springs, hold-down springs, and an adjuster mechanism. Before removing anything, take a photo or sketch the spring positions — reassembly order matters, and springs are easy to mix up. Use brake spring pliers if you have them; trying to muscle springs on and off with general pliers is a good way to snap one or cut your hand. Remove the hold-down pins and springs first, then carefully unhook the return springs. The adjuster star wheel and its associated hardware should come out together as an assembly. Install the new shoes by reversing the process, and verify that every spring is seated correctly before reinstalling the drum. A shoe that isn't returning fully will drag and wear unevenly.
Replacing Disc Brake Pads
Compress the caliper piston before installing new pads — the new pads are thicker than worn ones, and the caliper won't clear the rotor without pushing the piston back. A C-clamp or a proper caliper piston tool both work. Place an old pad or a block of wood against the piston face to protect it while you apply pressure. Watch the reservoir on top of the master cylinder as you compress the piston, since fluid will be pushed back up — have a rag handy and don't let it overflow. Slide the old pads out of the caliper bracket, clean the bracket slide channels, and install the new pads. Most pads have a specific inner and outer orientation, so check which face goes toward the rotor. Reinstall the caliper, torque the bolts to the spec in your service manual, and pump the brake pedal several times before moving the cart to re-seat the pads against the rotor.
Bedding In New Pads and Final Checks
New brake pads and shoes need to be seated before they perform at full capacity. For disc brakes, do several moderate stops from a low speed — not panic stops — to transfer a thin layer of friction material evenly onto the rotor surface. For drum brakes, the adjuster needs to be set so the shoes are close to the drum without dragging. Most drum systems have a star wheel adjuster you can turn through a slot in the backing plate; adjust until you feel slight resistance when spinning the drum by hand, then back off slightly. After bedding or adjusting, reinstall the wheel, lower the cart, and do a walking-pace test stop before driving normally. Check that the cart tracks straight under braking and that there's no pulling, pulsing, or unusual noise. Recheck your work after the first few rides, especially on drum setups where initial adjustment can shift slightly.


