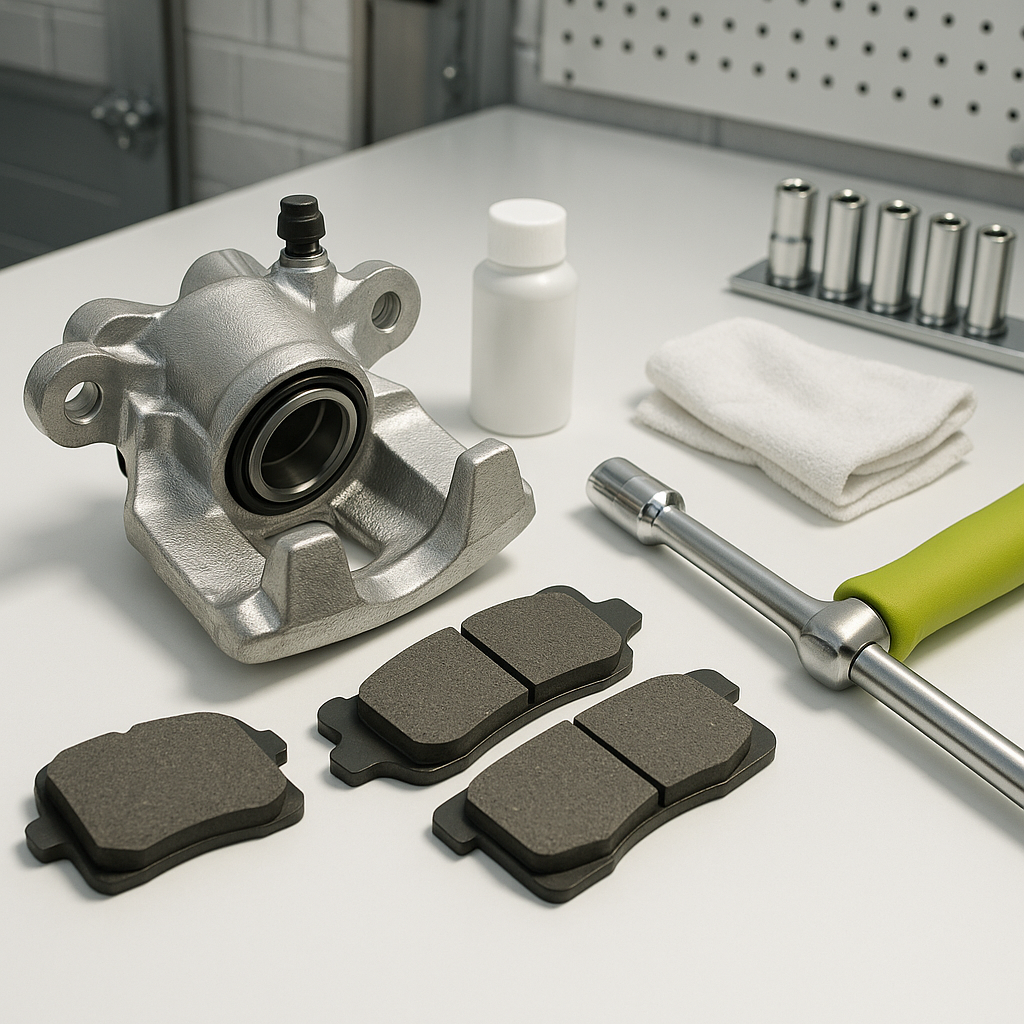
Golf cart brakes don't get the same attention as car brakes, but they wear out for the same reasons: friction, heat, and time. If your cart is pulling to one side when you stop, taking longer to slow down, or making a grinding or squealing noise, worn brake pads are one of the first things to check. The good news is that replacing pads on a golf cart is a manageable DIY job if you work carefully and understand what you're dealing with before you start.
Understand What Type of Brakes Your Cart Has
Before buying parts or picking up a wrench, identify your brake system. Golf carts use one of two setups: drum brakes or disc brakes. Drum brakes are by far the most common on older and mid-range carts — they use curved brake shoes (not pads) that press outward against the inside of a drum. Disc brakes, which use flat pads that clamp a rotor, appear more often on newer or higher-performance carts. The replacement process differs significantly between the two. This guide focuses on disc brake pad replacement, which is the more straightforward of the two and follows logic that will be familiar to anyone who has done automotive brake work.
Safety First: Secure the Cart Before You Start
Park the cart on a flat, level surface and engage any parking brake or wheel chocks to prevent rolling. Disconnect the battery pack before working — on an electric cart this removes any risk of the cart moving unexpectedly. On a gas cart, make sure the engine is off and cooled. Never work under a cart supported only by a floor jack; always use jack stands rated for the weight of the vehicle. Even though golf carts are light, a falling cart can cause serious injury.
Remove the Wheel and Access the Caliper
Loosen the lug nuts slightly before you raise the cart, then jack up the corner you're working on and support it on a stand. Remove the lug nuts fully and pull the wheel off. With the wheel out of the way, you'll see the brake caliper clamped over the rotor. Inspect the rotor surface at this point — if it's deeply grooved, scored, or has visible heat cracks, it may need to be resurfaced or replaced along with the pads. Catching rotor damage now saves you from doing this job twice.
Remove the Old Brake Pads
Most golf cart disc calipers are sliding-pin style, similar to those on automobiles. You'll typically remove one or two caliper bolts (often on the back or bottom of the caliper bracket), then slide or pivot the caliper away from the rotor. Support the caliper so it doesn't hang by the brake line — a piece of wire or a hook is handy here. The old pads will either slide out of the caliper bracket or come free when the caliper is moved. Note exactly how they're oriented and seated before fully removing them; a quick photo with your phone is helpful. Also check the caliper slide pins while you have access — they should move freely and be lightly greased. Sticky slide pins cause uneven pad wear and are worth cleaning and re-greasing while you're in there.
Compress the Caliper Piston and Install New Pads
New brake pads are thicker than the worn ones, so you need to push the caliper piston back into its bore to make room. A large C-clamp or a dedicated brake piston tool works well. Place an old pad or a block of wood against the piston face to avoid damaging it, then slowly compress it until it's flush with the caliper housing. Watch the brake fluid reservoir as you do this — compressing the piston pushes fluid backward into the reservoir, and if it was already full it may overflow. Have a rag ready. Install the new pads into the bracket in the same orientation as the old ones, making sure any anti-squeal shims or hardware are correctly positioned. Reinstall the caliper, thread the bolts in by hand first, then torque them to the manufacturer's specification for your cart model.
Bed in the Brakes Before Riding
Before putting the wheel back on, pump the brake pedal several times until it firms up — this moves the pistons back out to contact the new pads. Then reinstall the wheel, lower the cart, and torque the lug nuts in a star pattern. Reconnect the battery. Don't immediately drive at full speed. New pads need a brief break-in period: make several slow, progressive stops from low speed to seat the pad material evenly against the rotor. Avoid hard stops until the pads have been bedded in. Check for any drag, pulling, or unusual noise after the first few stops, and recheck the caliper bolts after your initial test run.
When to Call It Done — and When to Call a Pro
If everything looks clean, stops are firm, and there's no pulling or noise, you've done the job right. But if you notice the brake pedal sinking toward the floor, the cart pulling hard to one side, or any fluid leaks around the caliper, stop and have a qualified technician inspect the system before riding again. Brake hydraulics on a golf cart are simple but not forgiving — a soft pedal usually means air in the line or a failing caliper, both of which require bleeding the system or component replacement. When stopping power is on the line, it's always better to be thorough than fast.


