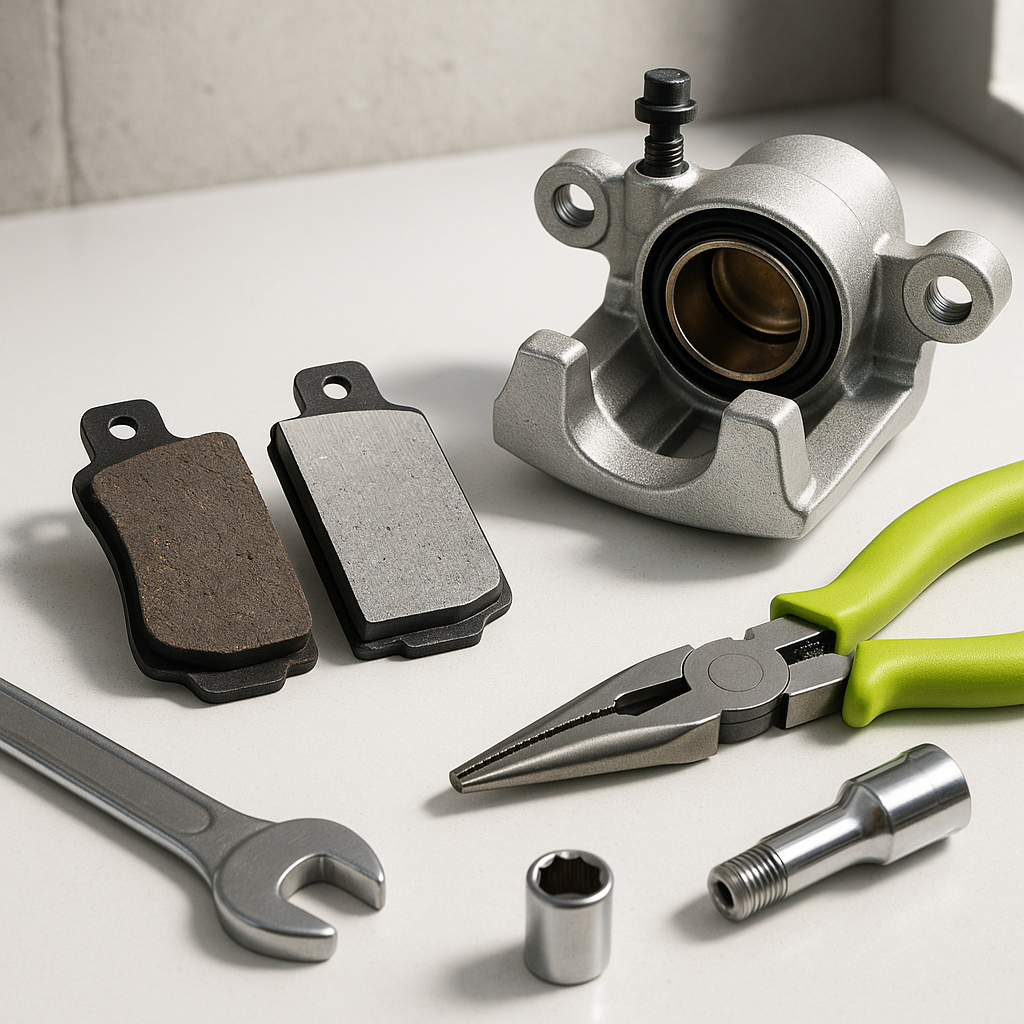
Golf cart brakes don't get the same attention as car brakes, but they work just as hard — especially if you're driving on hilly terrain, hauling passengers, or logging serious miles on a course or property. Brake pads wear down over time, and letting them go too long doesn't just compromise stopping power, it can damage your brake drum or rotor and turn a cheap fix into an expensive one. This guide walks you through inspecting your pads and replacing them when it's time.
Know What Kind of Brakes You Have
Before you touch anything, identify your brake setup. Most golf carts use one of two systems: drum brakes (where brake shoes press outward against the inside of a drum) or disc brakes (where pads clamp down on a rotor). Older and entry-level carts almost universally use drum brakes, while some newer or performance-oriented models use disc setups. This guide focuses on disc brake pad replacement, since drum brake service involves different components (shoes, springs, and adjuster hardware) and is covered separately. If you're not sure which system you have, look behind the wheel — a flat disc with a caliper clamping onto it means disc brakes; a round, enclosed metal drum means drum brakes.
Signs Your Brake Pads Need Attention
You don't need fancy tools to know your pads are getting thin. Common warning signs include: a grinding or squealing noise when you brake, longer stopping distances than usual, the cart pulling to one side under braking, or visible wear when you peek behind the wheel. Many brake pads have a wear indicator groove or edge — if the pad material looks nearly flush with the metal backing plate, it's time to replace. Don't wait for metal-on-metal contact. That's the point where you're damaging your rotor and risking brake failure.
What You'll Need
For a standard disc brake pad swap, gather a floor jack and jack stands (or wheel ramps), a lug wrench, a basic socket set, a flathead screwdriver or brake pad spreader tool, clean shop rags, and your replacement pads. Always use pads rated for your specific cart make and model — pad size and friction compound vary, and the wrong pad can affect both feel and stopping performance. Work in a flat, stable area and make sure the cart is powered off and the key is removed before you start.
Removing the Old Pads
Loosen the lug nuts slightly before lifting the cart, then jack it up and secure it on stands — never work under a cart supported only by a jack. Remove the wheel. With the wheel off, you'll see the caliper sitting over the rotor. Most calipers are held by two bolts on the back side — remove those and carefully slide the caliper off the rotor. Don't let it hang by the brake line; rest it on something or use a bungee cord to support it. Slide the old pads out of the caliper bracket. Note how they're oriented before pulling them — take a photo if it helps.
Compressing the Caliper Piston
New pads are thicker than worn ones, so you need to push the caliper piston back in before the caliper will fit over them. Place a rag over the old pad (or directly on the piston) and use a C-clamp or a dedicated brake piston tool to slowly compress the piston back into the caliper bore. Apply steady, even pressure — don't force it. If you have a vehicle with a reservoir for brake fluid, check it while you do this — compressing the piston pushes fluid back up, and an overfull reservoir can overflow. Mop up any spills immediately; brake fluid damages paint.
Installing the New Pads and Reassembling
Slide your new pads into the caliper bracket in the same orientation the old ones came out. Some pads have a specific inboard/outboard orientation or an arrow indicating direction of rotation — check the instructions that came with your pads. Carefully slide the caliper back over the rotor and new pads, then thread in the caliper bolts and torque them snug. Reinstall the wheel, snug the lug nuts by hand, lower the cart, then torque the lugs in a cross pattern to the appropriate spec for your wheel studs. Before you move the cart anywhere, pump the brake pedal several times until it feels firm — this seats the pads against the rotor.
Bedding In the Pads and Final Check
New brake pads perform best after a brief break-in period. In a safe, open area, make a series of moderate stops from a low speed — not panic stops, just firm, controlled braking — and let the brakes cool between each one. This transfers a thin, even layer of pad material onto the rotor surface and improves bite and longevity. After bedding in, do a final walk-around: check for any brake fluid leaks around the caliper, confirm the wheel is properly seated, and make sure braking feels even and the cart tracks straight when you stop. If anything feels off — sponginess, pulling, or noise — pull the wheel and inspect before putting the cart back into regular use.


