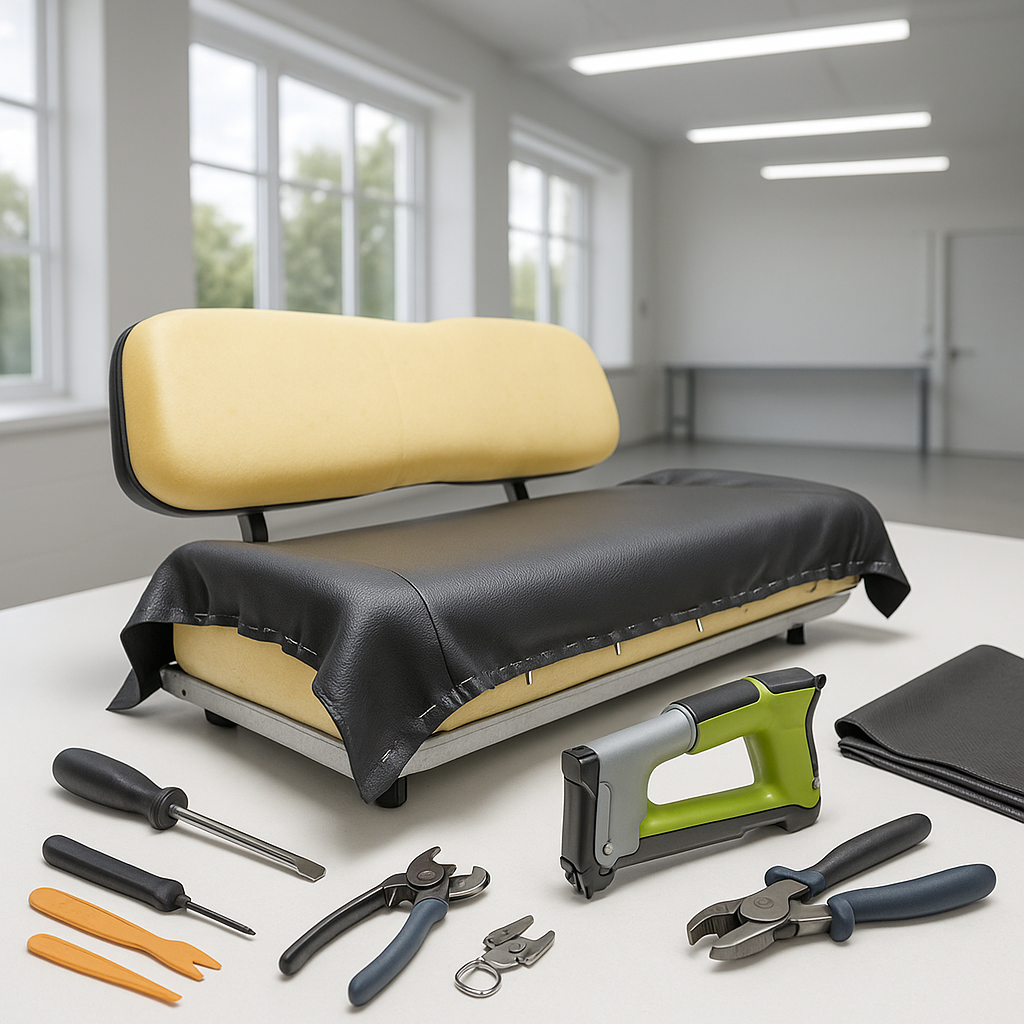
Golf cart seat covers take a beating. Sun exposure, moisture, and daily use crack and fade the vinyl over time, and once the material starts to split, it only gets worse. The good news is that replacing seat covers is one of the more approachable DIY jobs on a golf cart — no special trade skills required, just patience and a few basic tools. This guide walks you through the general process so you know what to expect before you start.
Understand What You're Working With
Most golf cart seats consist of a foam cushion mounted on a molded plastic or fiberglass seat pan, with a vinyl or marine-grade cover stretched over the foam and secured underneath. The cover is typically held in place by staples, hog rings, or a combination of both along the underside of the seat pan. Before ordering a replacement cover, identify your cart's make, model, and year — seat dimensions and mounting styles vary between manufacturers and even between model years on the same brand. Measure your existing seat if you're unsure, and check whether you have a bench seat, a split back seat, or individual bucket-style seats, since each calls for a different cover style.
What You'll Need
For most seat cover replacements you'll want: a flathead screwdriver or staple remover, needle-nose pliers, a hog ring plier set (if your new cover uses hog rings), a staple gun with heavy-duty staples (if stapling), a heat gun or hair dryer to soften stiff vinyl, and a helper if you're working with a particularly tight cover. Wearing gloves is a good idea — staple and hog ring edges are sharp.
Remove the Seat from the Cart
It's much easier to work on a seat off the cart than in place. Most golf cart seats unbolt from the frame with just a few bolts accessible from underneath. Support the seat with one hand while you remove the last bolt so it doesn't drop. Set the seat upside down on a clean work surface — a moving blanket or piece of carpet on a table works well to protect the seat back while you work on the underside.
Strip the Old Cover
Flip the seat pan so you can access the underside. Use a flathead screwdriver and needle-nose pliers to remove every staple or hog ring holding the old cover in place. Work methodically around the perimeter and don't rush — leaving a staple behind can cause the new cover to sit unevenly or tear over that spot. Once all fasteners are out, peel the old cover away from the foam. If the foam underneath is crumbling, heavily compressed, or water-logged, this is the right time to replace it before installing the new cover. Foam replacement is straightforward — most seat foam can be cut to shape with a sharp knife or electric carving knife if you can't find an exact replacement.
Install the New Cover
Lay your new cover over the seat with the correct face up and center it carefully — equal overhang on all sides. Starting at the front center, pull the cover snugly over the edge and secure it with one staple or hog ring. Move to the rear center and repeat, pulling firmly to remove slack. Then do the two side centers. Work in this opposing-sides pattern all the way around, keeping consistent tension as you go. A heat gun or hair dryer on low setting can help stubborn vinyl stretch more easily around corners and contours — warm the material briefly, stretch it, then fasten. At corners, pleat and fold the material neatly the same way you'd wrap a gift box, keeping everything flat before stapling. The goal is a smooth, wrinkle-free surface with no bunching.
Reinstall the Seat
Once the cover is fully secured, trim any excess material if needed and make sure no staple points are exposed where they could contact the frame. Flip the seat right-side up and inspect the surface — press across the entire cover to feel for any raised staples or uneven spots. If anything feels off, address it now before remounting. Bolt the seat back onto the cart frame, snug the fasteners down evenly, and give the seat a firm push in all directions to confirm it's solid.
Tips for a Long-Lasting Result
Marine-grade vinyl covers hold up significantly better than standard vinyl in outdoor conditions — look for covers marketed for UV and mildew resistance if your cart lives outside. Once installed, a periodic wipe-down with a vinyl protectant product will extend the life of the material considerably. Avoid parking in direct sun for extended periods if you can, since UV exposure is the number-one cause of cracking. A properly installed quality cover should give you several years of good service before it needs attention again.


