Golf cart tires take more abuse than most people expect. Between curbs, roots, uneven terrain, and years of UV exposure, even a tire that holds air can be dangerously worn or cracked. Knowing how to properly remove, inspect, and replace your golf cart tires yourself saves money and keeps you from getting stranded mid-round — or worse, dealing with a slow blowout on a hill. This guide covers the full process using general, well-established practices that apply to most gas and electric golf carts.
What You'll Need Before You Start
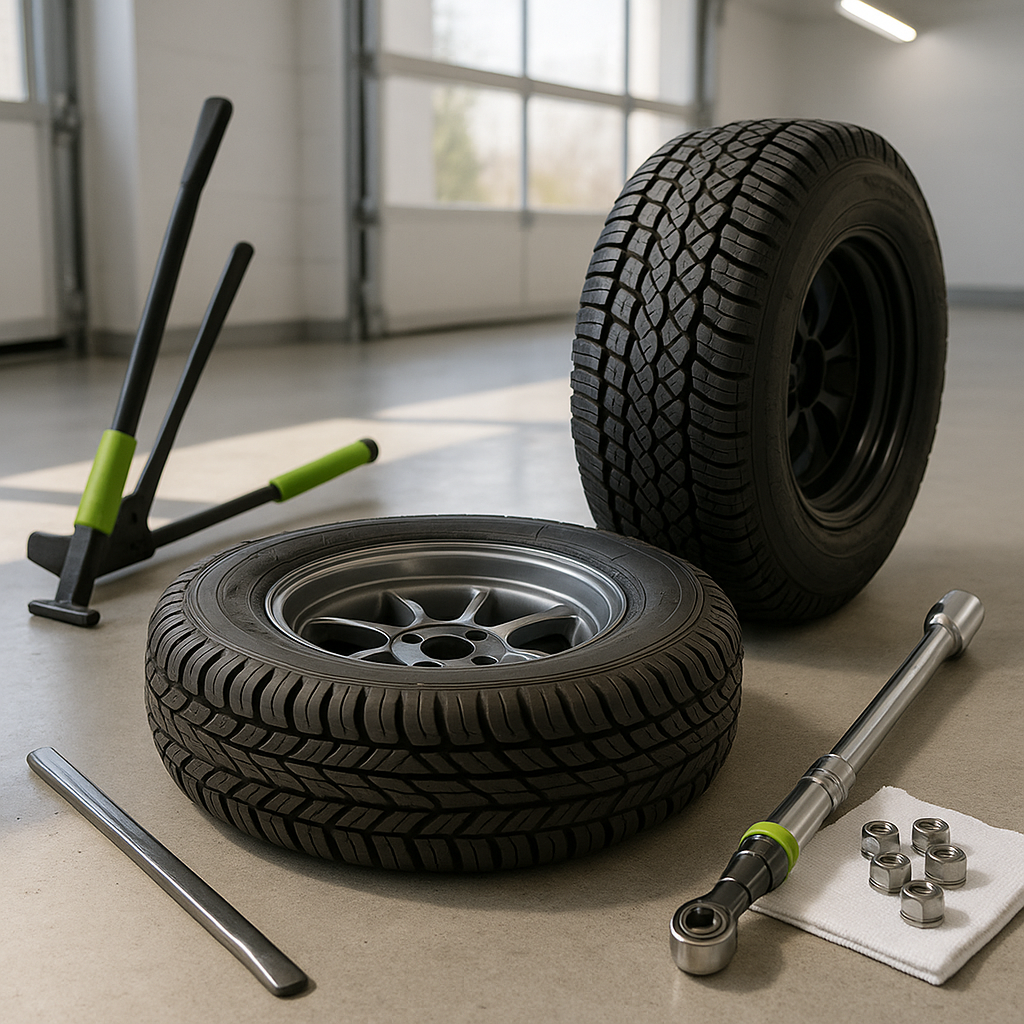
You don't need a professional shop setup, but a few basics make the job safer and cleaner. You'll want a floor jack or bottle jack rated for your cart's weight, jack stands (never rely on a jack alone to hold a cart in the air), a lug wrench or socket set that fits your cart's lug nuts, and a tire iron or bead breaker if you're also swapping the tire off the rim. If you're just swapping out a pre-mounted wheel-and-tire assembly, the job is straightforward. If you're dismounting a bare tire from the rim, that step takes more care — more on that below.
Step 1: Safely Lift and Support the Cart
Park the cart on a flat, solid surface and engage the parking brake. If it's electric, place it in tow/maintenance mode to prevent any accidental motor engagement. Chock the wheels that will stay on the ground. Place your jack under a solid frame point near the wheel you're working on — avoid lifting under plastic body panels or thin sheet metal. Once the wheel is off the ground, immediately place a jack stand under a nearby frame point before doing any work. This isn't optional. A golf cart is light compared to a car, but it's still heavy enough to seriously injure someone if it falls.
Step 2: Remove the Wheel
Before fully lifting the cart, it's easier to break the lug nuts loose while the tire is still touching the ground — this prevents the wheel from spinning freely. Loosen each lug nut in a star or cross pattern rather than going around in a circle. This keeps even pressure on the hub. Once the cart is safely on jack stands, fully remove the lug nuts and pull the wheel straight off the hub. Set the lug nuts somewhere you won't lose them — a small cup or magnetic tray helps.
Step 3: Inspect Everything While You're In There
With the wheel off, this is your best opportunity to inspect parts that are normally hidden. Look at the brake drum or rotor for scoring, grooves, or heat discoloration. Check the wheel bearings for play or rough movement. Inspect the hub and spindle for any damage or rust that could affect the new tire's seating. On the tire itself, check the tread depth, look for sidewall cracking (especially if the cart has sat unused for a long time), and check for any bulging that indicates internal damage. A tire that looks fine from a distance can tell a completely different story up close.
Step 4: Dismounting the Tire from the Rim (If Needed)
If you're replacing just the tire and keeping the rim, you'll need to break the bead — the seal between the tire's inner edge and the rim. Deflate the tire completely first. A bead breaker tool makes this much easier than trying to pry it with tire irons alone. Work around the entire circumference before trying to lever the tire off. Mounting a new tire onto a rim by hand is possible but requires patience: lubricate the bead with dish soap or dedicated tire mounting lubricant, never petroleum-based products, which degrade rubber. Seat the bead evenly before inflating. If you have access to an air compressor with a good volume of airflow, it makes bead seating significantly easier. If you're not confident doing this step yourself, most small engine or tire shops will mount a tire onto a rim for a modest fee — it's worth it to avoid damaging the rim or the tire.
Step 5: Mount and Torque the Wheel
Lift the wheel back onto the hub and hand-thread all lug nuts before tightening any of them. Then snug them down in a star pattern — same as when you removed them. Lower the cart so the tire is making contact with the ground but not bearing full weight, and do your final tightening in the same star pattern. Over-tightening lug nuts can warp brake drums or strip threads; under-tightening is an obvious safety hazard. If you have a torque wrench, use it — your cart's service manual will list the correct specification. If you don't have one, firm and consistent hand pressure with a standard lug wrench is generally sufficient for golf cart applications.
Step 6: Inflate and Check
Golf cart tires typically run at much lower pressures than car tires. Check the pressure rating molded into the sidewall of the tire and inflate to that spec or the pressure recommended in your cart's manual — whichever is appropriate for your load and terrain. Over-inflating causes premature wear in the center tread and a harsher ride; under-inflating causes sidewall wear, overheating, and poor handling. After inflating, lower the cart fully off the jack stands, give the wheel a visual check for even seating, and take a slow test drive before returning to normal use. Listen and feel for any wobble, vibration, or pulling — these are signs something needs a second look before you drive it further.


