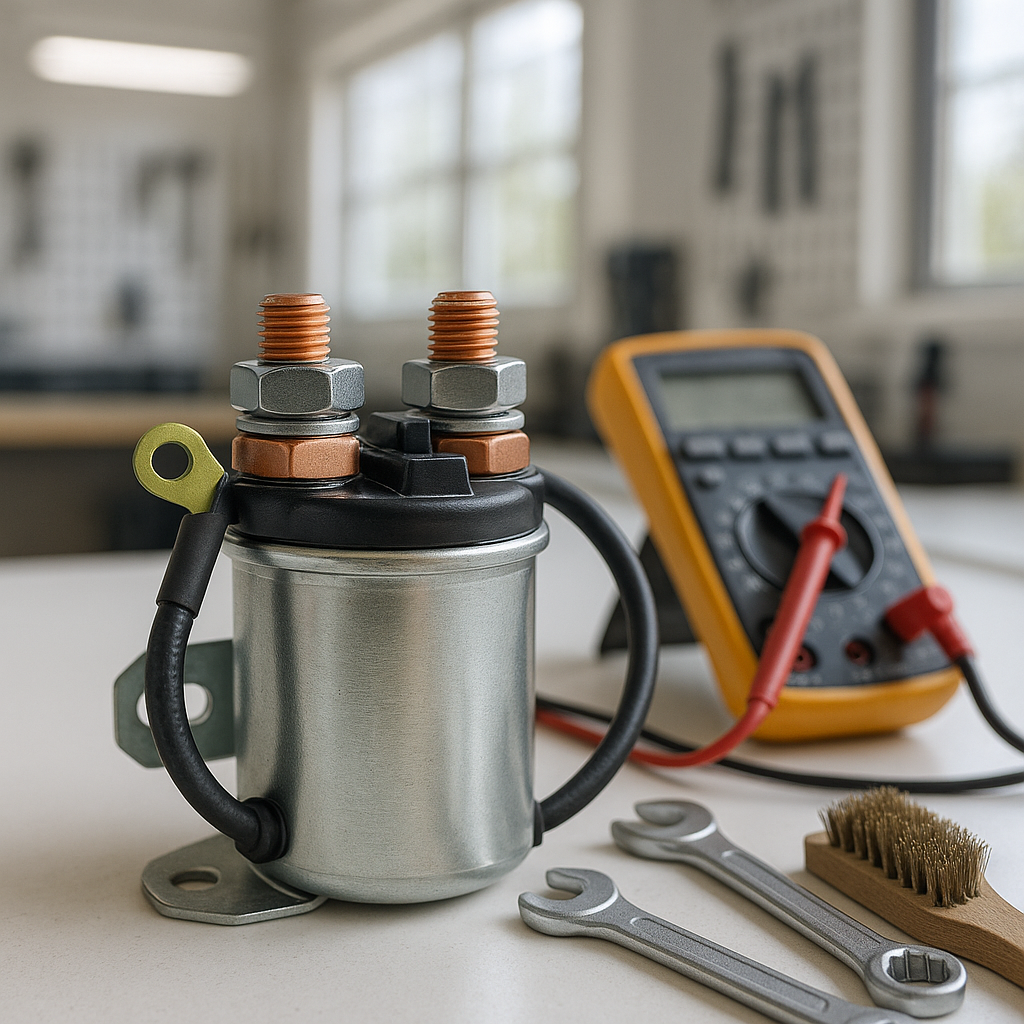
If you press the accelerator and hear a click but nothing happens — or worse, you hear nothing at all — the solenoid is one of the first things you should check. The solenoid is essentially the high-current switch between your batteries and the rest of the drivetrain. It takes a small signal from the key switch or controller and uses it to close a heavy-duty contact that lets battery power flow to the motor. When it fails, the cart either goes completely dead or behaves erratically. The good news: testing and replacing a solenoid is one of the more straightforward repairs you can do on a golf cart.
Understand What You're Working With
A golf cart solenoid has two sets of terminals: small terminals (usually two) that carry the low-voltage control signal, and large terminals (usually two) that carry the high-current battery and motor connections. When the solenoid is energized — triggered by the key switch and throttle circuit — an internal electromagnet pulls a copper contact plate across the large terminals, completing the power circuit. Over time, that contact plate pits and burns from repeated arcing, and eventually it either welds itself shut (cart runs without input) or burns through entirely (cart goes dead). Knowing which failure mode you're dealing with shapes how you test it.
What You'll Need Before You Start
Gather your tools before you touch anything: a quality digital multimeter capable of reading both DC voltage and continuity, a set of wrenches or sockets for battery terminal bolts, insulated gloves, and safety glasses. Always work with the key out and the run/tow switch (if your cart has one) set to tow. A solenoid sits in a high-current circuit — treat it with the same respect you'd give the battery bank itself.
How to Test the Solenoid
Start by visually inspecting the solenoid. Look for corrosion, burn marks, melted housing, or terminals that have been arcing. Then use your multimeter to check for voltage at the small control terminals while a helper turns the key and gently depresses the accelerator. If you're seeing the expected control voltage at the small terminals but the solenoid isn't clicking, the solenoid coil is likely open — it's not energizing. If it clicks but the cart still won't move, set your multimeter to DC voltage and probe across the two large terminals while the solenoid is energized. A good solenoid in a closed state should show virtually no voltage drop across those large terminals; if you're reading significant voltage there, the internal contacts are badly pitted or burned and the solenoid needs to go. A third test: with the cart fully off and batteries disconnected, check continuity across the large terminals. You should get no continuity at rest. If you do, the contacts are welded shut — that's also a replacement situation.
Choosing a Replacement
Solenoids are not universal. You need to match the voltage rating to your system (a 36V cart needs a 36V-rated solenoid; a 48V cart needs a 48V unit — mixing these will damage the coil immediately or cause premature failure). You also need to match the coil resistance or coil type to your cart's control circuit — some carts use a continuous-duty solenoid, others use an intermittent-duty unit. Finally, confirm the terminal configuration matches what your cart needs. When in doubt, pull the old solenoid and use its part number or take clear photos of all four terminals before sourcing a replacement.
Replacing the Solenoid
Disconnect the negative battery cable before touching anything. Then work through the large terminals first — label or photograph the cable positions before removing them, because reversing the heavy cables can cause problems. Remove the small control wires next, again noting which went where. Unbolt the old solenoid from its mounting bracket, and bolt the new one in place. Reconnect the small control wires first, then the large battery and motor cables. Double-check that all terminals are tight — a loose large terminal will arc and destroy the new solenoid quickly. Reconnect the battery, switch back to run mode, and test. A healthy solenoid will click audibly when you key on and apply throttle, and the cart should move smoothly.
A Few Things That Kill Solenoids Prematurely
Solenoids wear fastest when they're arcing heavily on every engagement — and that usually points to something else in the system. Weak or imbalanced batteries force higher current draw and more arcing at the contacts. A failing controller that hunts or cycles the solenoid rapidly will wear it out fast. Loose cable connections anywhere in the main circuit add resistance and heat. If you're replacing your second solenoid in a short period, look upstream at battery health and cable condition before assuming you got a bad part.
Replacing a solenoid rarely takes more than an hour once you have the right part in hand, and it's one of those repairs that immediately tells you whether it was the problem — the cart either works or it doesn't. Take the time to test properly before you buy, and match the replacement to your exact system voltage and coil type, and you'll have no trouble getting it right the first time.


