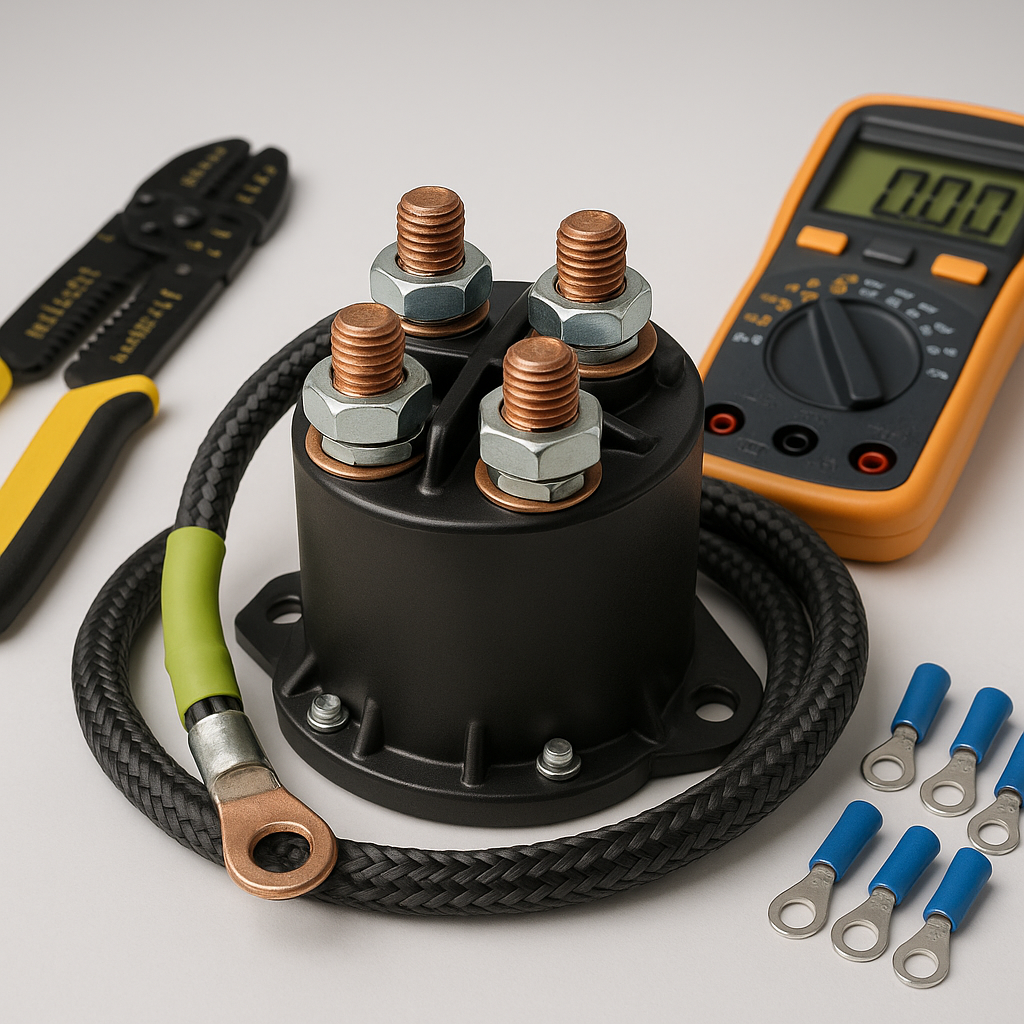
Replacing a golf cart solenoid is only half the job. How you wire it up determines whether that new part lasts years or burns out in a matter of weeks. Incorrect terminal connections, loose lugs, or running wires in the wrong sequence are all common mistakes that cause arcing, heat buildup, and premature solenoid failure. This guide walks through the wiring process in clear, practical terms so you can do it correctly from the start.
Understand the Solenoid's Four Terminals First
Most golf cart solenoids have four terminals: two large posts and two small posts. The two large posts carry the main battery current — one connects toward the battery pack side, the other toward the motor controller or motor. The two small posts carry the low-amperage control signal that energizes the solenoid coil, causing it to click and close the main circuit. Mixing these up is a critical error. Before disconnecting anything on the old solenoid, use your phone to photograph the existing wiring from multiple angles. That photo is your roadmap.
Disconnect Power Before You Touch Anything
On an electric golf cart, this means unplugging the main battery pack negative cable from the pack — or if your cart has a main disconnect plug (common on many EZGO and Club Car models), pull that plug first. Never work on solenoid wiring with the pack energized. The main terminals on a solenoid carry the full voltage and amperage of your battery system. A dropped wrench across those terminals can weld itself in place, destroy components, and cause serious injury. Confirm the cart is in neutral and the key is out before proceeding.
Label Everything Before You Remove It
Even with a reference photo, physically labeling wires with masking tape and a marker saves headaches. Mark each wire with where it came from: large post battery-side, large post controller-side, small post positive, small post negative. On many carts, the small control wires run from the key switch circuit and the throttle/accelerator sensor through the solenoid coil — getting these swapped can cause the cart to not move, or in some cases, to lurch unexpectedly when power is restored.
Match the New Solenoid to the Old One's Orientation
Solenoids are not always symmetrical, and the large posts are not always interchangeable between battery-side and controller-side — even though they look identical. Check your cart's wiring diagram (available in the service manual or often free from the manufacturer's support site) to confirm which large post should face which direction. On some solenoid designs, internal construction makes the polarity of the large posts matter for proper operation and longevity. When in doubt, match orientation exactly to what came out.
Wiring Sequence and Terminal Torque
When connecting the new solenoid, start with the small control wires first, then move to the large battery cables. Use appropriately sized ring terminals in good condition — if your existing terminals are corroded, cracked, or show signs of heat damage, replace them now rather than transferring the problem to a new part. Tighten large terminal nuts firmly but don't overtighten; stripped threads or cracked posts are irreversible damage. A light coating of dielectric grease on the large terminals after tightening helps resist moisture and corrosion over time.
Test Before You Button Everything Up
Reconnect your battery negative or main disconnect plug, sit in the driver's seat, and turn the key. You should hear a distinct click from the solenoid when the cart is placed in forward or reverse and the throttle is slightly applied — that's the coil pulling the internal contacts closed. No click usually means the control circuit (key switch, accelerator switch, or wiring to the small posts) has an issue. A click but no movement points to the main circuit — check continuity across the large posts with a multimeter while the solenoid is energized. Catching a wiring error at this stage is far easier than diagnosing it after the cart is fully reassembled.
Taking an extra 20 minutes to wire a solenoid correctly is the difference between a repair that holds up for years and one that puts you back in the same spot next season. Clean connections, correct terminal identification, and a quick functional test are the non-negotiable parts of doing this job right.


