Installing LED lights on your golf cart is a practical way to improve visibility and safety, especially during nighttime rides. LED lights are energy-efficient, long-lasting, and provide bright illumination compared to traditional bulbs. This guide will walk you through the general steps to install LED lights on your golf cart, ensuring you can navigate with confidence in low-light conditions.
Gather Your Tools and Materials
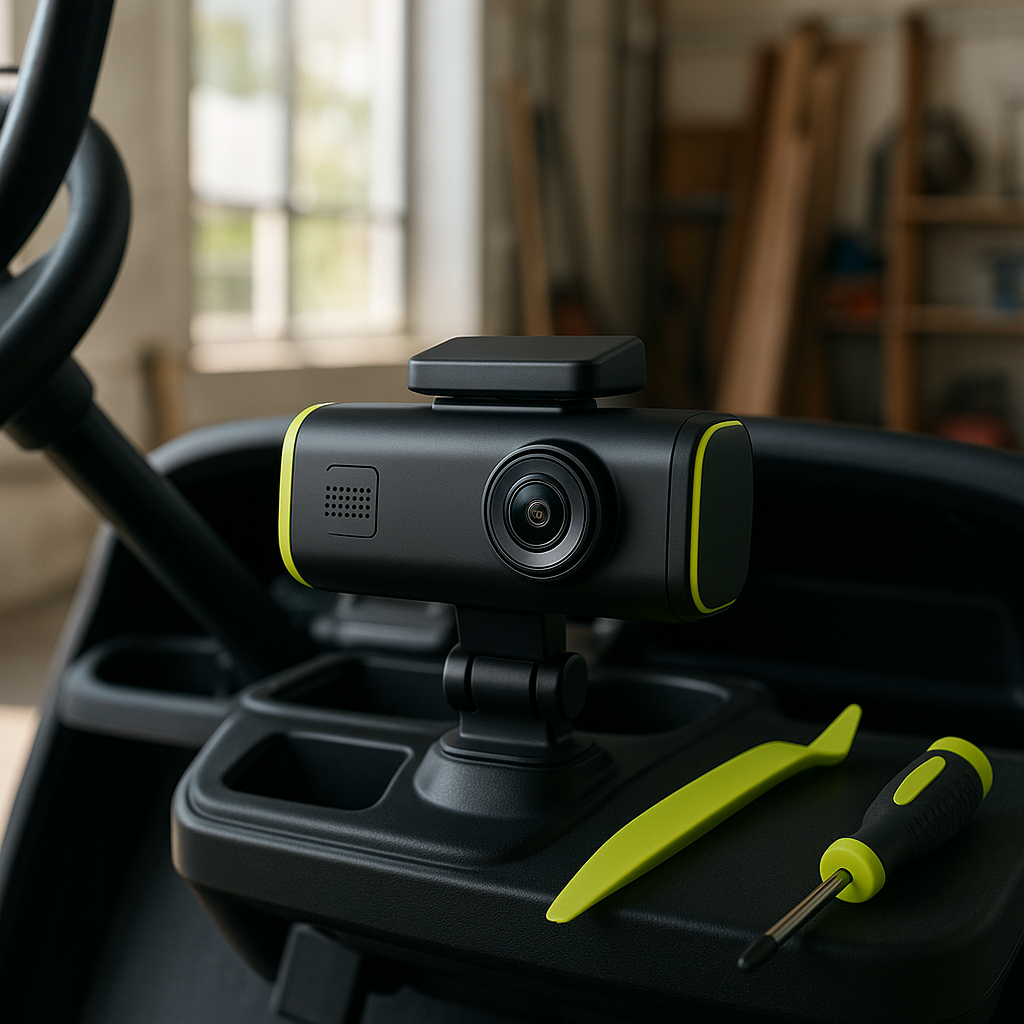
Before starting the installation process, make sure you have all necessary tools and materials on hand. Generally, you will need LED light kits, wire connectors, electrical tape, a drill, a screwdriver, and possibly a multimeter for testing electrical connections. Having everything ready will streamline the process and minimize interruptions.
Plan Your Light Placement
Decide where you want to install the LED lights on your golf cart. Common placements include the front for headlights, the rear for taillights, and sides for turn signals. Consider the visibility and functionality of each light location. Mark the spots where you’ll drill holes for mounting the lights, ensuring they are positioned for optimal illumination without obstructing your view.
Wiring the LED Lights
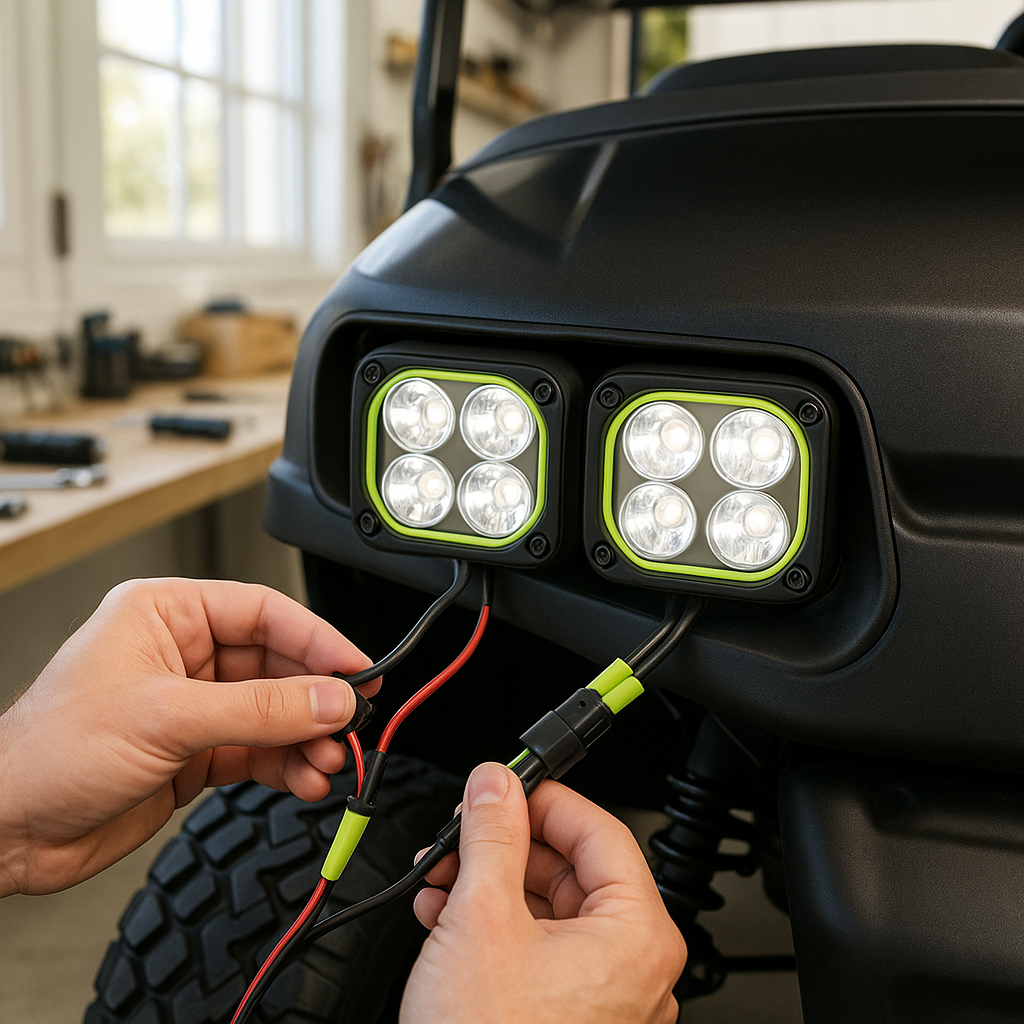
Once you have the lights mounted, it’s time to connect the wiring. Start by identifying the positive and negative wires from the LED light kit. Connect these wires to the corresponding power source on your golf cart, which is typically the battery or the existing light circuit. Use wire connectors to secure the connections and wrap them with electrical tape for added protection against moisture and wear.
Testing the Lights
After wiring the lights, it’s crucial to test them before finalizing the installation. Turn on the golf cart and activate the lights to ensure they function correctly. Check each light individually, including headlights, taillights, and turn signals. If any lights do not work, double-check your wiring connections and ensure there are no loose ends or faulty connections.
Securing and Finalizing the Installation
Once you’ve confirmed that all lights are operational, secure any loose wires with zip ties or clips to prevent them from dangling or getting caught in moving parts. Make sure all connections are tight and protected from the elements. Finally, clean up your workspace and take your golf cart for a test drive to experience the improved visibility firsthand.