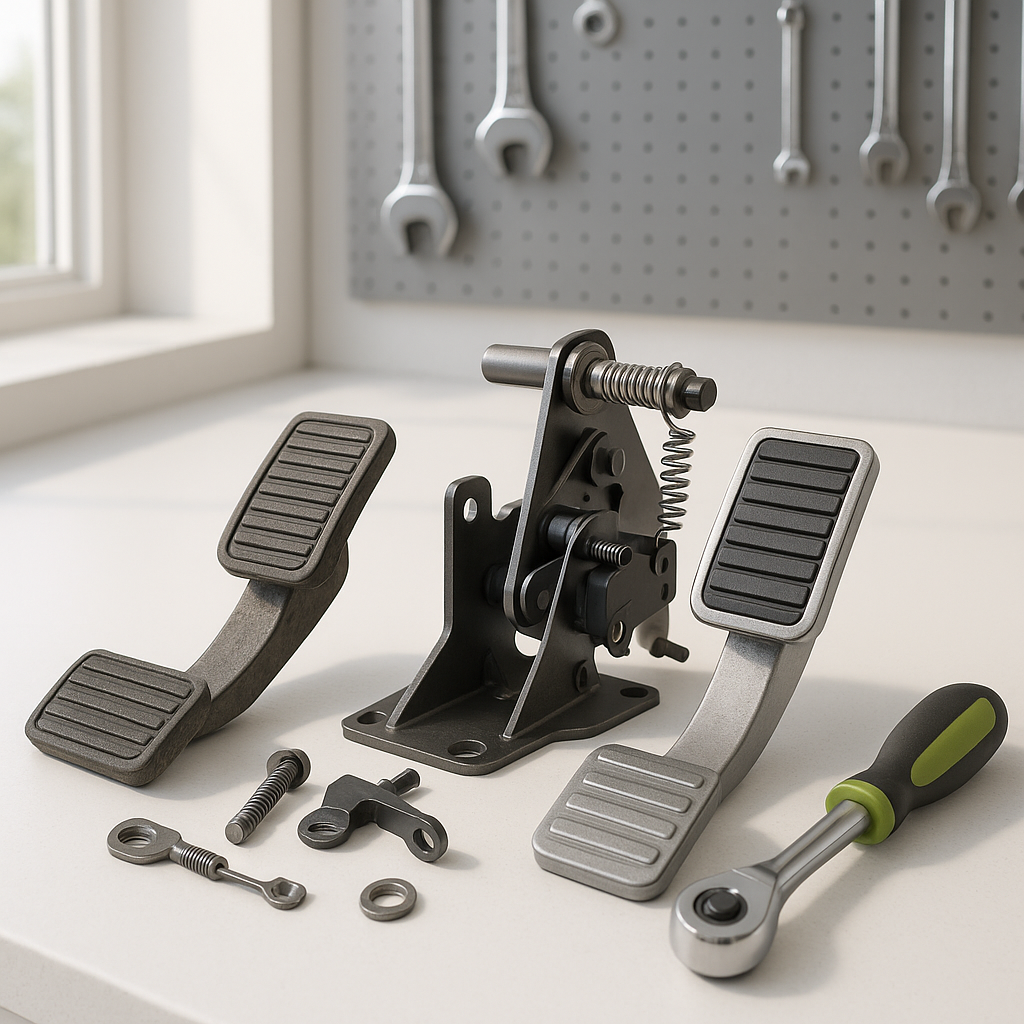
The accelerator pedal assembly is one of the most-used mechanical components on any golf cart, and it takes a beating over time. On electric carts, the pedal assembly connects to a throttle potentiometer or micro-switch that signals the controller to deliver power. On gas carts, it links mechanically to the engine throttle. When the assembly wears out — springs weaken, pivot pins corrode, or the internal switch fails — you'll notice symptoms like hesitation off the line, a cart that surges unexpectedly, or one that simply won't respond when you press the pedal. Recognizing when the whole assembly needs to come out, rather than just adjusting linkage or replacing a single component, will save you a lot of diagnostic time.
Before You Start: Safety First
Always disconnect your battery pack before working on any part of the drivetrain or control circuit. On electric carts, disconnect the main negative battery cable. On gas carts, disconnect the battery and make sure the engine is cold. Set the parking brake, chock the wheels, and place the cart in neutral if possible. The accelerator assembly sits close to wiring and, on electric carts, to components that carry significant voltage when live — treat them with respect even when the cart appears to be off.
Identifying Your Pedal Type
Golf cart accelerator assemblies generally fall into two categories. Older electric carts often use a mechanical pedal box that pushes on a resistor card or actuates a series of micro-switches, while modern electric carts use a pedal position sensor (sometimes called an ITS or inductive throttle sensor) that sends a variable signal to the controller. Gas carts use a simpler cable-pull throttle linkage connected directly to the engine carburetor or throttle body. Identify which type you have before sourcing a replacement, because the disassembly and reinstallation steps differ meaningfully between them. Check your cart's make, model, and year — EZGO, Club Car, and Yamaha all use different mounting configurations and connector styles.
Removing the Old Pedal Assembly
Start by pulling back or removing any floor mat or carpet covering the pedal area so you have clear access to the mounting hardware. Most assemblies bolt directly to the floor pan with three to five bolts and may also have a bracket that ties into the frame rail. Take a photo of the existing wiring connections or cable routing before you disconnect anything — it's easy to forget which connector goes where, especially on electric carts with multiple wires running to the pedal box. Disconnect the wiring harness or unplug the sensor connector, then disconnect the throttle return spring (if present) and any cable that runs to the engine or microswitch. Remove the mounting bolts and lift the assembly clear. Inspect the mounting surface for corrosion or cracked welds; address those before installing the new part.
Installing the New Assembly
Set the new assembly in position and hand-thread all mounting bolts before tightening any of them — this ensures the assembly seats flat against the floor pan without being torqued at an angle. Reconnect the throttle cable or wiring harness using your reference photos. On electric carts with a potentiometer-style sensor, confirm that the connector is fully seated and latched; a loose connection here will cause intermittent throttle behavior that can be frustrating to diagnose later. Reinstall the return spring if your assembly uses one, and verify that the pedal returns fully to the rest position under spring tension alone before reconnecting the battery. A pedal that doesn't return all the way on its own is a safety issue — address it before driving the cart.
Testing and Adjustment
With everything reconnected, sit in the cart and press the pedal slowly through its full range of travel. On gas carts, have a helper watch the throttle linkage at the engine to confirm it moves freely and smoothly. On electric carts, reconnect the battery, turn the key on, and listen for the solenoid to click when you press the pedal — that's your first confirmation the signal is reaching the controller. Drive the cart slowly in a safe, open area and test gradual acceleration, not just full-throttle. Pay attention to whether the cart moves immediately when you apply light pedal pressure, whether it accelerates smoothly without surging, and whether it coasts to a stop cleanly when you lift off. If you have access to a diagnostic tool compatible with your controller, check for any fault codes related to throttle input before considering the job done.
Common Mistakes to Avoid
One of the most common errors is buying a replacement assembly based on appearance alone without verifying it matches the specific connector and sensor type your controller expects. A pedal assembly with the wrong potentiometer range or the wrong switch logic can cause the cart to behave erratically or refuse to move even when everything looks correct. Another frequent mistake is skipping the return spring or reinstalling it with insufficient tension — the pedal must snap back to zero without any help from your foot. Finally, don't ignore corrosion at the floor pan mounting points. Bolting a new assembly to a rusted floor is a short-term fix; clean and treat the surface so the new part has a solid, lasting foundation.


