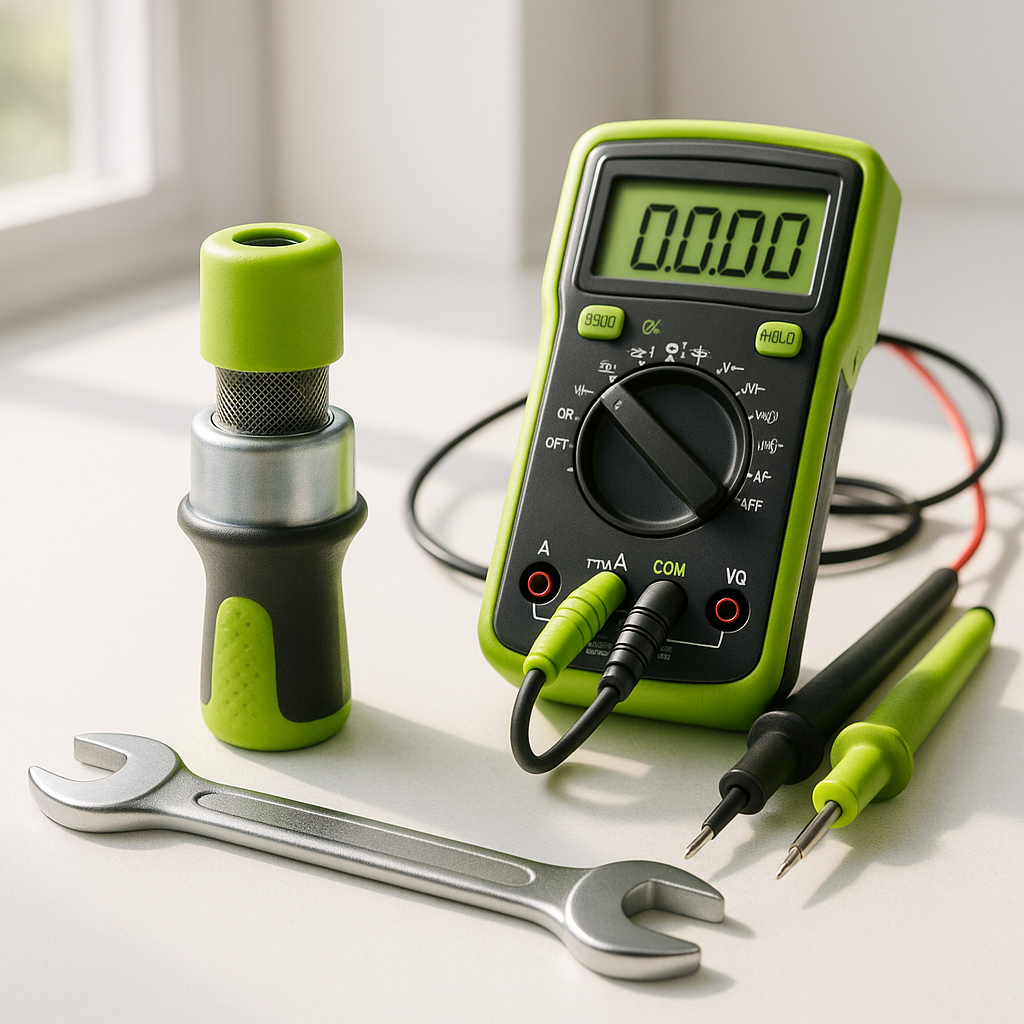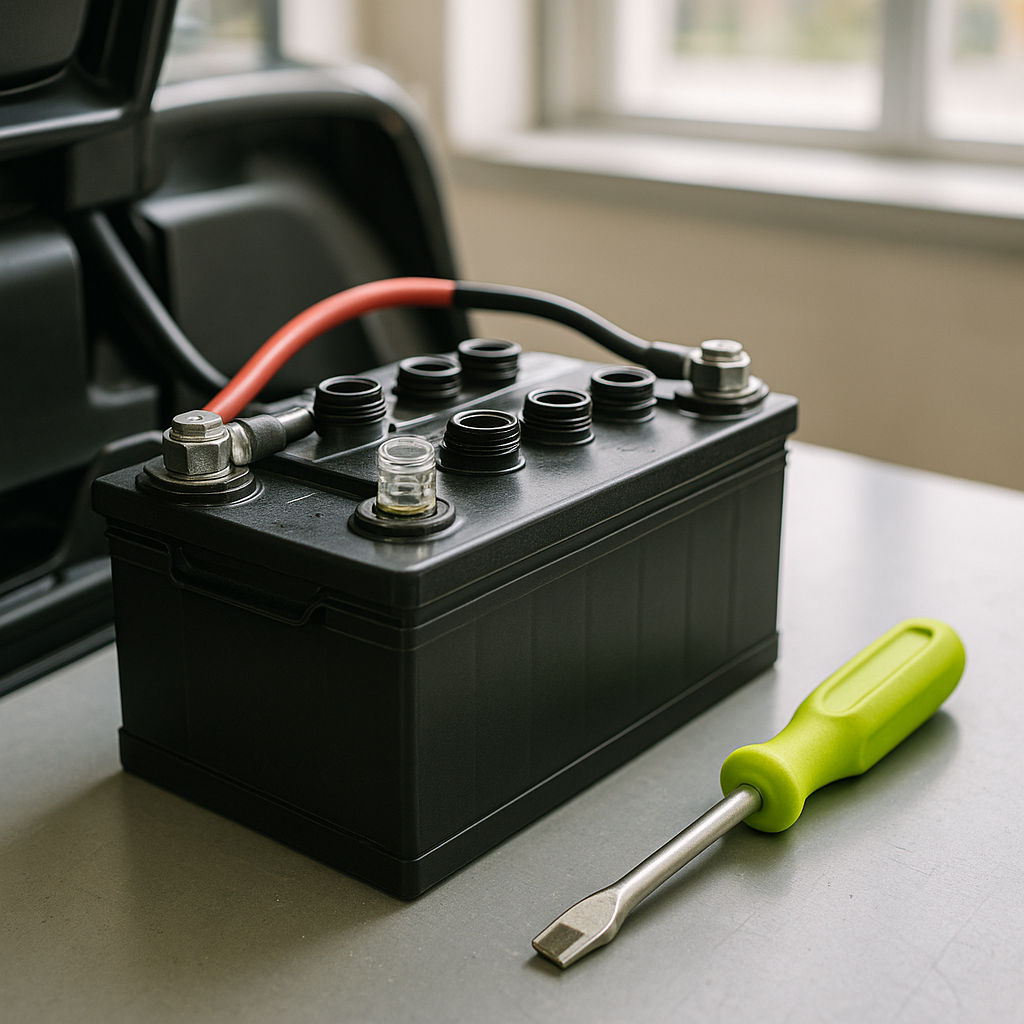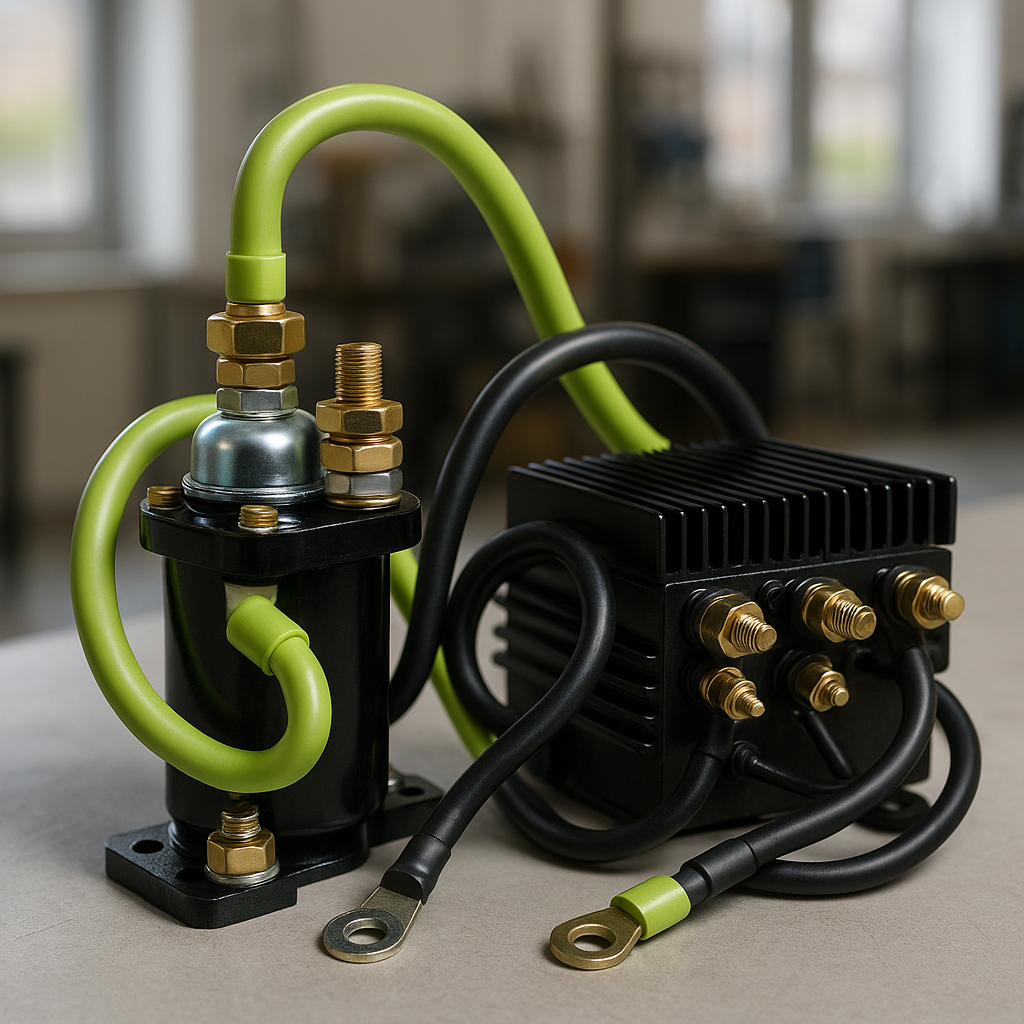
If your golf cart feels sluggish, loses power under load, struggles to charge properly, or behaves erratically despite having batteries that test reasonably well, the battery cables are one of the first things you should inspect. Cables and their connections are easy to overlook — they look solid from a distance — but corroded terminals, loose connections, and degraded cable insulation cause a surprisingly large share of the power and performance complaints cart owners experience. The good news is that diagnosing cable problems is mostly visual and takes no special equipment beyond a basic voltage meter.
Start with a Visual Inspection
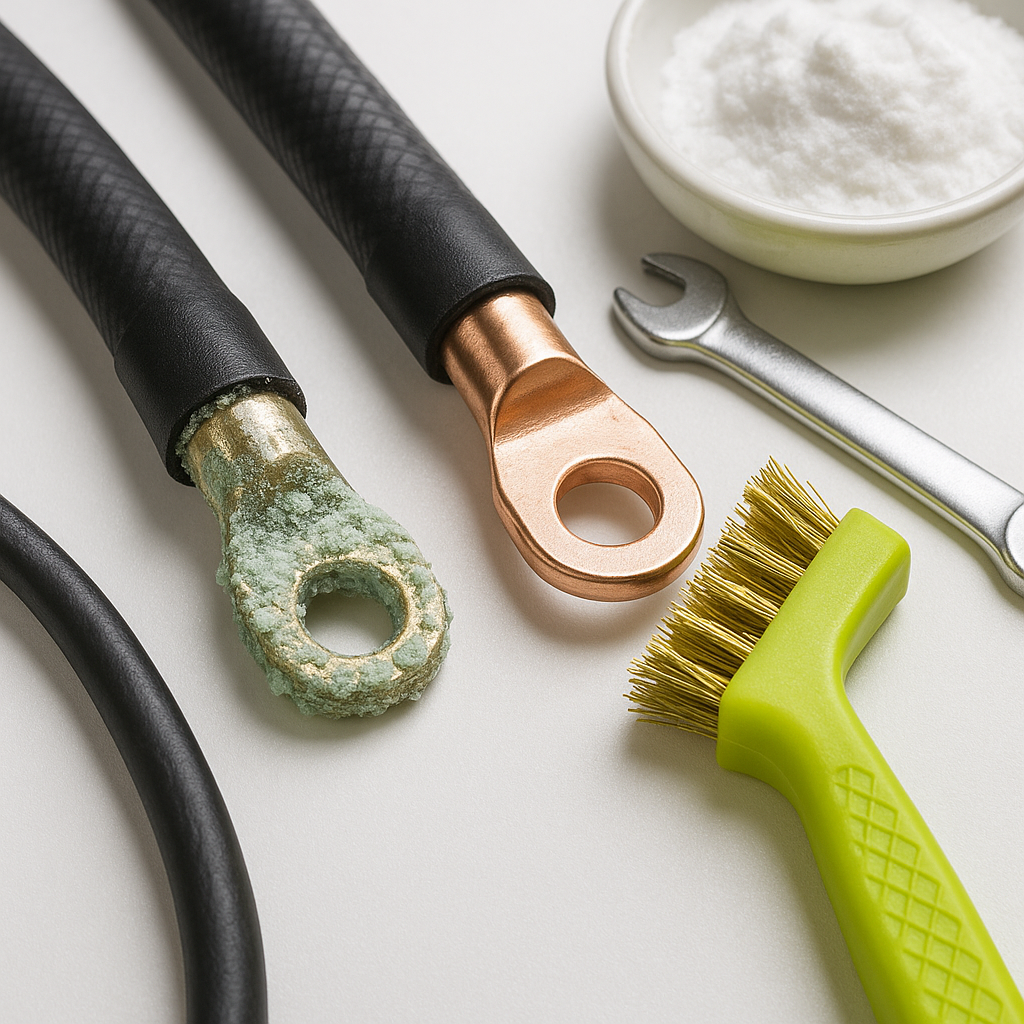
Begin with the cart off and the key removed. Look closely at every battery terminal and cable end in the pack. What you're looking for: blue-white or greenish powdery buildup (that's corrosion), terminals that are loose enough to wiggle by hand, cable ends that look swollen, cracked, or melted at the insulation near the lug, and any sign of heat damage — discoloration, melted plastic, or a burnt smell near a connection. Even a small amount of corrosion at a terminal creates electrical resistance, and resistance means voltage drop, heat, and wasted power. On a multi-battery pack, you're checking every connection in the series string, not just the main positive and negative leads going to the controller.
Check for Voltage Drop Under Load
A visual check catches obvious problems, but corrosion can exist under a terminal clamp where you can't see it, or inside the cable itself if it's older and has been exposed to moisture. A simple voltage drop test helps here. With a multimeter set to DC volts, measure across each cable while the cart is under load — either with someone pressing the pedal or with an accessory drawing current. You should see very little voltage drop across a healthy cable and clean connection. If you see meaningful voltage drop across a single cable run or terminal, that cable or connection is adding resistance it shouldn't. Work your way through each segment of the pack this way to isolate the problem cable.
Common Causes of Cable Failure
Most cable problems trace back to a handful of root causes. Corrosion is the most common — it builds up over time, especially in humid environments or on carts that get washed frequently. Loose connections are the second most common cause; terminals back off over time from vibration and thermal cycling (the natural expansion and contraction that happens during charging and discharging). Undersized or damaged cables are another issue — if a previous owner replaced cables with wire that wasn't rated for the current your system draws, those cables will run warm and degrade faster than they should. Finally, age matters: cable insulation becomes brittle and can crack, especially where cables are routed around sharp edges or tight bends.
Cleaning vs. Replacing
If corrosion is the primary issue and the cables themselves are in good shape — no cracks, no swelling at the lugs, no heat damage — cleaning the terminals is a legitimate fix. A baking soda and water solution neutralizes the acid-based corrosion, followed by a rinse, thorough drying, and a coat of terminal protector spray or dielectric grease to slow future buildup. However, if the lug itself is heavily pitted, if the cable is cracked or stiff, or if you find any evidence of heat damage at or near a connection, replacement is the right call. A compromised cable won't get better with cleaning — it'll continue to drop voltage, run warm, and eventually fail more completely at the worst possible time.
Cable Sizing Matters
When replacing cables, use wire that's correctly sized for your cart's voltage system and the current it draws. Golf cart battery cables are generally available in heavier gauges like 2 AWG and 6 AWG, and the right choice depends on cable length and your system's demands — longer runs need heavier wire to keep resistance in check. Tin-plated copper lugs and pure copper conductors are the standard to look for; they resist corrosion better and maintain conductivity longer than cheaper alternatives. If you're upgrading to a higher-performance motor or a higher-voltage system, this is also the time to revisit whether the existing cable gauge is still adequate for the increased current draw.
After You Fix It
Once you've cleaned or replaced the cables, torque all terminal connections firmly — loose connections will recreate the problem faster than anything else. Apply terminal protector to every connection before you close everything back up. Then do a quick functional check: charge the cart, test the voltage across the pack, and take it for a short drive to confirm the sluggishness or erratic behavior is gone. Going forward, make terminal inspection a part of your seasonal maintenance routine. Catching early corrosion before it becomes a real resistance problem is far easier than diagnosing a half-dead pack that's actually being starved by a single bad cable.