If your golf cart's brake pedal sinks low or travels all the way to the floor before slowing the cart, don't brush it off as normal wear. This is one of the clearest signs that something in your brake system has failed or is close to failing. The good news is that most golf carts use a relatively simple mechanical brake setup, which means a systematic visual inspection can usually point you to the problem without any specialty tools.
Understand What's Normal First
A properly adjusted brake system should engage with firm resistance well before the pedal reaches its lowest point. If you're pressing the pedal and it's traveling more than about halfway down before you feel real stopping power — or if it keeps creeping lower over time — that's the issue you need to diagnose. This is different from brakes that feel weak at full pressure. A pedal that sinks is specifically telling you there's something wrong with mechanical leverage, cable tension, or component condition rather than just pad wear.
Start With the Brake Cable
On most golf carts, the braking system is entirely mechanical, meaning there's no hydraulic fluid to leak. The cable is your first suspect. A brake cable that has stretched significantly, frayed internally, or slipped at one of its end fittings will allow the pedal to travel further before tension builds up. Look at both ends of the cable — at the pedal linkage and at the drum assembly — and check that both anchor points are secure and haven't slipped. Pull the cable housing gently and look for any obvious kinks, rust, or signs of fraying where it exits the housing. A cable that looks intact externally can still be stretched, so if everything looks fine visually but the pedal is still low, cable stretch is still a likely culprit.
Check the Brake Adjusters
Most drum brake systems have an adjustment mechanism — either a star wheel adjuster or a threaded rod — that sets how close the brake shoes sit to the inside of the drum. Over time, as the shoes wear down, this gap increases and the pedal has to travel further to take up the slack before the shoes contact the drum. On many carts this is accessible through a slot or opening near the drum without removing the wheel. Turning the adjuster incrementally brings the shoes closer to the drum, which raises the pedal's engagement point. If your brakes respond well once they finally grab but just engage very late in the pedal stroke, improper or neglected adjustment is likely your entire problem.
Inspect the Brake Shoes and Drum
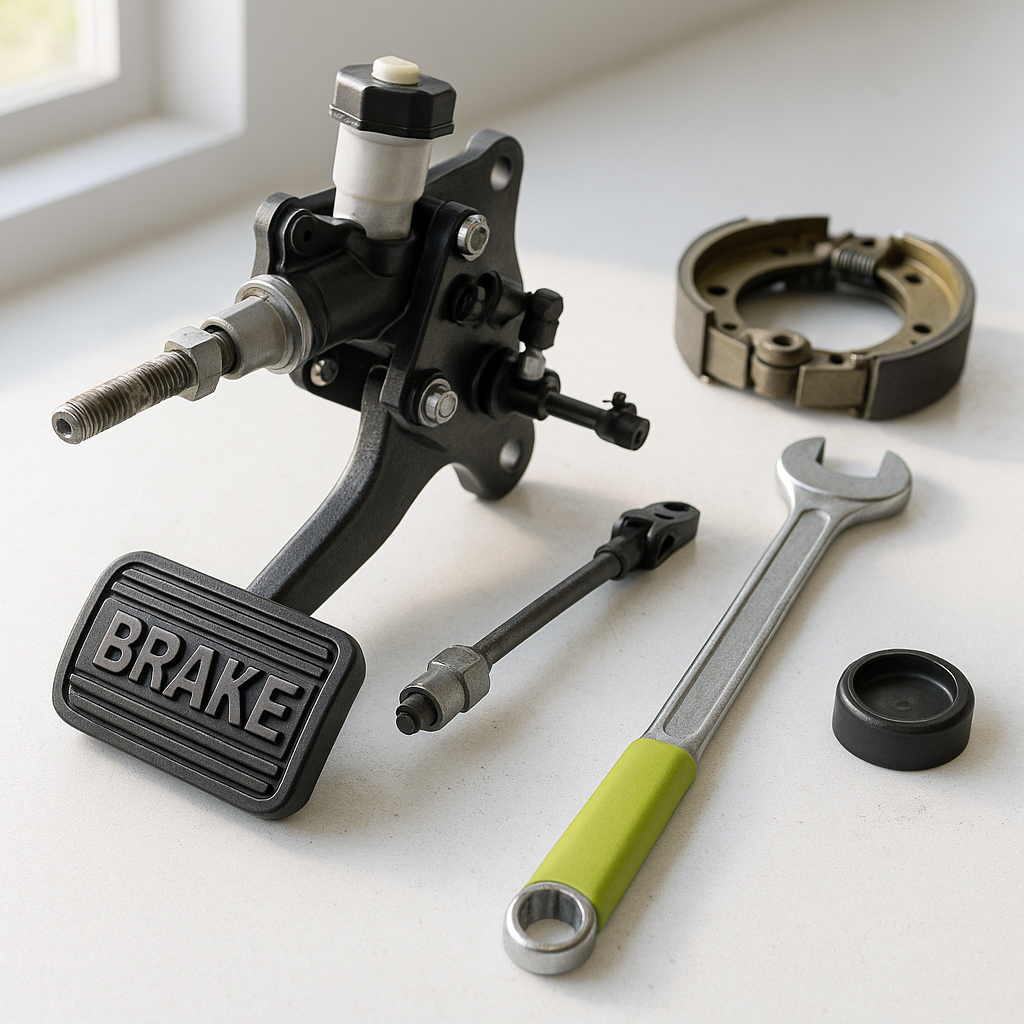
If adjusting the cable tension and the shoe clearance doesn't bring the pedal back up, pull the drum and look at what's inside. Brake shoes that are worn past their usable thickness will no longer generate enough friction even when fully pressed against the drum. Look at the lining material — if it's thin, glazed, cracked, or contaminated with grease, the shoes need to be replaced. While the drum is off, run your finger around the inner surface. Deep grooves, scoring, or a lip at the edge of the drum's contact area mean the drum is worn and should be resurfaced or replaced. A worn drum paired with new shoes won't perform the way you expect, so always inspect both together.
Look at the Pivot Points and Linkage Hardware
The brake pedal connects to the cable or actuating lever through a series of pivot bolts, clevis pins, and sometimes a return spring. If any of these pivot points are badly worn or corroded, the linkage develops slop that translates into extra pedal travel. Wiggle the pedal by hand with the cart off and look for any play in the pivot hardware — there shouldn't be much. A missing cotter pin can let a clevis pin walk out partway, a worn clevis hole can elongate, or a pivot bolt can wear oval. These are small parts but they directly affect pedal feel and engagement point.
Don't Overlook the Rear Brake Balance
Most golf carts brake on the rear wheels only. If the cart has a dual-cable or equalizer setup, an imbalance between the two sides can cause one brake to do most of the work while the other drags or barely engages. This doesn't always manifest as a pulling problem — sometimes it shows up as a pedal that feels mushy because the force isn't being transferred evenly. Check that your equalizer bar or cable junction moves freely and sits centered when the brakes are applied. If one side's cable is significantly tighter than the other, that side is taking most of the load and will wear faster while the pedal feel suffers overall.
When to Stop DIYing and Get Real Help
Brakes are the one system on any vehicle where you need to be certain before you drive it. If you've worked through these checks and can't identify a clear cause, or if you find a combination of worn parts that's going to require more than one repair, don't half-fix it and hope for the best. A sinking pedal that returns after a fresh adjustment is telling you something is worn beyond what adjustment can compensate for. Replace the worn parts completely, re-adjust from scratch, and do a slow-speed test in a safe open area before trusting the cart at full speed on a hill or around other people.