Brake problems on a golf cart rarely announce themselves all at once. More often it's a gradual change — the pedal feels a little softer, the cart takes a few extra feet to stop, or you hear a faint scraping sound on one side. Because golf carts run at lower speeds than road vehicles, it's easy to dismiss these early warning signs until the problem becomes serious. Don't. A cart that can't stop reliably is a genuine safety hazard, especially on hilly terrain or around pedestrians. This guide walks you through how to systematically find the source of your brake trouble before you start swapping parts.
Start With the Obvious: Visual Inspection First
Before touching anything mechanical, do a walk-around with the cart on a flat, level surface. Look at the rear wheels (most golf carts use rear drum brakes) for any signs of brake dust buildup, rust streaking from the drum, or grease contamination near the wheel hub. Grease on the brake drum or shoes is one of the most common and most overlooked causes of brake failure — a leaking axle seal can coat the friction material and kill stopping power almost entirely. If you see a dark, oily residue around the hub area, you likely have a seal problem that needs to be fixed before any brake parts are replaced.
Check the Brake Cable and Linkage
Most golf carts use a mechanical cable system to actuate the rear brakes. Over time these cables stretch, fray, corrode, or seize inside their housing — especially on carts stored outdoors or used in wet conditions. With the cart safely blocked so it can't roll, have a helper press the brake pedal while you watch the cable and linkage move. The cable should pull smoothly and evenly with no slack at the start of pedal travel. If there's a lot of free play before the brakes engage, the cable has likely stretched or the adjuster is out of position. If the cable barely moves at all, it may be seized in the housing. A seized cable won't free up with lubrication alone — it needs to be replaced.
Inspect the Brake Drums and Shoes
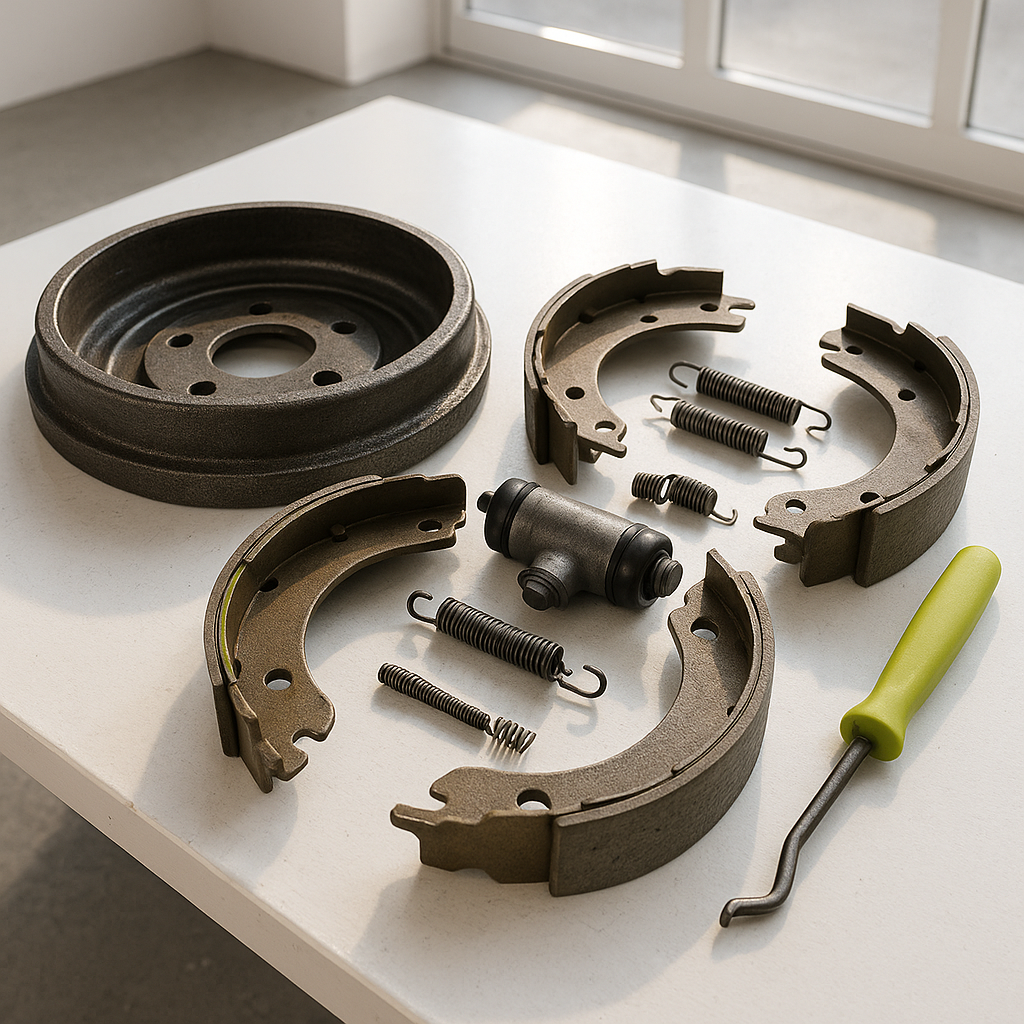
Drum brakes work by pressing curved friction shoes outward against the inside of a spinning drum. Both surfaces wear over time, and the relationship between them matters. If the shoes are worn thin, contact area is reduced and stopping power drops off. If the drum itself is scored, grooved, or out-of-round from heat or corrosion, the shoes can't make consistent contact. To get a real look, you'll need to pull the wheel and drum — on most golf carts this is a straightforward job, though the drum can be stubborn if rust has bonded it to the hub. Once the drum is off, look at the shoe lining thickness. If it's worn close to the metal backing, replacement is overdue. Measure the inside of the drum if you can — a drum that's been machined too many times or worn past its usable diameter should be replaced rather than reused.
Diagnose Specific Symptoms
The symptom your cart shows can point you toward the likely cause. A spongy or soft pedal that slowly firms up is often a sign that the self-adjuster (if your cart has one) isn't keeping up with shoe wear — manual adjustment may be all that's needed. A pedal that sinks to the floor with little resistance usually means the shoes are severely worn or the cable has lost its effective travel. If the cart pulls to one side under braking, suspect uneven shoe wear, a stuck wheel cylinder (on hydraulic systems), or contamination on one side's drum or shoe. A grinding or metallic scraping noise almost always means the shoe lining is gone and the metal backing is contacting the drum — at that point, the drum itself may be damaged too. Squealing that happens only when cold and goes away is usually minor; squealing that persists under normal braking conditions warrants inspection.
Don't Overlook Adjustment
Many brake complaints that seem like worn-out parts are actually just adjustment issues. Golf cart drum brakes need periodic adjustment as the shoes wear down — the drum-to-shoe clearance increases, pedal travel grows, and stopping power weakens even though the shoes still have plenty of lining left. Most carts have an adjustment mechanism accessible through a slot in the backing plate or the drum itself. Adjusting the shoes closer to the drum restores pedal feel and stopping effectiveness. It's a maintenance item, not a repair, and it's something most owners can do with basic tools. If you've adjusted the brakes and the pedal still feels poor, then it's time to look more closely at the shoes, cable, and drum condition.
When to Replace vs. Repair
Once you've diagnosed the source, the fix is usually straightforward: replace stretched or seized cables, replace worn or contaminated shoes, replace scored or out-of-spec drums. As a general rule, always replace brake shoes in axle pairs — doing one side only leads to uneven braking and the pulling problem you were trying to fix. If the drum is contaminated with grease, clean it thoroughly, but also find and fix the source of the grease or it will happen again. And if you're putting new shoes on a heavily grooved drum, the shoes will wear unevenly and quickly — resurfacing or replacing the drum at the same time is the smarter long-term call.
Golf cart brakes aren't complicated, but they do need regular attention. A methodical inspection — cable, linkage, shoes, drums, adjustment — will tell you almost everything you need to know. Work through the system in order, don't guess at the cause, and make sure whatever you replace actually addresses the root problem rather than just the symptom.