Golf cart brakes get overlooked until something goes wrong — and by then, you're either rolling through a fence or screeching to a stop in front of your golf buddies. The good news is that most brake problems follow predictable patterns, and a systematic diagnostic approach will usually point you straight to the cause without guesswork. Whether your cart uses mechanical drum brakes or disc brakes, the core troubleshooting logic is the same.
Start With the Symptoms
The symptom tells you where to look first. A spongy or soft pedal (on hydraulic systems) usually points to air in the lines or a fluid leak. A high, firm pedal that barely slows the cart often means worn friction material or a stretched cable on mechanical systems. Grinding or scraping noises are almost always a sign that brake pads or shoes have worn down to metal-on-metal contact — stop driving immediately and inspect. If the cart pulls to one side under braking, one side is doing more work than the other, which usually means a seized component, uneven wear, or a sticking cable on the weaker side.
Check the Brake Cable First on Mechanical Systems
Most golf carts — especially older gas and electric models — use a mechanical cable-actuated drum brake system. These cables stretch over time, corrode at the ends, and fray inside the housing without showing obvious external damage. Start by visually tracing the full length of each cable from the pedal assembly to the rear axle. Look for kinks, fraying, rust, or areas where the outer housing has cracked. Then check cable tension: with the pedal at rest, there should be minimal slack but the brakes shouldn't be dragging. Too much slack means the cable has stretched or the adjustment nut has backed off. Too little slack — or a cable that won't release fully — means it's binding, which causes brake drag and accelerated wear.
Inspect the Drums and Shoes
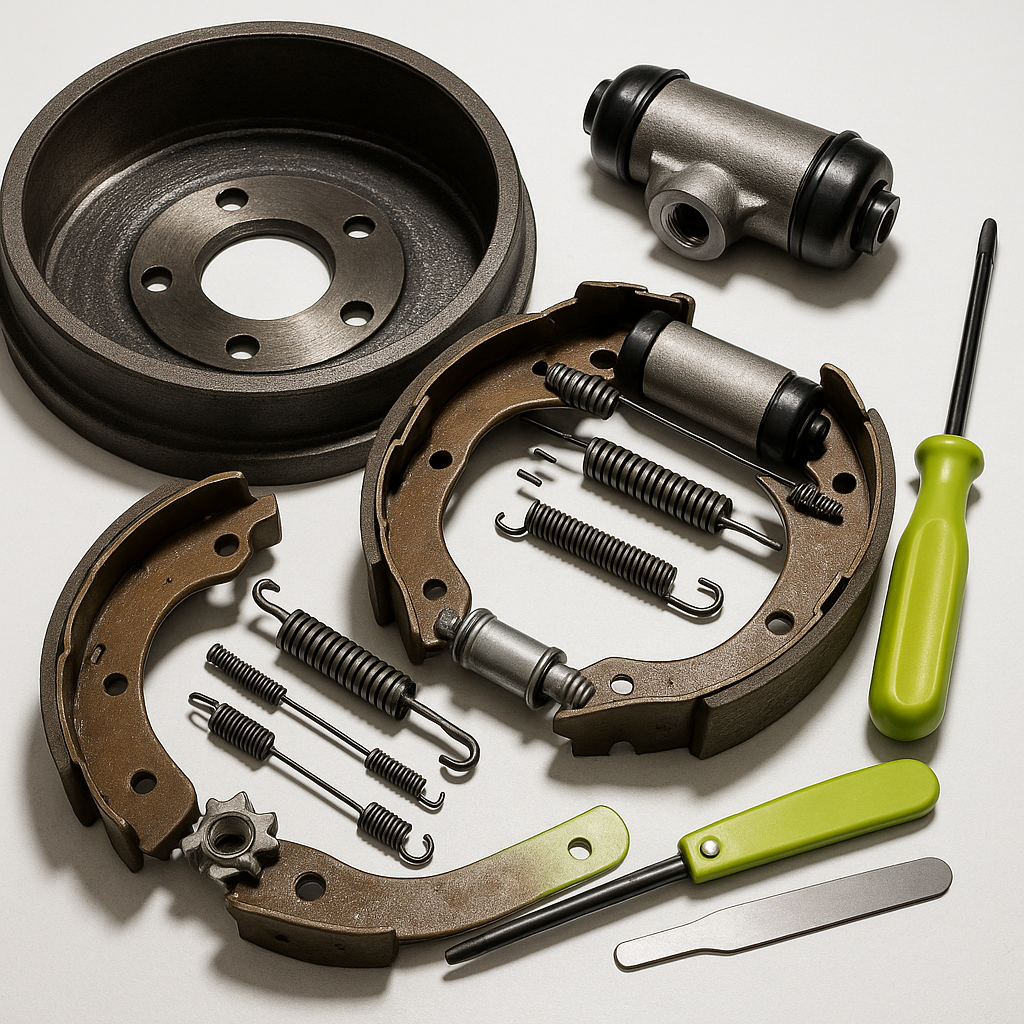
On drum brake systems, the brake shoes press outward against the inside of a spinning drum to create friction. Pull the rear wheels and drums if you suspect wear or noise. Inside, you're looking for shoe lining thickness — if the friction material is worn thin or worn unevenly, replace the shoes as a full axle set, never just one side. Check the drum surface itself for scoring, deep grooves, or heat cracks. Light surface rust after the cart has been sitting is normal and usually self-cleans after a few brake applications. Deep scoring means the drum itself needs to be resurfaced or replaced. Also inspect the wheel cylinders if your system is hydraulic — any wetness or residue around them indicates a seal leak that must be addressed before the brakes will work reliably.
Don't Ignore the Adjuster and Hardware
Drum brakes have an adjuster mechanism that compensates for shoe wear over time. On many golf carts this adjuster is manual and is often never touched until something goes wrong. If your brakes feel weak but the shoes still have material, back off the drum and turn the adjuster star wheel to bring the shoes closer to the drum surface. The goal is a light drag when you spin the drum by hand — just barely touching. While you're in there, check all the return springs, hold-down clips, and pins. Weak or broken return springs are a common cause of brake drag and uneven wear because the shoes don't fully retract after each stop.
Check Brake Pad Condition on Disc Systems
Some newer and higher-end golf carts use disc brakes, which are easier to inspect visually. With the wheel on, look through the caliper at the pad thickness. Most pads have a wear indicator groove — when that groove disappears, you're due for replacement. Check both the inboard and outboard pads, since they often wear at different rates if the caliper is sticking. Uneven pad wear side-to-side on a single rotor almost always means a seized caliper piston or slide pin. Flush the caliper slides and lubricate them with appropriate brake grease if they're corroded. Never use standard grease on brake components — it degrades rubber seals and can contaminate friction surfaces.
Test the Full System Before Calling It Fixed
After any repair or adjustment, always do a slow-speed test before returning the cart to normal use. Find a flat area with room to stop and apply the brakes firmly from walking speed. The cart should stop straight, without pulling, grinding, or requiring excessive pedal travel. Then test on a slight downhill to confirm the brakes can hold the cart stationary. If your cart has a parking brake, verify it holds independently. If anything still feels off after your repairs, revisit your work — brake systems have very little tolerance for incomplete fixes, and the consequences of brake failure on a golf cart, especially on hills or near pedestrians, are serious enough to warrant the extra time.