Weak brakes on a golf cart aren't just an inconvenience — they're a genuine safety hazard, especially on slopes, crowded courses, or around pedestrians. If you're pressing the brake pedal and the cart isn't slowing down the way it should, there's a real mechanical reason for it. The good news is that most brake problems on golf carts come down to a short list of well-known causes, and you can work through them methodically without specialized equipment.
Start With the Brake Pedal Itself
Before you get under the cart, pay attention to how the pedal behaves. Does it travel too far before anything happens? Does it feel firm but the cart still rolls? Or does it feel completely unresponsive? A pedal that travels a long way before engaging suggests the mechanical linkage has slack — either the brake cable has stretched, the cable adjuster has backed off over time, or the cable is fraying and binding. Most golf cart brake systems use a mechanical cable setup rather than hydraulic fluid, so a spongy or low pedal is almost always a cable tension or adjustment issue, not a fluid leak. If the pedal feels firm but the cart still won't stop well, the problem is downstream — at the drums or pads themselves.
Inspect the Brake Cable and Linkage
Trace the brake cable from the pedal assembly back to each rear wheel. Look for obvious damage: kinks, corrosion, fraying near the end fittings, or sections where the outer housing has cracked or collapsed. A cable that looks intact from a distance can still be partially seized inside the housing — if you can disconnect it at one end and manually pull it, you should feel smooth, consistent movement with no grinding or sticking. If there's resistance or the cable feels gritty, the inner cable is corroding inside the sheath. Cables are wear items and should be replaced if there's any doubt. Also check the cable adjustment points: the barrel adjusters or turnbuckles that set cable tension. These can back off with vibration over time, leaving the brakes under-tensioned even with good pads and drums.
Check the Brake Drums and Shoes
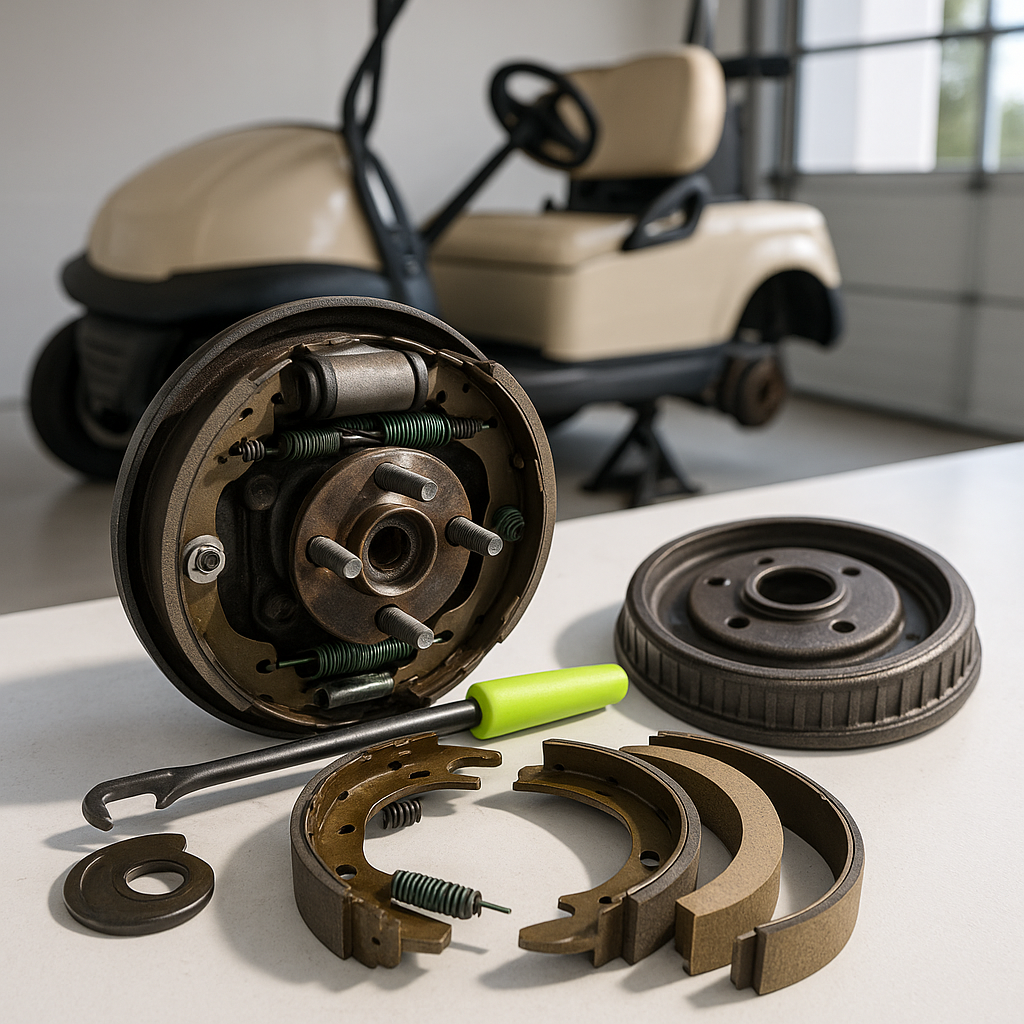
Most golf carts use drum brakes at the rear wheels. Remove the wheels and drums to inspect the brake shoes and the inside of the drum. Shoes wear down gradually, and once the friction material gets thin, stopping power drops off noticeably. You should also look at the drum's inner surface — scoring, grooves, or a glazed, shiny finish all reduce braking effectiveness. A glazed drum often results from the cart sitting unused for a long time, and sometimes light sanding can restore the surface texture, but heavily scored drums typically need to be replaced. Also check that the shoe return springs are intact and not stretched or broken — weak springs can cause the shoes to drag or not release cleanly, which causes uneven wear and reduced performance over time.
Look for Oil or Grease Contamination
Brake shoes and pads depend entirely on friction, and any oil or grease contamination kills that friction fast. If you see a greasy residue on the inside of the drum or on the shoe face, trace where it came from. A leaking axle seal is the most common culprit on older carts — gear oil from the rear end slowly works its way out past the seal and onto the brake hardware. Contaminated shoes can't be cleaned reliably and need to be replaced. More importantly, the source of the contamination has to be fixed, or you'll ruin new brake components just as quickly.
Check the Rear Axle and Wheel Bearing Area
While you have the drums off, spin each wheel hub by hand and feel for roughness, looseness, or grinding. A worn or loose wheel bearing can allow enough lateral movement that the brake shoes don't contact the drum evenly, reducing effectiveness. On some carts, a loose axle key or retaining hardware can let the drum shift position slightly, which compounds the problem. This isn't the most common cause of weak brakes, but it's worth ruling out while you already have things apart.
Don't Overlook the Parking Brake
If the main brake feels weak but works somewhat, and you also find that the parking brake barely holds the cart on a slope, the two problems usually share the same root cause: the cable system is under-tensioned or worn. Adjust the cable tension at the adjuster points until you get firm engagement without the brake dragging when released. On most carts, you want the parking brake to hold on moderate slopes with a reasonable amount of hand or foot force — if it requires a lot of effort just to hold on flat ground, the geometry is off. If adjustment doesn't get you there, inspect the cable end fittings and anchor points for wear or elongated holes that are allowing the cable to slip under load.
When to Replace vs. Adjust
Brake cable tension adjustment can restore stopping power if the underlying hardware is still in good condition — this is the first thing to try. But if the shoes are worn thin, the drums are scored, or the cable is fraying, adjustment is a short-term fix at best. Brake components are inexpensive relative to the risk of riding with compromised stopping ability. When in doubt, replace the worn parts and adjust the fresh components correctly from the start. After any brake work, always test at slow speed in a safe open area before returning the cart to regular use — check that the cart tracks straight under braking, the pedal feels firm, and the wheels release cleanly without dragging.