One of the most frustrating situations in golf cart ownership is plugging in your charger, hearing it run, and then discovering the next morning that your batteries are still depleted. The charger appears to be doing its job — it's powered on, maybe the fan is spinning, maybe there's a light — but nothing is actually going into the batteries. This is a different problem from a charger that won't turn on at all, and it has its own set of causes worth working through systematically.
Start With the Charger Output Connector and Receptacle
The first place to look is the physical connection between the charger and the cart. The charge receptacle on the cart takes a beating over time — pins corrode, the housing cracks, and the spring tension that holds the plug seated can weaken. A loose or corroded connection can allow the charger to power up and even show a charging indicator while delivering little to no actual current to the pack. Inspect both the plug on the charger cord and the receptacle mounted on the cart. Look for green or white corrosion on the pins, signs of melting or discoloration around the contacts, and make sure the plug seats firmly without wobbling. Clean corroded contacts with a wire brush or fine sandpaper and see if that changes the behavior.
Check Whether the Charger Is Actually Delivering Current
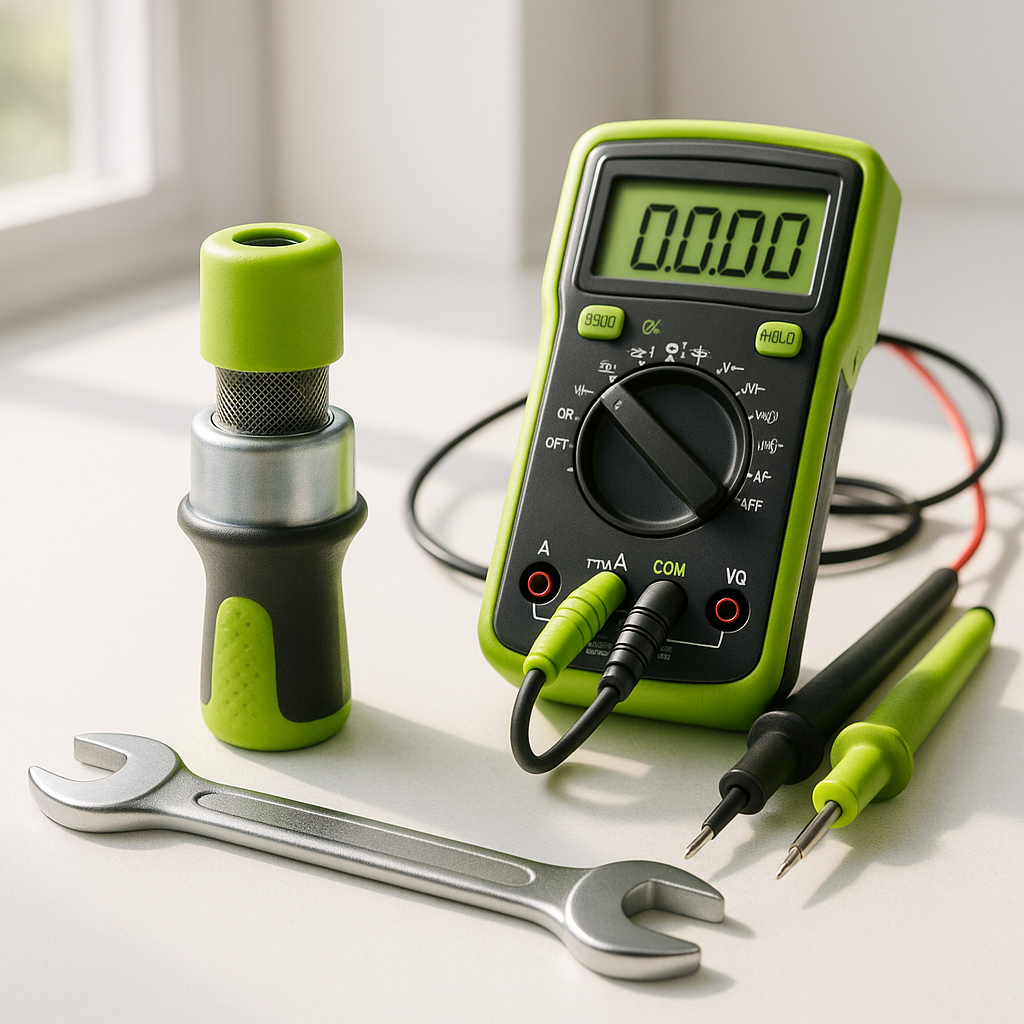
If you have a clamp-style DC ammeter, you can clip it around one of the charger's output wires while it's plugged in and running. A charger that's genuinely charging should be showing measurable current flow early in the charge cycle — the amount will vary depending on your system voltage and charger type, but it should be clearly non-zero. If you're reading zero amps while the charger is running, the charger itself may have a failed output stage, or there's a break somewhere in the circuit between the charger and the batteries. If you don't have a meter, this is a good reason to invest in a basic multimeter — it's one of the most useful tools for any golf cart diagnostic work.
Test the Battery Pack Voltage Before and After
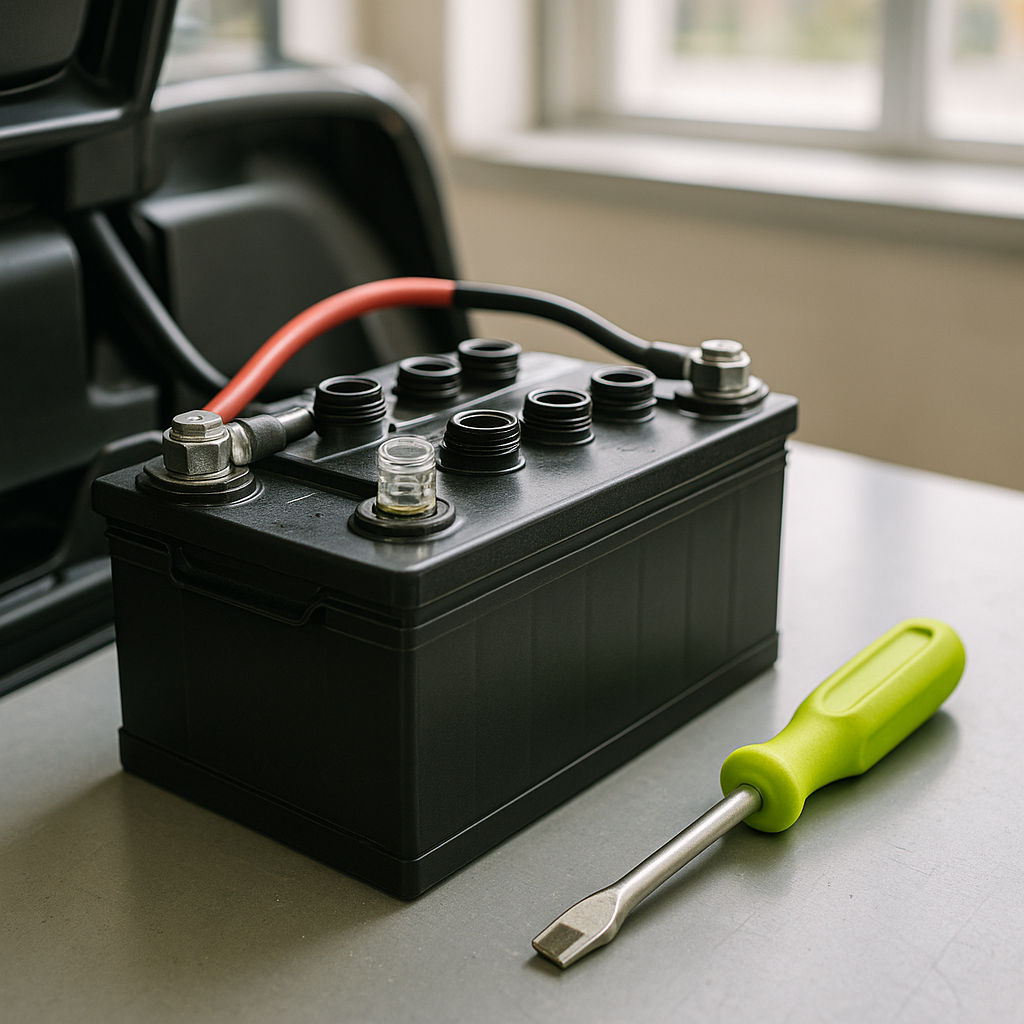
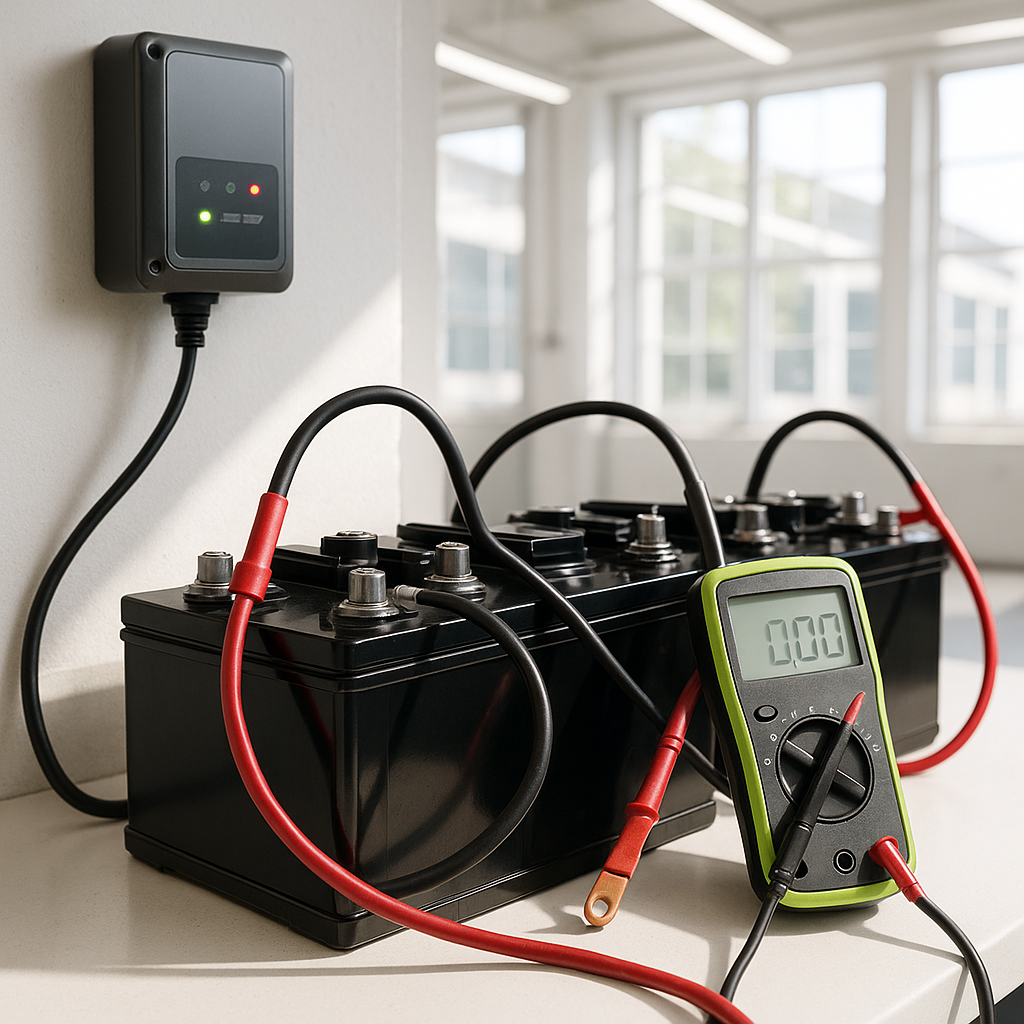
Measure the total pack voltage at the main battery terminals before you plug in the charger, then again after it's been running for 30–60 minutes. If the voltage isn't climbing at all over that time, current isn't reaching the batteries. Also measure individual battery voltages — a significantly low or dead cell in one battery can sometimes confuse automatic chargers that rely on sensing a minimum pack voltage before they begin delivering a full charge. Some smart chargers won't initiate a full charge cycle if the pack voltage is below a certain threshold, which means a deeply discharged or partially failed battery can actually prevent the charger from doing its job.
Look at the Charger's Internal Logic and Reset Options
Modern automatic chargers — particularly the solid-state units common on newer carts — use control circuitry to manage the charge cycle. This logic can sometimes lock the charger into a fault state, especially after a power interruption, a severely over-discharged pack, or a wiring fault. Some chargers have a manual reset procedure, often as simple as unplugging from both the cart and the wall for several minutes before reconnecting. Check your charger's documentation if you have it. If the charger's indicator light is showing a fault code or an unusual blink pattern, that's meaningful information — even if you can't decode it precisely, it tells you the charger's control board has detected something abnormal.
Inspect the Wiring Between the Charger Receptacle and the Battery Pack
The wires that run from the charge receptacle to the battery pack are a commonly overlooked failure point. These wires pass through the frame, often near areas that see vibration, moisture, and heat. A wire that's chafed through its insulation and grounding against the frame, a corroded inline fuse or fuse holder in that circuit, or a loose terminal at the battery end can all break the charging circuit completely while leaving the charger itself functional. Trace the wiring from the receptacle back to where it connects to the pack, and look for any signs of damage, heat discoloration, or corrosion at the terminals.
Consider the Age and Condition of the Battery Pack
If the charger, connections, and wiring all check out, the batteries themselves may be the problem. A battery pack that has one or more cells with an internal short can present a nearly normal voltage at rest but collapse under load — or in some cases, actively prevent a charger from completing a cycle. Individual battery testing with a load tester or hydrometer (for flooded lead-acid batteries) can reveal a weak or failed unit hiding inside an otherwise acceptable-looking pack. A pack that's been left deeply discharged for weeks or longer may also have sulfated plates that resist accepting a charge, even from a functional charger.
When to Suspect the Charger Itself
If you've confirmed good connections, solid wiring, and a pack that tests reasonably well at the individual battery level, the charger may have an internal failure. Output diodes, control boards, and transformers can all fail in ways that allow the charger to power up and appear active without actually delivering usable current. If you have access to a second known-good charger compatible with your system voltage, swapping it in is the cleanest way to isolate whether the charger is the problem. Otherwise, a shop with the right equipment can test output under load in a way that a basic multimeter can't replicate.