A charger that won't turn on at all — or one that starts briefly and then shuts off long before your batteries are full — is one of the more frustrating golf cart problems to troubleshoot, because the fault could be in the charger itself, the outlet, the receptacle on the cart, or the batteries. Working through it in a logical order saves you from buying parts you don't need. Here's how to approach it.
Start With the Power Source, Not the Charger
Before assuming the charger is bad, verify that the wall outlet is actually delivering power. Plug a lamp or a phone charger into the same outlet and confirm it works. If you're using an extension cord, check that it's rated for the amperage your charger draws — an undersized cord causes voltage drop that can prevent the charger from starting or cause it to cycle off. Also check your breaker panel; high-draw chargers can trip a breaker that doesn't always look tripped at a glance. Reset it fully before drawing any conclusions.
Check the Charge Receptacle on the Cart
The plug-in port on your cart takes a lot of wear over time. Inspect it for bent or corroded pins, cracked housing, or signs of heat damage — discoloration or melted plastic around the pins is a red flag. A loose or dirty receptacle creates resistance that can trigger the charger's safety shutoff almost immediately after it starts. Clean the contacts with an electrical contact cleaner and a small wire brush if corrosion is present. If the pins are physically bent or the housing is damaged, the receptacle needs to be replaced before anything else will work reliably.
Check Battery Pack Voltage Before Plugging In
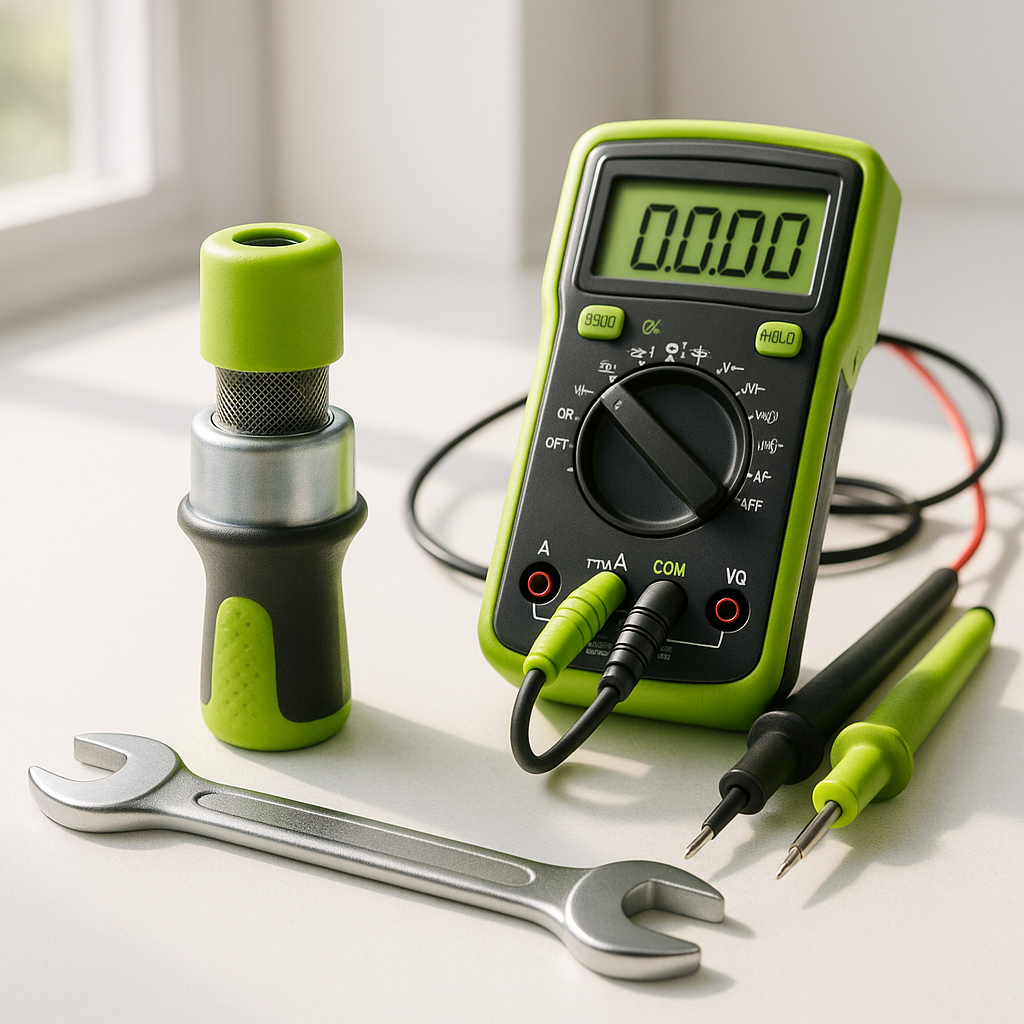
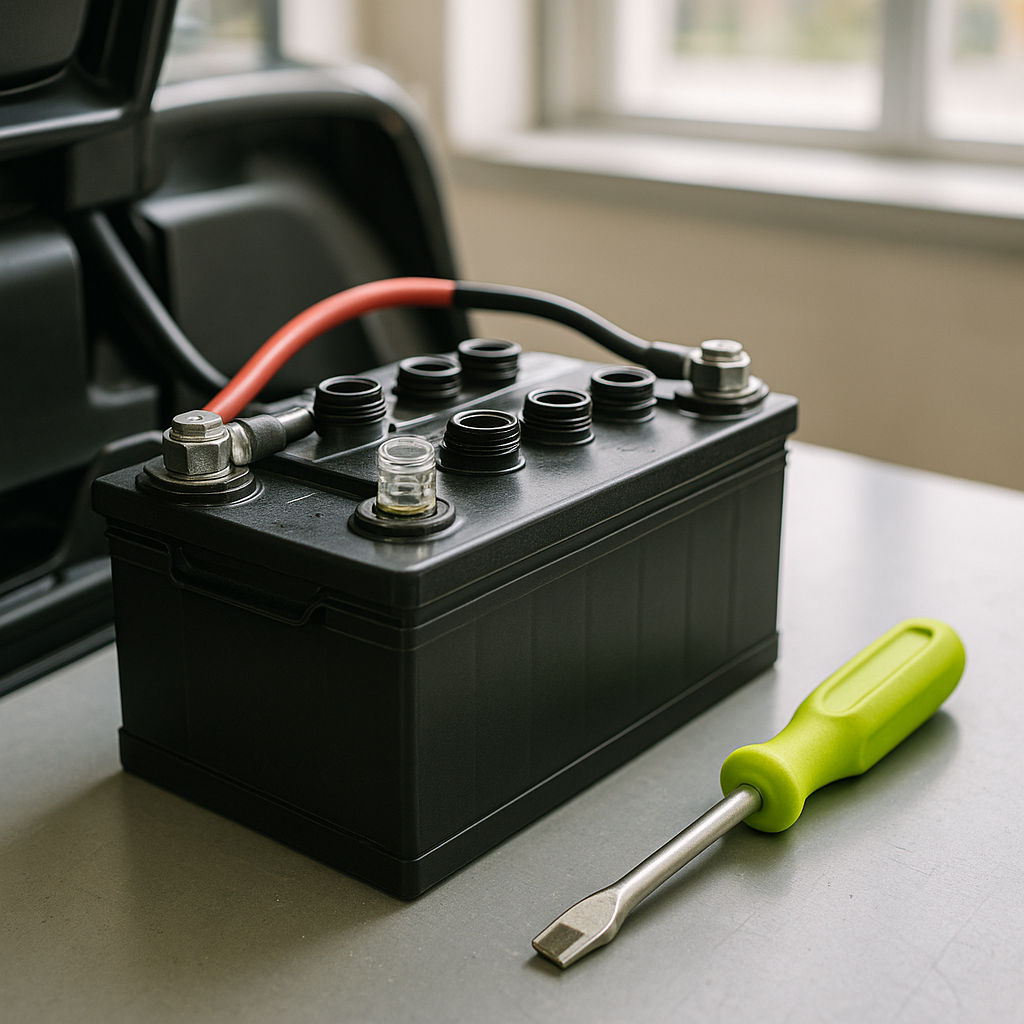
Most automatic chargers are designed to detect the battery pack's resting voltage before they commit to a charge cycle. If the pack voltage is too low — often caused by leaving the cart sit for an extended period with lights or accessories on — the charger's detection circuit may read the pack as faulty or incompatible and refuse to start. Use a multimeter set to DC voltage and measure across the main positive and negative terminals of the battery pack. Compare what you read to the expected voltage for your system (36V or 48V). A significantly lower-than-expected reading tells you the pack is deeply discharged, and some chargers simply won't engage under those conditions without a manual recovery step or a separate battery maintainer to bring voltage back up first.
Look for a Fault Indicator on the Charger
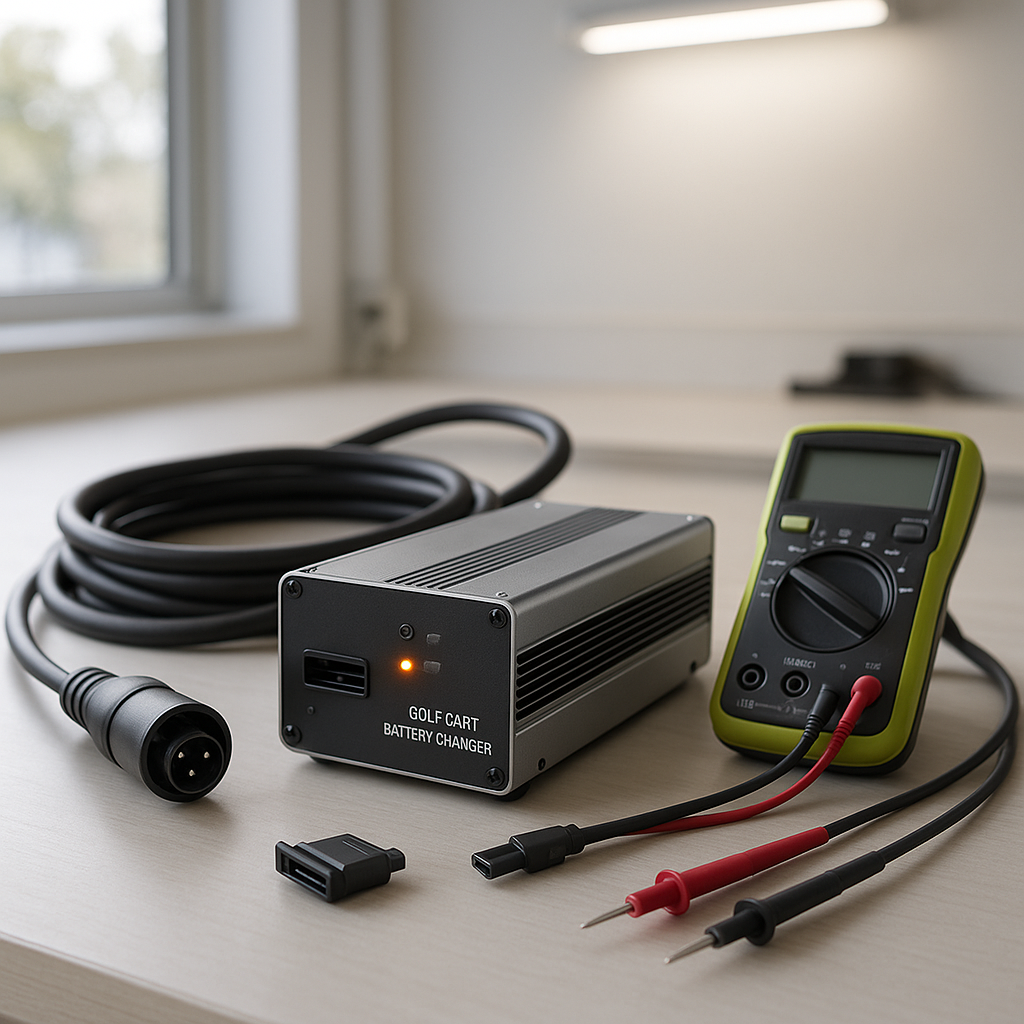
Many modern chargers have LED indicators or an audible signal that communicates fault codes. If your charger has indicator lights, check the manual or the label on the unit for what the blink patterns mean — a red light or rapid blinking pattern often signals a detected fault rather than a simple power failure. Common fault triggers include reversed polarity at the receptacle (wiring error), overtemperature protection, or a battery pack the charger doesn't recognize as within acceptable range. If the charger is an older unit without any display, you won't get that feedback, and diagnosis is a bit more manual.
Test the Charger's Output Directly
If you have a multimeter, you can check whether the charger is actually producing voltage at its output plug. With the charger plugged into the wall but not connected to the cart, some chargers will show output voltage at the plug pins — others only activate when connected to a valid load. Check your charger's documentation to know which type you have. If it's the type that should show output when energized and it shows nothing, the internal fuse or a failed component inside the charger is the likely culprit. Internal fuses are sometimes user-replaceable; if yours isn't, or replacing the fuse doesn't fix it, the charger unit itself may need replacement.
Consider Battery Age and Condition
Chargers that stop early — cutting off after 20 or 30 minutes instead of completing a full cycle — are often reacting correctly to a degraded battery pack. As lead-acid batteries age, they can reach a surface charge quickly without actually storing useful energy, and the charger's amp-hour or voltage-threshold logic interprets this as a completed charge. If your batteries are more than four or five years old and the cart's range has been declining, the charger stopping early may be a symptom of battery failure, not charger failure. Test each individual battery with a fully charged pack using a load tester or hydrometer to identify any cells that are significantly weaker than the rest.
When to Suspect the Charger Is Actually Bad
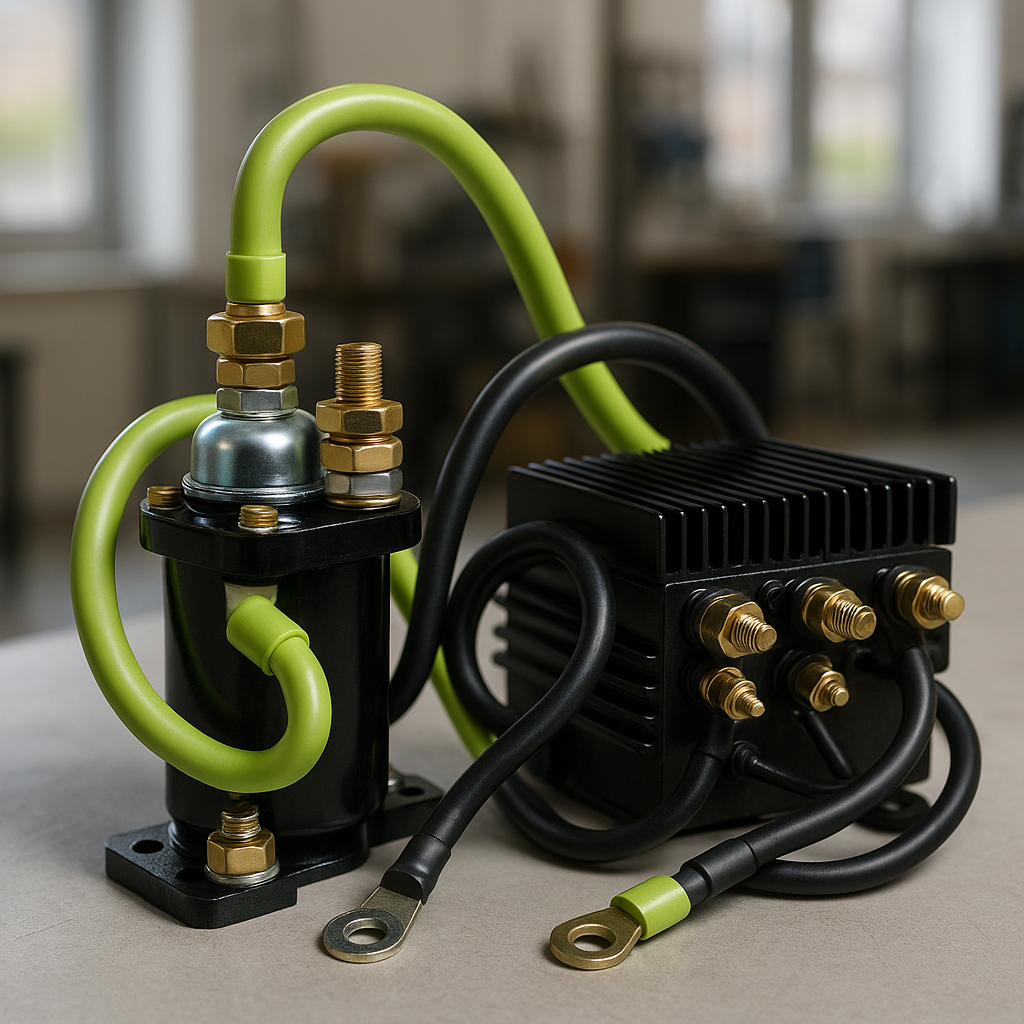
If the outlet is good, the receptacle is clean and intact, the pack voltage is within a reasonable range, and the charger still won't start or completes no meaningful charge cycle, the charger itself is likely the problem. Internal components — particularly the rectifier, relay, or control board — can fail, especially on older units or those that have been exposed to moisture or heat. At this point the practical move is replacement rather than repair, since charger components are rarely sold separately and labor to diagnose internal electronics often exceeds the cost of a new unit. When you replace it, match the charger voltage to your battery pack voltage exactly — putting a 48V charger on a 36V pack, or vice versa, will damage your batteries and void any warranty on the new charger.