You plug your charger in after a round, walk away, and come back to find the batteries are exactly as dead as when you left. No lights, no hum, no cooling fan — nothing. A charger that won't start at all is one of the most frustrating battery problems because it could mean a bad charger, a bad battery pack, or something in between. The good news is that the diagnosis is methodical, and most of the time you can figure it out without any specialized equipment beyond a basic multimeter.
Start With the Obvious: Power at the Outlet
Before you blame the charger or the cart, confirm you actually have power at the wall outlet. Plug in something else — a phone charger, a lamp — and verify the circuit is live. Check your breaker panel too. Golf cart chargers draw significant current, especially early in a charge cycle, and a weak or tripped breaker is a surprisingly common culprit that gets overlooked. If you're using an extension cord, make sure it's a heavy-gauge cord rated for the amperage your charger pulls. An undersized extension cord can cause a voltage drop severe enough to prevent the charger from starting or to trigger its internal protection circuits.
Inspect the Charger Plug and Cart Receptacle
Look closely at the charge receptacle on the cart and the plug on the charger. Corrosion, bent pins, or a cracked housing can all prevent a solid electrical connection. Wiggle the plug gently while it's inserted — if the charger flickers on momentarily, you've found a connection problem. Clean corroded contacts carefully with a wire brush or contact cleaner and dry everything completely before trying again. Also check for any visible damage to the charger's AC cord: fraying near the plug end or near where the cord enters the charger housing is a common failure point, especially on cords that get coiled tightly or driven over.
Check Battery Pack Voltage
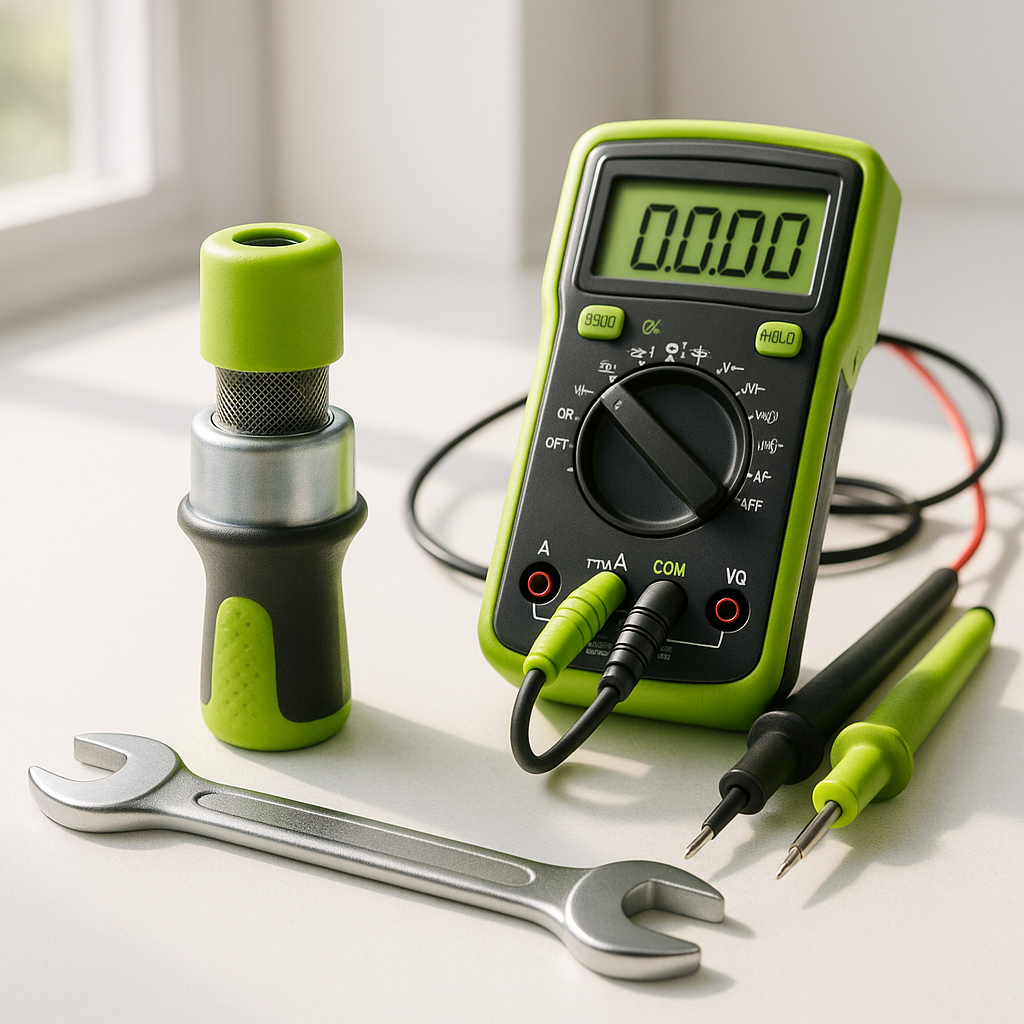
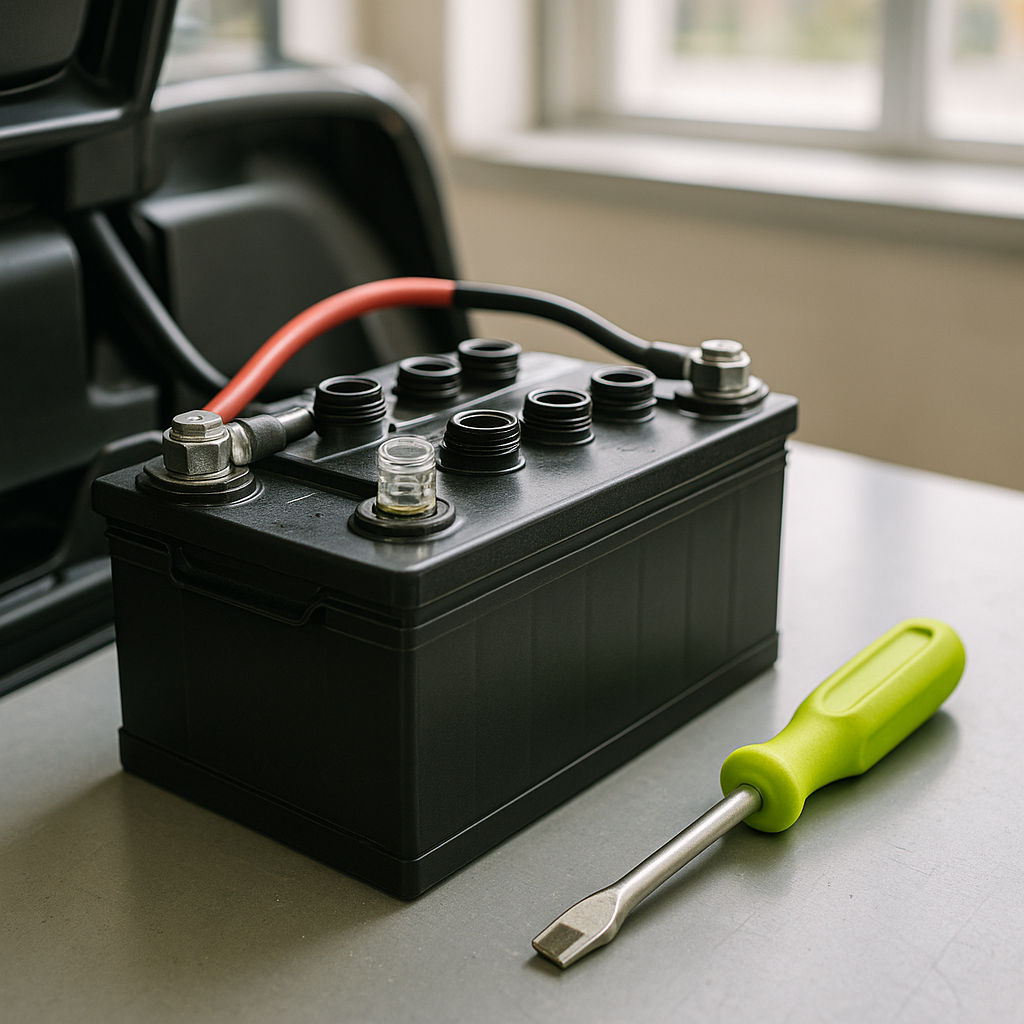
Most modern golf cart chargers are not fully automatic in the traditional sense — they look for a minimum voltage from the battery pack before they'll begin charging. This is a safety and design feature, but it means a deeply discharged or dead battery bank can actually prevent the charger from ever turning on. Use a multimeter to measure the total voltage across your battery pack. If the voltage has dropped significantly below the nominal pack voltage, the charger may simply be refusing to engage. In this situation, some technicians will briefly connect a known-good auxiliary battery or use a manual charger to bring the pack voltage up just enough to wake the automatic charger. If individual batteries within the pack have reversed polarity or are completely dead, no charger will fix that — those cells need to be replaced.
Look for Fault Codes or Indicator Light Patterns
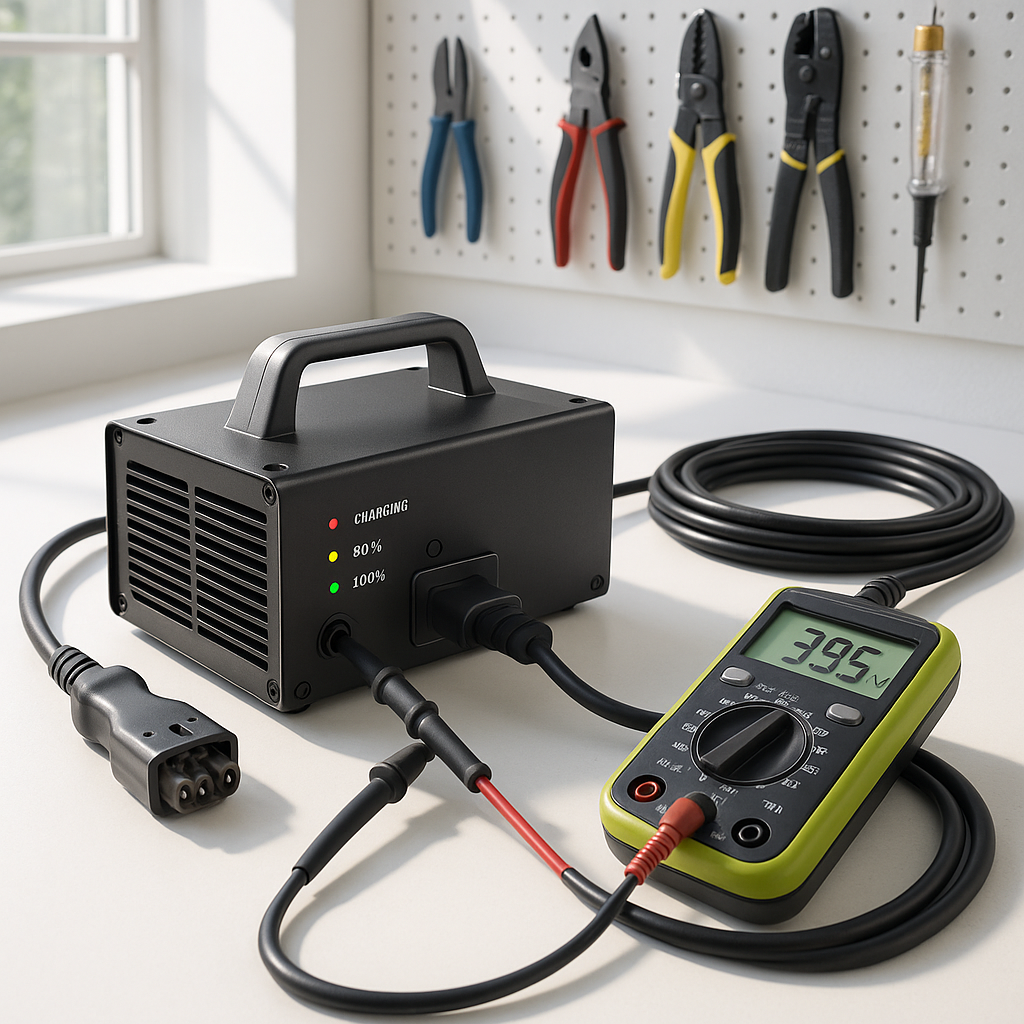
Many chargers — particularly newer electronic models — communicate faults through LED indicator lights or audible beep patterns. If your charger has any indicator lights at all, check the owner's manual and look up what the blink pattern or color means. A single red light, three rapid blinks, or a specific combination often points to a defined fault condition: over-temperature, reverse polarity, failed battery, or an internal fault. Don't ignore these signals. They exist precisely to tell you what the charger's internal circuitry has already diagnosed.
Test the Charger on a Known-Good Pack (If Possible)
If you have access to another cart with the same voltage system, plugging your charger into that cart is one of the fastest ways to determine whether the problem lives in the charger or in your cart's battery pack. If the charger fires right up on a healthy pack, your batteries are the problem. If it still won't start, the charger itself is the suspect. Conversely, if your charger is fine on a known-good pack, you can focus your troubleshooting on the battery bank — checking for a dead cell, a bad interconnect cable, or a failed battery.
When It's Likely the Charger Itself
Internal charger failures do happen, especially on older units or chargers that have gotten wet. Signs that point to a charger fault rather than a battery or connection issue include: the charger is completely silent and shows no lights whatsoever despite confirmed good wall power and a healthy pack, the charger runs briefly then shuts off with no obvious reason, or it hums continuously but never actually delivers current to the batteries (you can verify this by checking whether battery voltage rises at all after an hour). In these cases, unless you're comfortable with electronics repair, charger replacement is usually the practical path forward. Internal components like the transformer, rectifier, or control board can fail, and replacement parts are often as costly as a new unit.
Don't Skip Regular Maintenance
The best way to avoid a no-start charging situation is to not let batteries get deeply discharged in the first place. Charge your cart after every use, even if you only drove a short distance. Keep battery terminals clean and tight. Inspect the charger cord and plug regularly for wear. If your cart sits unused for weeks at a time, put it on a maintenance charge periodically. A charger that seems to have failed overnight often turns out to be the end result of months of gradual battery degradation — catching that drift early with regular voltage checks makes the actual diagnosis much simpler when something does go wrong.