A golf cart that won't charge — or that charges but dies halfway through the round — is one of the most frustrating problems an owner can face. The good news is that most charging failures follow predictable patterns, and a methodical diagnostic approach will usually point you to the real culprit without unnecessary parts swaps. Whether you're running a 36V or 48V system on an EZGO, Club Car, or Yamaha, the underlying electrical logic is the same.
Start With the Obvious: Connections and Cables
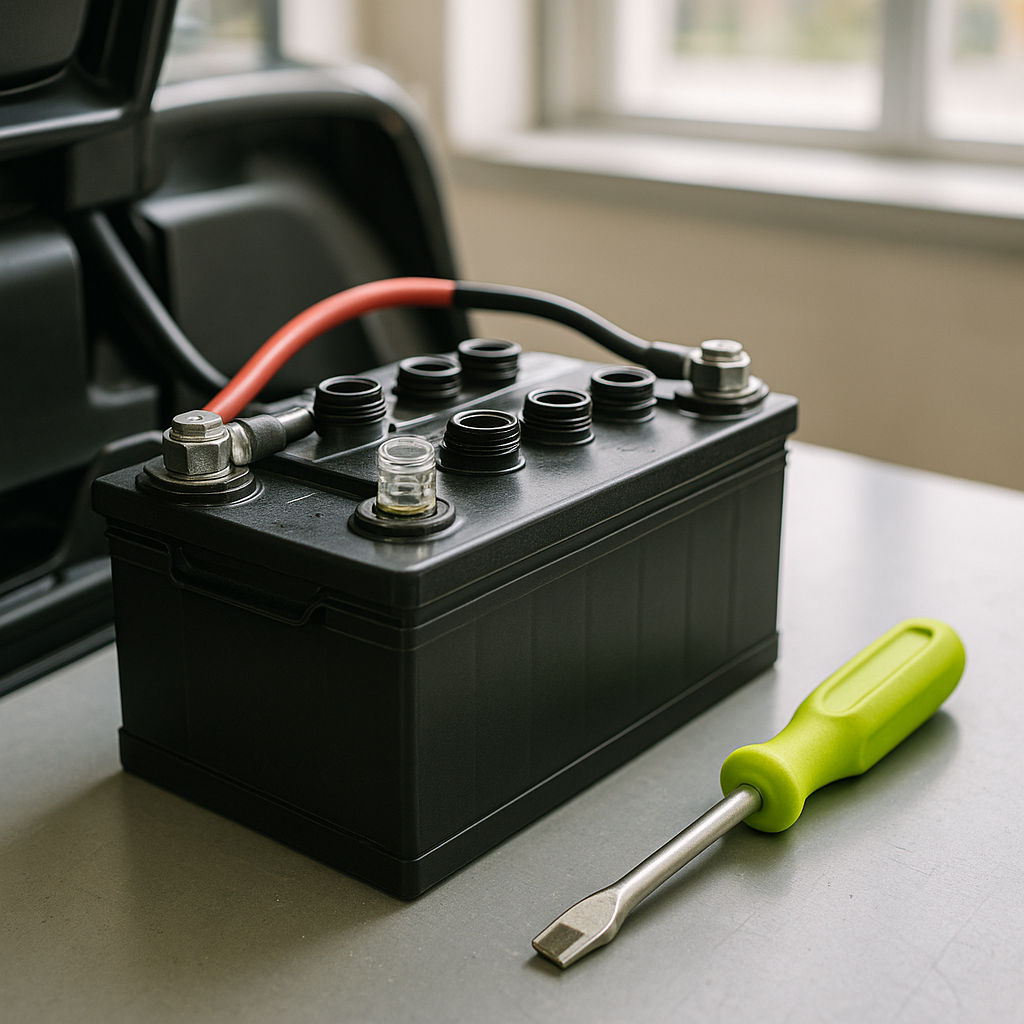
Before suspecting the charger or the batteries themselves, inspect every battery cable in the pack. Corroded terminals are the single most common cause of charging and performance problems on older carts. Green or white buildup at the terminal connections increases resistance and can prevent a full charge from reaching the batteries — or fool you into thinking a battery is bad when it isn't. Clean terminals with a wire brush and a baking soda solution, then check that every connection is tight. A cable that looks intact can still have internal corrosion or a cracked lug that creates a hidden resistance point. If any cable feels stiff, shows cracking insulation, or has a terminal that wiggles, replace it before going further.
Check the Charger Itself
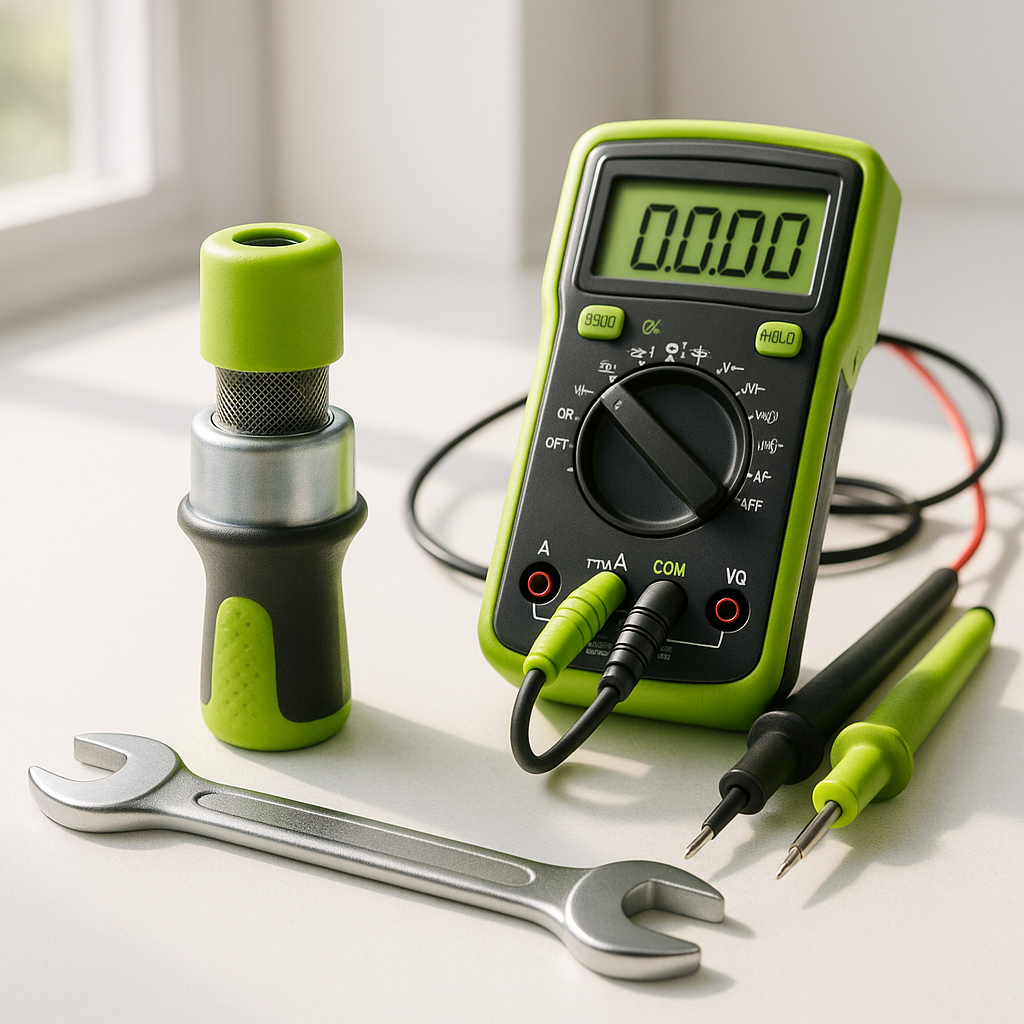
Plug the charger in and listen and watch. A functioning charger should power on, typically show some indication of current flowing (a light, a meter reading, or an audible hum), and then taper off as the pack approaches full charge. If the charger clicks on and immediately shuts off, one common cause is a battery pack whose resting voltage has dropped so low that the charger's automatic shutoff circuit won't engage — this is sometimes called a "dead pack" condition. Some chargers have a manual override or equalization mode for this situation; others don't. If the charger runs continuously for many hours without the pack warming or the voltage rising, the charger output circuit may be weak or failing. Use a multimeter to check whether the charger is actually delivering voltage at the output plug — if it reads near zero when connected to a dead pack, the charger is likely the problem.
Test the Charger Receptacle and Plug Cord
The cord and receptacle between the charger and the cart take a lot of abuse. Inspect the plug for bent or burned pins, and check the receptacle on the cart for corrosion or damaged contacts. A loose connection at the receptacle can cause intermittent charging or no charging at all. On many EZGO RXV models, the OBC (On-Board Computer) controls whether the charger can communicate with the cart — a faulty receptacle or wiring issue here can prevent the charge cycle from ever starting. Wiggling the plug while the charger is connected and watching for any change in charger behavior is a quick way to spot a marginal connection.
Test Each Battery Individually
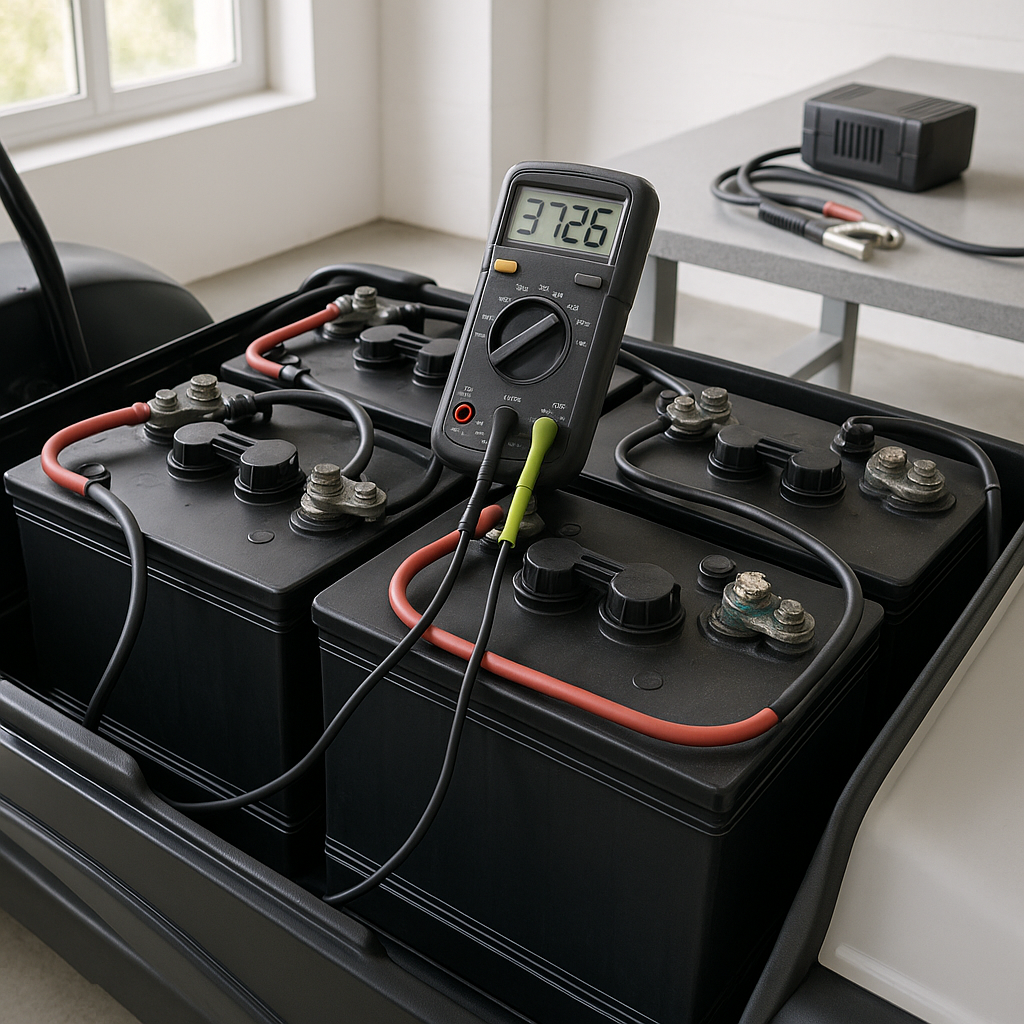
If the charger appears functional and connections are clean, test each individual battery with a voltmeter — and ideally with a load tester. A battery pack is only as strong as its weakest cell. One bad battery in a series pack will drag down the entire system. A fully charged 6-volt battery should read above its nominal voltage at rest; check manufacturer specs for your specific battery type. More importantly, watch what happens under load: a battery that reads fine at rest but collapses under load is failing internally. Many auto parts stores will load-test batteries for free, or you can use an inexpensive handheld load tester. Work through each battery in the pack one at a time — don't just check the total pack voltage and assume all batteries are healthy.
Look for Water and Physical Damage
Flooded lead-acid batteries require periodic water top-offs, and low water levels will permanently damage cells. Remove the caps and check that the electrolyte covers the plates in each cell. Use only distilled water to refill — never tap water. If any cell is completely dry or the plates are visibly warped or sulfated (heavy white crystal buildup), that battery is likely past saving. Also check for cracks in the battery cases, which can cause slow discharge, safety hazards, and charger errors.
When to Suspect the OBC or Wiring Harness
Some golf cart models — particularly newer EZGO and Club Car designs — use an onboard computer to manage charging. If all the hardware checks out but the charger still won't run a normal cycle, a fault in the OBC or its wiring can be the cause. OBC-related problems often show up as a charger that powers on but immediately stops, or a cart that charges fine with the OBC bypassed. Diagnosing OBC issues usually requires a wiring diagram for your specific model year — service manuals are available from manufacturers and many online communities. This is also the point where a golf cart technician's diagnostic tools become genuinely useful.
Summary: Work in Order
The most efficient diagnostic sequence is: clean and inspect all cable connections first, then verify the charger is producing output, then check the charger plug and receptacle, then test each battery individually under load. Most charging problems are solved somewhere in that sequence without ever needing to guess. Replacing a charger or a full battery pack before ruling out a bad cable or corroded terminal is an expensive shortcut that often doesn't fix the real problem.