The forward/reverse switch — sometimes called the F/R switch or direction switch — is one of the most-handled mechanical components on any golf cart. Every time you change direction, that switch takes the wear. Over time, the contacts inside burn, corrode, or simply wear out, and what follows can range from a cart that won't move at all to one that lurches unexpectedly or refuses to engage one direction. The good news: the switch is usually accessible and diagnosable without specialized equipment. Here's how to work through it systematically.
What the Forward/Reverse Switch Actually Does
On electric golf carts, the F/R switch controls the polarity of current sent to the motor. Flip the switch one way, current flows through the motor in one direction — forward. Flip it the other way, the polarity reverses — backward. On gas carts, the switch typically controls a mechanical or electrical engagement rather than motor polarity, but the diagnostic process shares many similarities. Because this switch carries significant current on electric models, its internal contacts are particularly prone to burning and pitting over time. A partially failed switch can still pass enough current to move the cart inconsistently, which is often what makes diagnosis confusing.
Common Symptoms of a Failing F/R Switch
Before you start pulling wires, note exactly what you're experiencing. A bad F/R switch tends to produce specific, recognizable patterns: the cart works in one direction but not the other; the cart hesitates or stutters when you first press the accelerator; the cart moves in the opposite direction from what you selected; you feel a burning smell near the switch area; or the cart simply won't move in either direction even though the batteries are charged and the solenoid is clicking. Each of these narrows down where the fault likely lives. If it's only one direction, the switch is the leading suspect. If it's both directions and the solenoid isn't clicking, look upstream at the battery or key switch first.
Visual Inspection First
Start with your eyes and nose before reaching for a multimeter. Locate the switch — on most carts it sits under the seat or on the dash near the shifter handle. Remove the wiring harness connector or individual spade terminals and look closely at the terminals themselves. Blackening, melted plastic near the connectors, pitting on the contact faces, or loose terminals are all reliable signs of heat damage or arcing. Corroded terminals can often be cleaned with electrical contact cleaner and a small wire brush, and occasionally that's all it takes to restore function. But if you see obvious burn damage on the contacts inside the switch body, cleaning won't cut it — the switch needs replacing.
Testing the Switch with a Multimeter
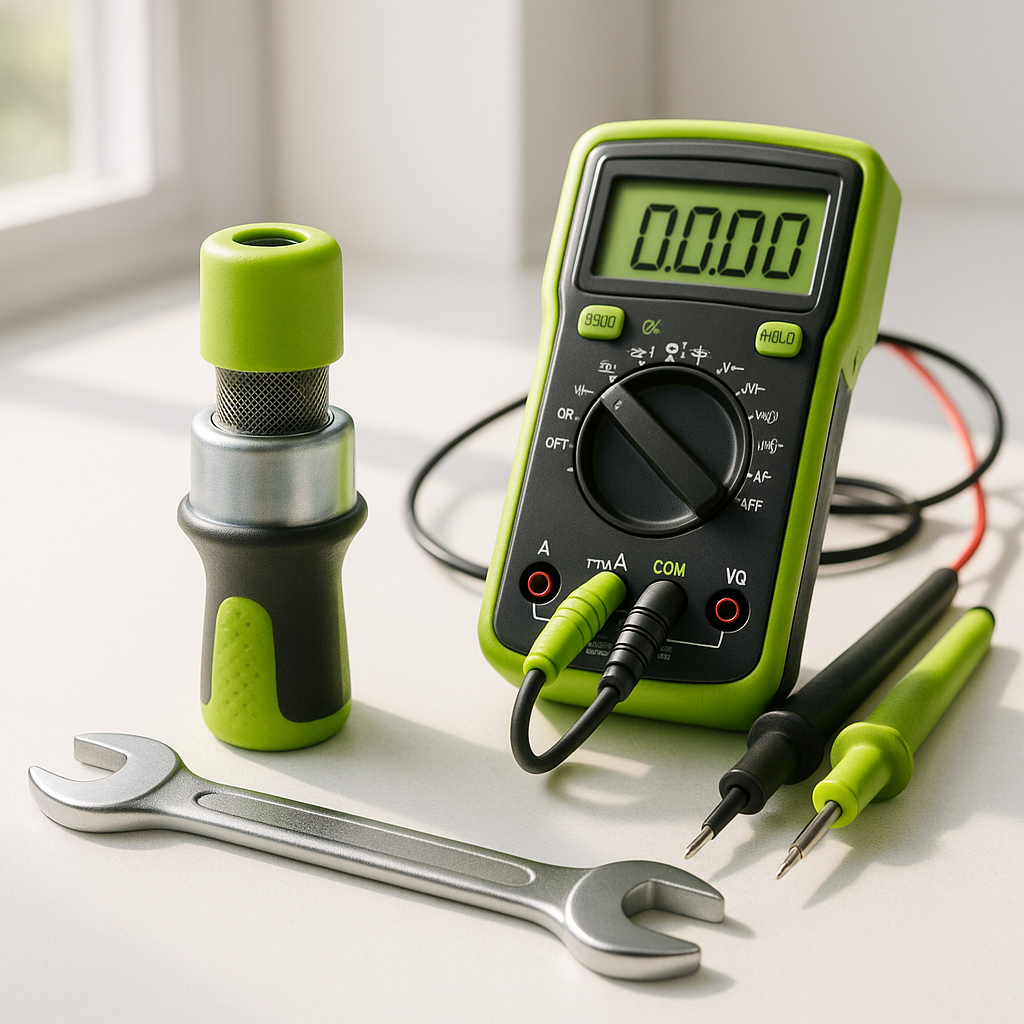
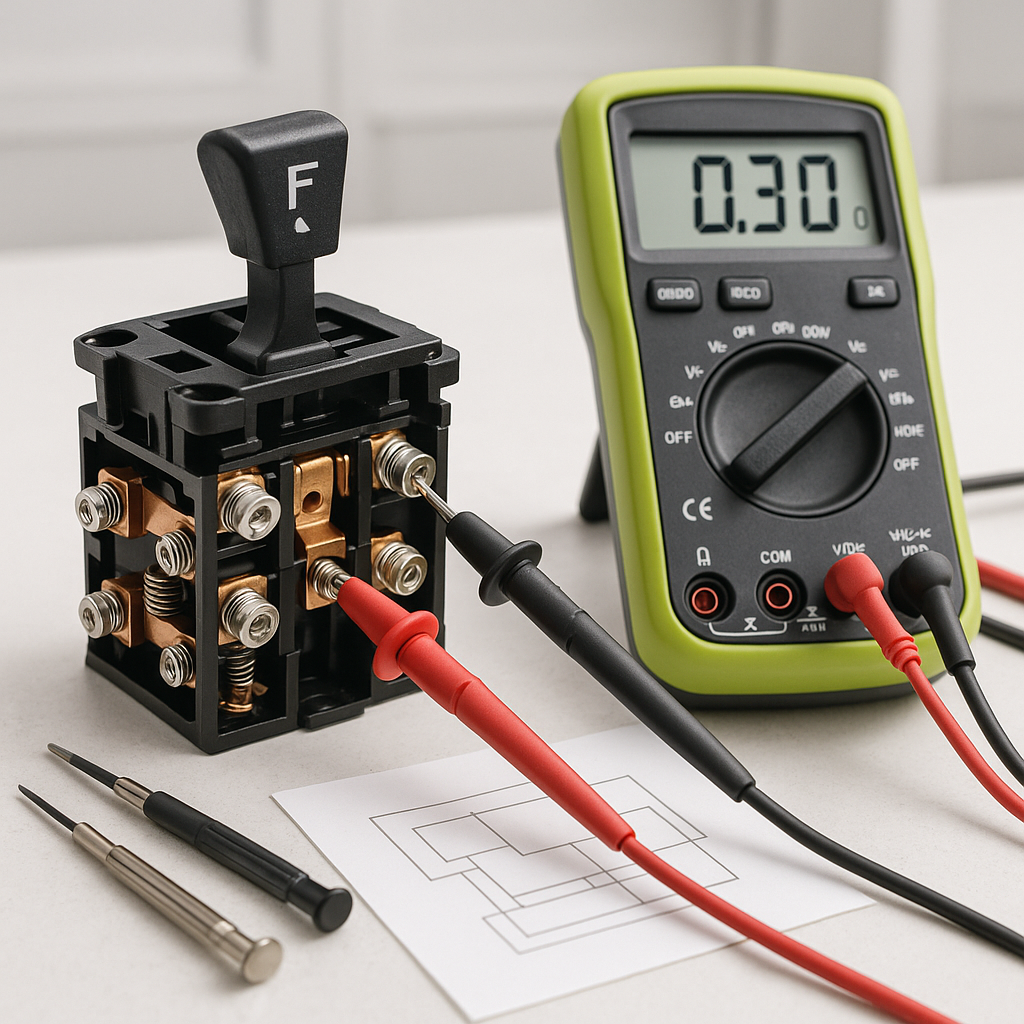
Set your multimeter to continuity or resistance mode. With the switch disconnected from the cart's wiring, manually toggle it to the forward position and probe the terminals that should be bridged in that position — you should get continuity (near-zero resistance) across those contacts. Then switch to reverse and repeat for the reverse terminals. If you get continuity in one position but not the other, or if resistance is high when it should be near zero, the internal contacts are failing. No continuity in either position with the switch toggled confirms an open circuit — the switch has failed entirely. Take note of which terminals correspond to which positions before you disconnect anything; a phone photo of the wiring before disassembly saves a lot of guesswork.
Ruling Out Related Components
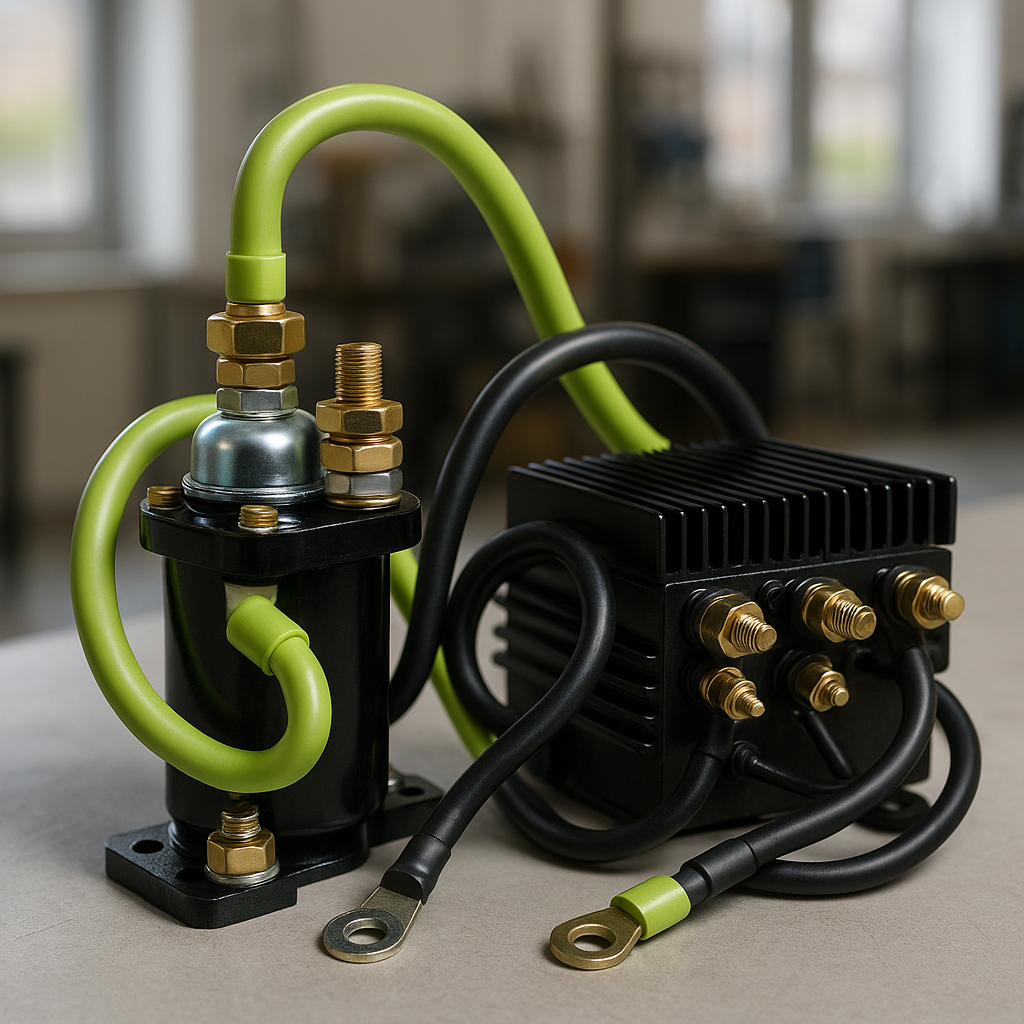
A faulty F/R switch gets blamed for a lot of problems that are actually caused by something else, so it's worth ruling out a few neighbors before condemning it. Check the wiring leading to and from the switch for cracked insulation, pinched wires, or terminals that have backed out of their connectors — especially if the cart has high mileage or has been exposed to water. On electric carts, also verify the motor controller isn't throwing a fault code related to direction input; some controllers will disable motion if they detect a conflicting signal from a damaged switch rather than a completely open one. If you have access to the controller's diagnostic procedure, run through it. Finally, on older carts, the micro-switches inside the shifter assembly that tell the F/R switch what position it's in can fail independently of the switch itself — wiggle the shifter while watching for intermittent response.
Safety Before You Start
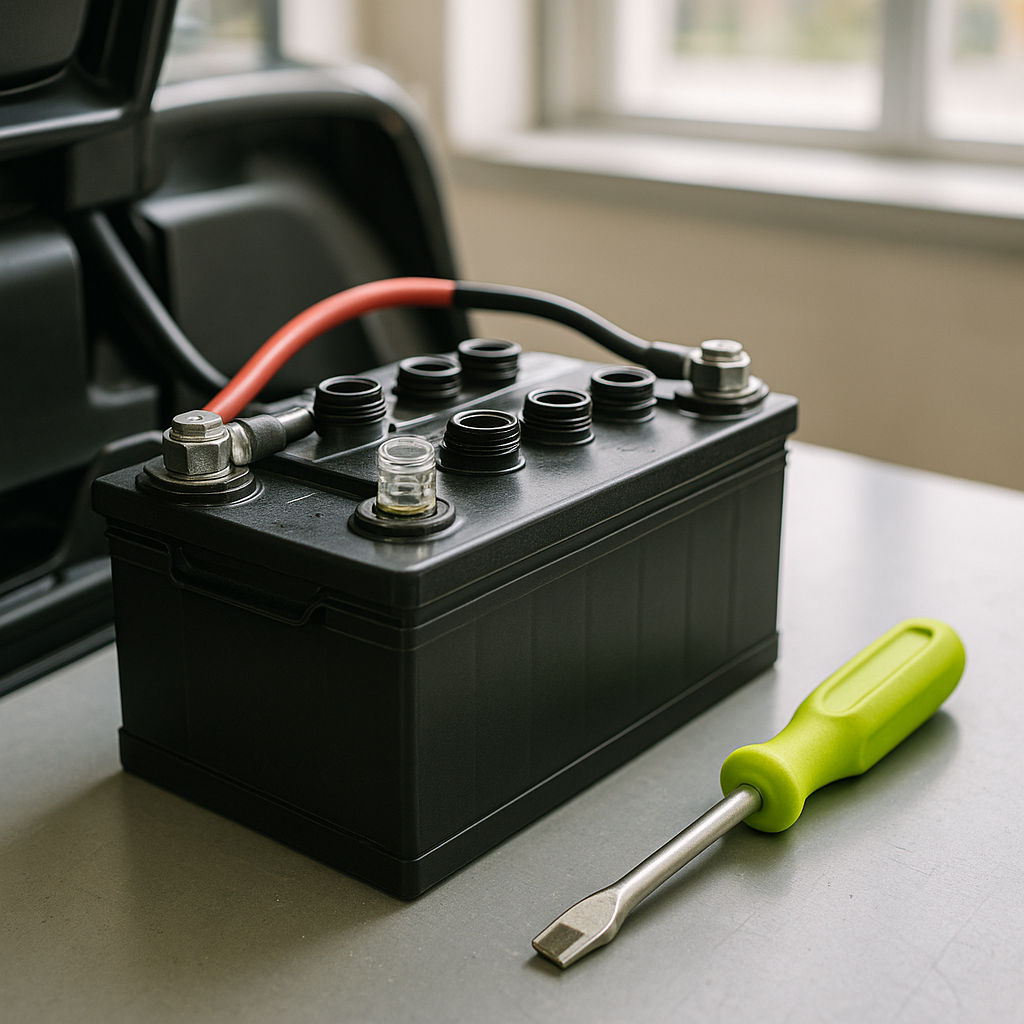
Electric golf carts store enough energy to cause serious injury if you're not careful around the drivetrain. Before probing or disconnecting anything, turn the key off, place the F/R switch in neutral if possible, and disconnect the main negative battery cable. On 36V and 48V systems in particular, you don't want an accidental short while you're working near the switch wiring. Keep your tools insulated and work methodically — label wires before you pull them. This isn't complicated electrical work, but it deserves the same respect you'd give any live system.
When to Replace vs. Repair
If testing confirms the switch contacts are burned or have failed, replacement is almost always the right call. F/R switches are relatively inexpensive and standardized enough that replacement units are widely available for most major cart platforms. Attempting to clean or file burned contacts inside a switch can work as a very short-term fix, but the underlying reason the contacts burned — usually a combination of age, current load, and use — means they'll fail again quickly. When you install a new switch, double-check that all wiring connections are fully seated and that the harness isn't routed where it can rub or pinch, which is often how switch problems start in the first place.