Golf cart interiors take a beating. Sun, rain, mud, and years of passengers grinding sand into the floor mat all add up. Most interior problems look like simple cosmetic annoyances, but some — a mat that bunches under the pedals, a seat that won't latch, or a cracked vinyl seat exposing foam — are genuine safety and comfort issues worth addressing properly. Before you buy anything, spend five minutes doing a real diagnostic so you replace what actually needs replacing instead of guessing.
Diagnosing Seat Problems
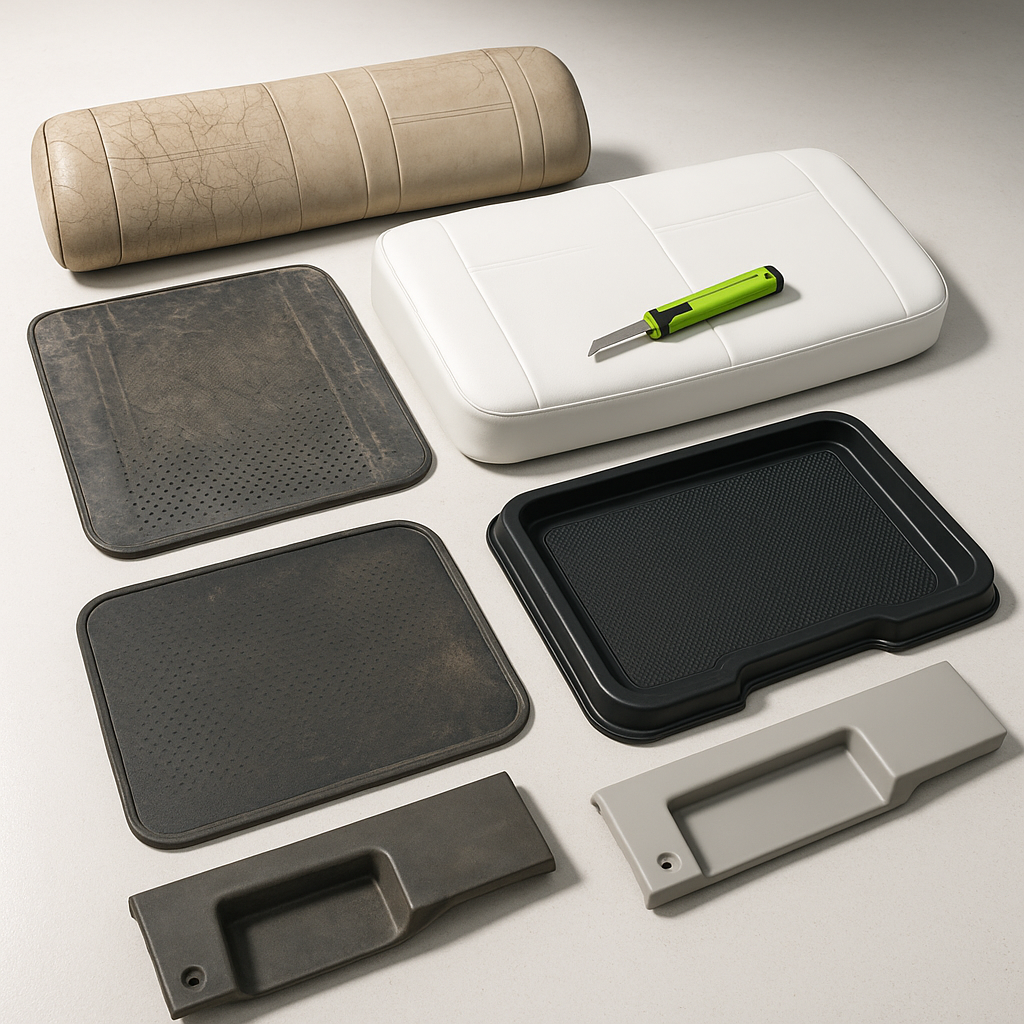
Start with the seat base and hinge hardware before assuming the upholstery itself is the problem. Rock the seat forward and back — if there's excessive play, the mounting bolts may be loose or the seat frame bracket may be bent or cracked. Tighten or replace hardware first. If the seat is solid but the vinyl is cracked, check whether it's surface crazing (common on older vinyl that dried out) or whether the foam underneath has actually broken down. Surface cracks on otherwise firm foam can sometimes be addressed with a seat cover; collapsed or waterlogged foam needs full seat replacement. Also check the seat latch if your cart has a flip seat — a latch that doesn't fully engage is a serious hazard for rear-facing passengers.
Diagnosing Floor Mat and Carpet Issues
Lift your floor mat completely out and inspect what's underneath before deciding on a fix. A mat that slides, bunches, or curls at the edges is an obvious tripping and pedal-interference hazard. Check whether the original retaining clips, grommets, or hook-and-loop anchors are still intact — often the mat itself is fine but the fastening system has failed. If the mat feels soft or spongy underfoot even when dry, moisture has likely gotten trapped beneath it. Pull it out, dry the pan thoroughly, and look for any drainage issues in the floor pan itself before reinstalling. A permanently wet floor pan can accelerate rust on steel-frame carts, so don't just drop a new mat over a wet one.
Checking for Hidden Water Damage
Water intrusion is one of the most common and most overlooked interior problems on golf carts, especially on carts stored outdoors. With the mat removed, inspect the floor pan closely for rust bubbling, soft spots, or discoloration. Check along the edges where the pan meets the side panels — that seam is where water tends to collect. On carts with under-seat storage or battery compartments nearby, also check that no water is wicking from the compartment into the seating area. If you find active rust, address it before installing new flooring materials, or you'll be doing this job again in a season.
When a Universal Fit Doesn't Fit
Universal seat covers and floor mats are convenient and cost-effective, but they require a real fitment check before installation. Measure your seat width, depth, and seat-back height against the product's stated range. A cover that's too large will bunch and shift; one that's too tight may strain seams or refuse to anchor properly. For floor mats, trace the actual shape of your floor pan on a piece of cardboard before ordering — golf cart floor pans vary significantly between brands, model years, and lifted versus stock configurations. A mat that doesn't lay flat around the pedal area is not acceptable and needs to be trimmed or exchanged for a better-fitting option.
Evaluating Wear vs. Replacement
Not everything worn needs to be replaced immediately. Surface dirt and mildew on vinyl seats can often be cleaned back to serviceable condition with the right vinyl cleaner and a UV protectant treatment. Faded carpet that's structurally sound can be cleaned rather than swapped out. But cracked vinyl that's letting moisture into the foam, a mat with torn edges that catch on feet, or a seat cover with broken elastic that lets it migrate under a passenger — those need actual replacement, not just cleaning. When in doubt, ask whether the current condition creates a hazard or just looks rough. Hazards get fixed; cosmetic issues get scheduled.
Interior work on a golf cart is among the most approachable DIY maintenance you can do — no special tools, no electrical risk, and results you'll notice on every single ride. The key is diagnosing honestly before you spend money. Check the hardware, check for moisture, confirm your fit before you commit, and you'll end up with an interior that holds up instead of one that looks good for two weeks and starts failing again by summer's end.