Electrical gremlins are one of the most frustrating things to deal with on a golf cart because the symptoms — dim lights, no lights, erratic direction switching — can all point to a dozen different causes. The good news is that most golf cart electrical problems follow a predictable pattern, and a methodical approach will get you to the real culprit without wasting money on parts you don't need.
Start at the Battery Pack
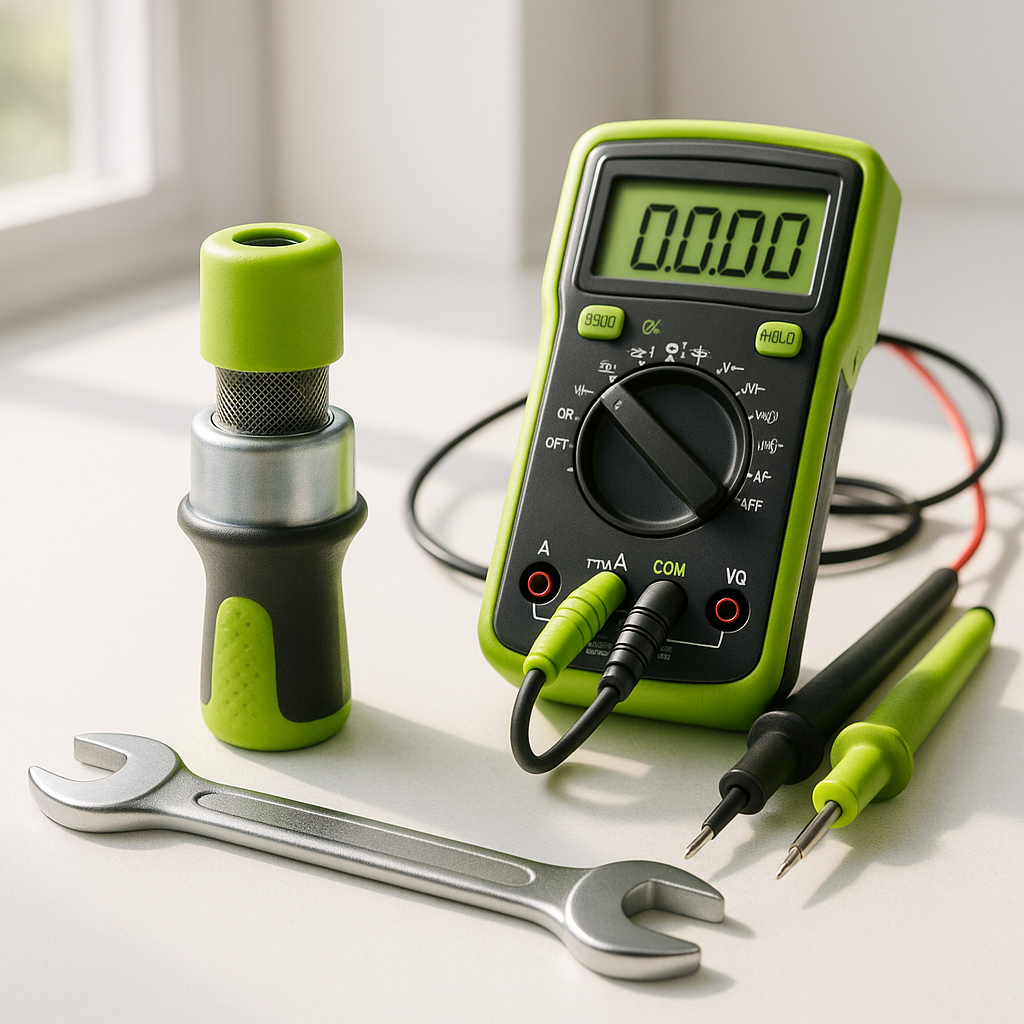
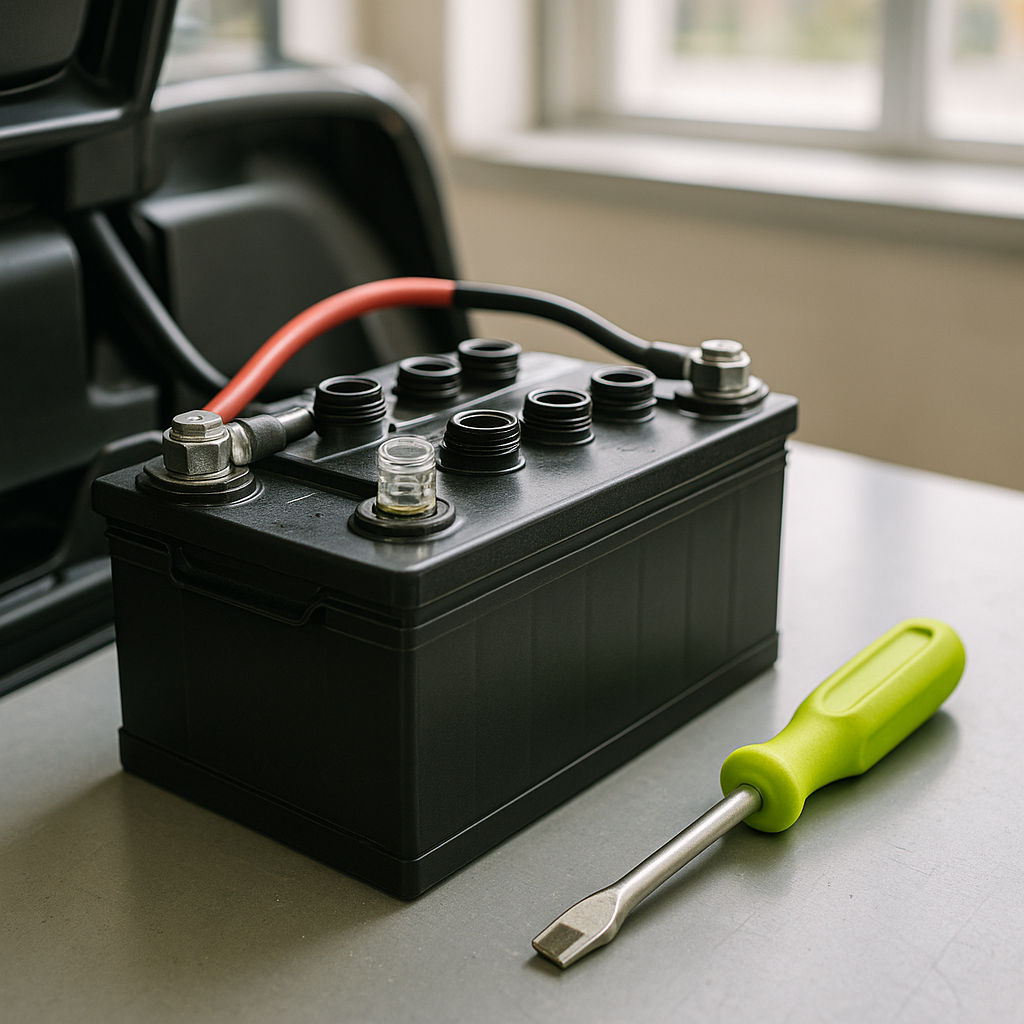
Before you touch a single wire or switch, check your batteries. A weak or failing battery pack will cause voltage to sag under load, which shows up first in your lights and accessories before it affects the drivetrain. Check each individual battery's water level if they're flooded lead-acid cells, look for corrosion on the terminals, and use a voltmeter to check resting voltage across the full pack. If one battery is significantly lower than the others, you've likely found your problem — or at least a contributing one. Clean corroded terminals with a wire brush and baking soda solution before drawing any conclusions.
Check Fuses and Breakers First
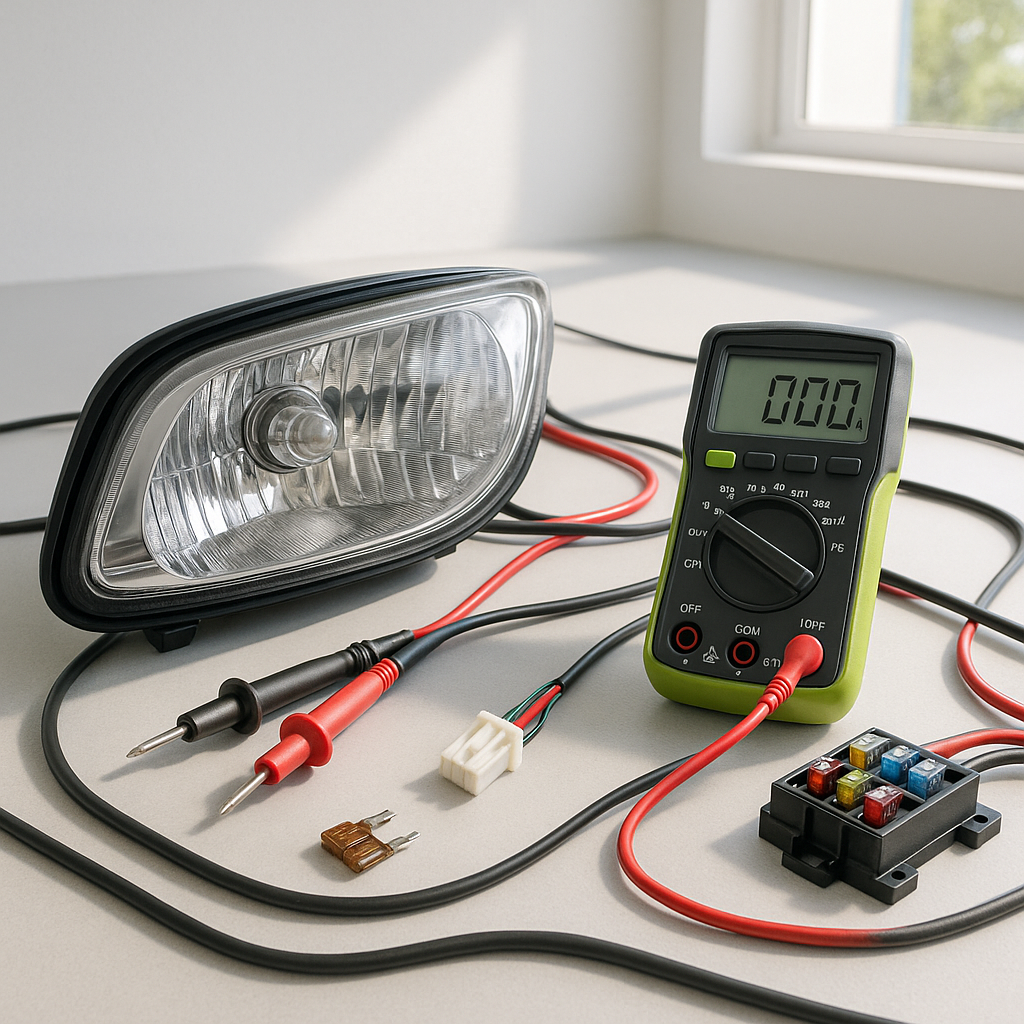
Most golf carts route accessory circuits — including headlights, taillights, and horn — through a fuse or circuit breaker separate from the main drive circuit. Find your fuse panel (often located under the dash or near the main battery connections) and visually inspect every fuse. A blown fuse is the most common cause of a completely dead lighting circuit and the easiest fix. If a fuse keeps blowing after replacement, stop — that's a sign of a short somewhere downstream, and replacing it again without finding the short is a fire hazard.
Trace the Wiring for Damage
Golf carts take a beating. Wiring runs under the body where it can get pinched, chafed against metal edges, or damaged by moisture and rodents. Run your eyes and fingers along the main harness from the battery area toward the front lighting assembly. Pay special attention to any spot where wires pass through a body panel or frame — those grommets crack and fall out over time, leaving bare wire against metal. A short to ground at any of these points will kill your lights and likely blow a fuse. A damaged section of wire can usually be repaired with a proper splice connector and heat shrink — not just electrical tape.
Testing the Light Fixtures Themselves
If your wiring checks out and fuses are intact, the problem may be at the fixture. Use a multimeter or a simple test light to verify that voltage is actually reaching the headlight connector. If voltage is present at the connector but the light still doesn't work, the bulb or LED assembly itself has failed. If voltage is not reaching the connector, walk the circuit backward toward the switch. This distinction — no power vs. power present but no output — is the fastest way to split an electrical diagnosis in half.
Diagnosing a Forward/Reverse Switch
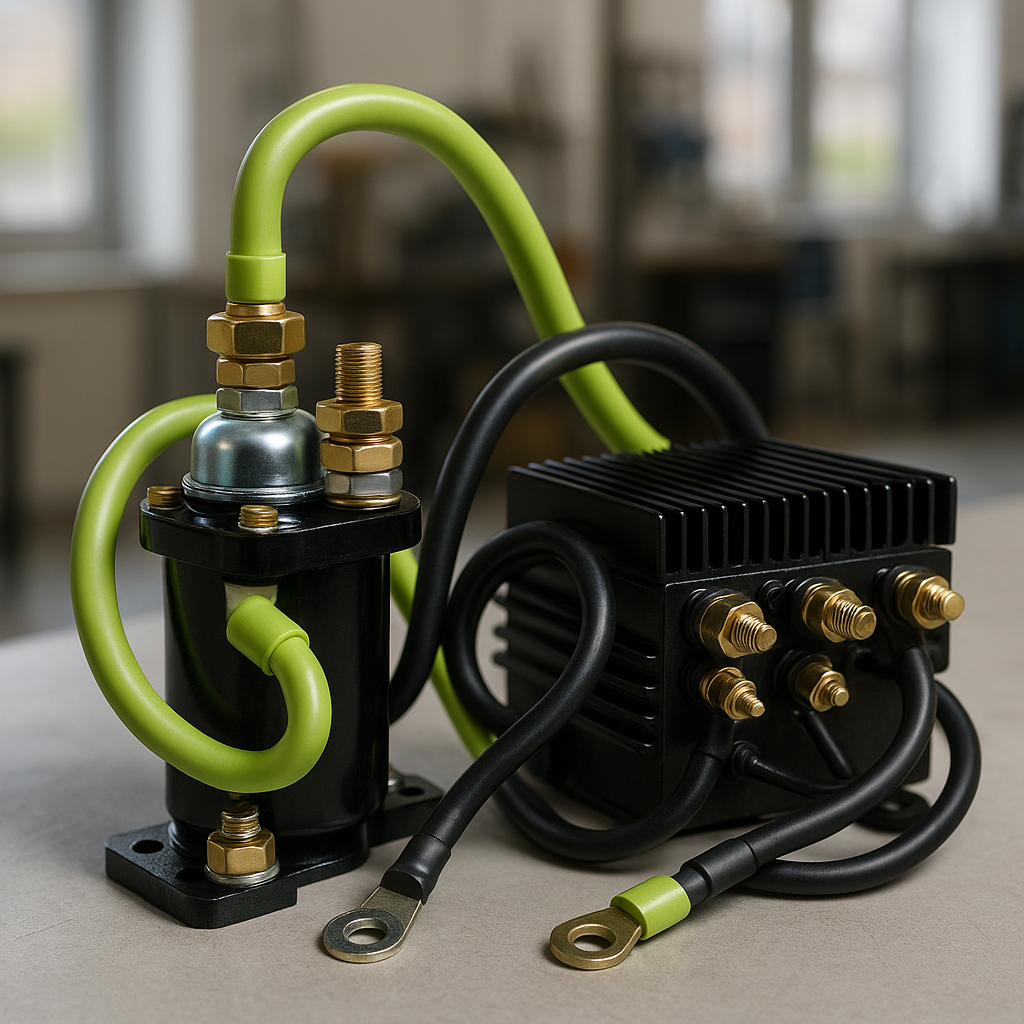
The forward/reverse switch (sometimes called the F/R switch or direction switch) is a high-wear component because it's activated constantly during normal use. When it starts to fail, common symptoms include the cart hesitating or jerking when changing directions, running in only one direction, making no movement at all, or in some cases causing sparking at the switch terminals. Start by visually inspecting the switch for burned or pitted contacts — this is the most common failure mode. On many carts you can access the contacts and clean them with electrical contact cleaner or fine emery cloth as a temporary measure, but a switch with visibly burned contacts should be replaced. Also check that the switch's mounting is secure and that the actuating mechanism is actually moving the switch fully into each position — a worn linkage or cam can mimic a bad switch.
Check Ground Connections
Grounding issues are responsible for more mysterious electrical misbehavior than most people realize. A poor ground can cause lights to be dim, flicker, or behave differently depending on what else is running on the cart. Locate the main ground strap from the battery pack to the frame and check that the connection is tight and corrosion-free. Do the same for any chassis ground points near your light fixtures. When in doubt, run a temporary jumper wire from a known-good ground directly to the fixture you're testing — if it suddenly works correctly, you've found a bad ground path.
When to Stop DIYing and Get Help
Most golf cart lighting and switch problems are genuinely DIY-friendly. But there are a few situations where you should involve a professional: if you find evidence of a wiring fire (melted insulation, burn marks on the frame), if the main controller appears to be involved, or if you're working on a lithium battery system and aren't familiar with its specific safety requirements. Know your limits — a golf cart's accessory voltage is relatively forgiving, but the main battery pack carries enough current to cause serious injury or start a fire if shorted. Always disconnect the main negative cable before probing around in the wiring harness.