Electrical gremlins are some of the most frustrating issues a golf cart owner can deal with, mostly because the symptom — lights that don't work — can trace back to half a dozen different root causes. Before you start swapping parts, it pays to work through a logical diagnostic sequence. A systematic approach saves you money and gets you back on the course or path faster than throwing parts at the problem.
Start With the Obvious: Power and Fuses
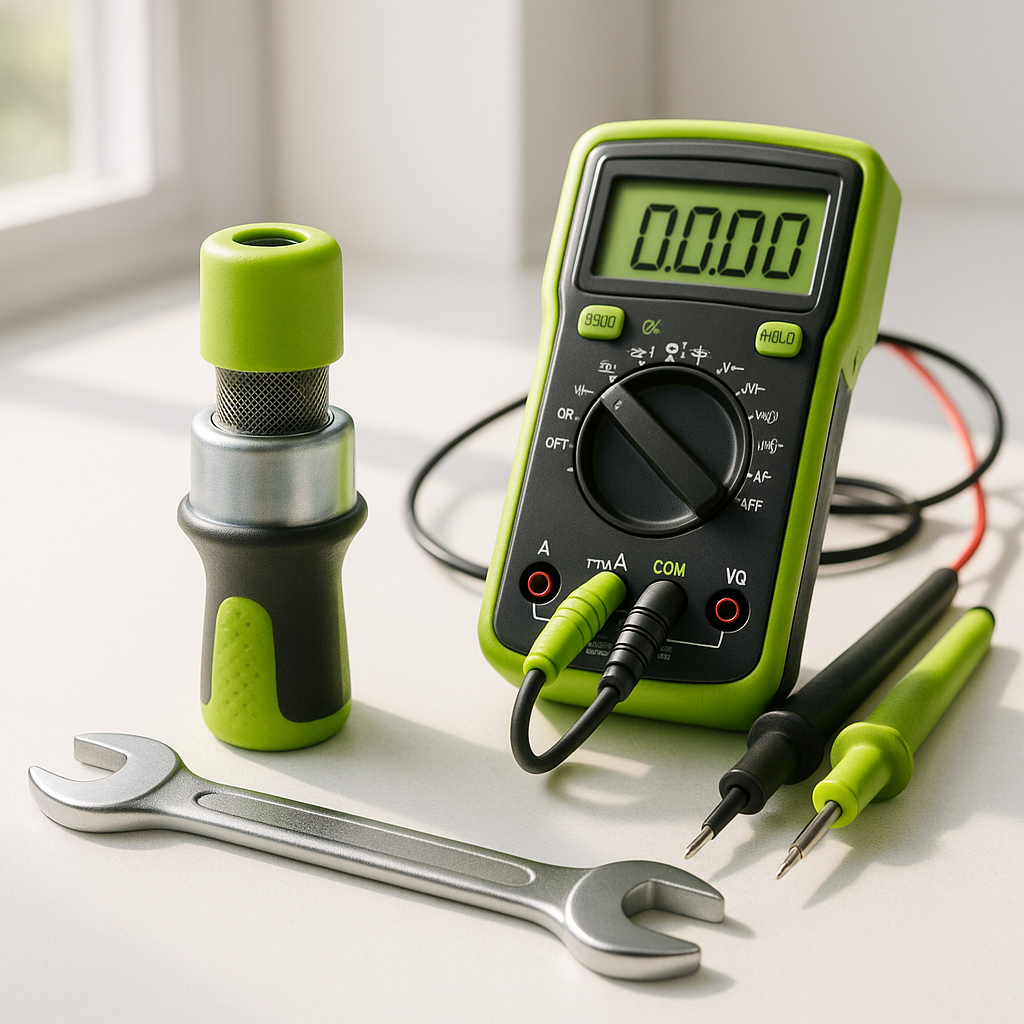
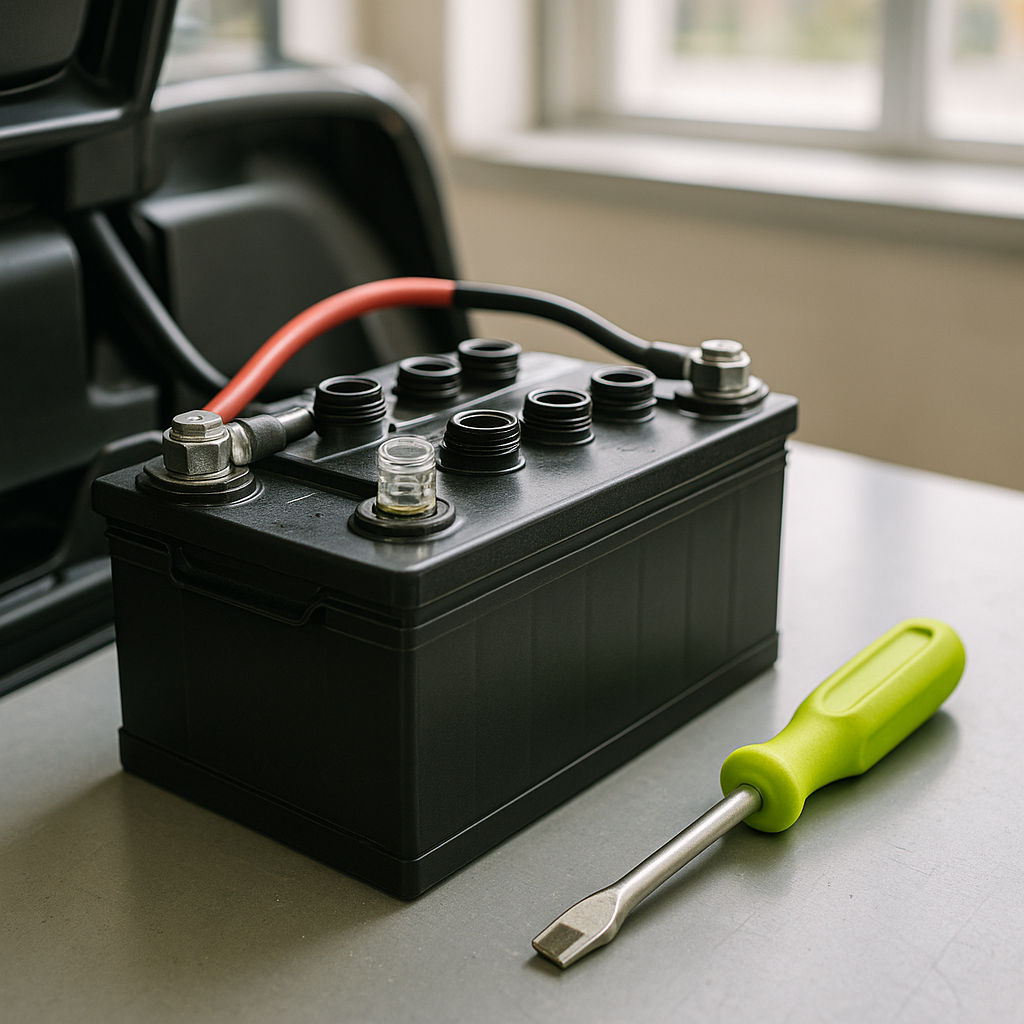
Before suspecting switches or lights themselves, confirm you actually have power reaching the lighting circuit. Check your main fuse or fuse block first — a blown fuse is the single most common cause of a completely dead lighting system and the easiest fix. Many carts use an in-line fuse or a small fuse panel tucked near the battery bank or under the dash. If the fuse looks fine visually, use a multimeter or test light to confirm it's actually passing current. A fuse can appear intact and still be blown internally. While you're at it, inspect your battery terminals and main cable connections. Corroded or loose terminals cause voltage drop that can make lights dim, flicker, or fail entirely even when the batteries are otherwise healthy.
Test the Switch Before Assuming the Light Is Bad
A forward/reverse switch or a lighting switch that's gone bad is a surprisingly common culprit, especially on older carts or any cart that sees heavy use in wet or dusty conditions. The contacts inside these switches corrode, burn, or simply wear out over time. To test a suspect switch, use a multimeter set to continuity or resistance mode — with the switch in the ON position you should see continuity across the terminals; in the OFF position you should see none. If the switch passes current intermittently or not at all when activated, the switch is the problem, not the bulbs or wiring downstream. Don't overlook this step — it's easy to replace a perfectly good headlight when the real issue is a $10 switch.
Inspect the Wiring and Connectors
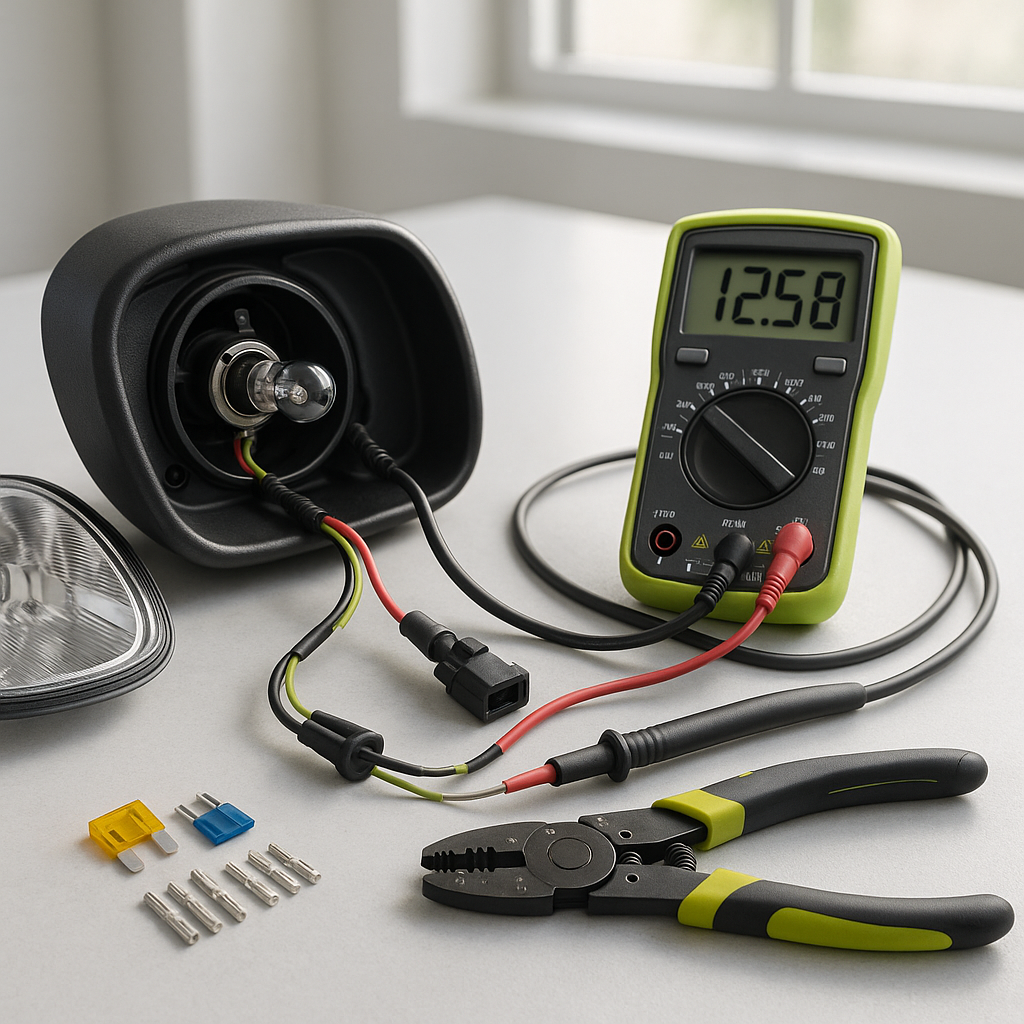
Golf carts take a beating — vibration, weather, and years of use work wiring connections loose and cause insulation to crack or chafe. Do a visual inspection of the wiring harness that feeds your lights, paying close attention to anywhere a wire passes through a metal edge, sits near a hot surface, or connects at a plug-style connector. Wiggle connectors by hand while someone watches the lights — if they flicker during your wiggle test, you've found your problem. Corroded or loose bullet connectors and spade terminals are extremely common on carts that live outdoors. Clean corroded terminals with electrical contact cleaner and a small wire brush, then crimp or solder the connection back to solid.
Check Ground Connections
A bad ground is responsible for more weird electrical behavior than most people realize. Dim lights, flickering, lights that work only sometimes — all classic bad-ground symptoms. On most golf carts the lighting circuit grounds back to the frame or to a ground terminal near the battery. Find where your lighting harness grounds out and check that connection for tightness and corrosion. Bare metal to bare metal contact is what you need — paint, rust, or oxidation between the ground wire terminal and the frame creates resistance that kills your circuit. Clean the ground point down to bare metal, reinstall the terminal snugly, and retest.
When to Suspect the Light Assembly Itself
If you've confirmed power is reaching the light socket with a test light or multimeter and your grounds are solid, then the light assembly or bulb is the likely failure point. On older incandescent setups this is usually just a burned-out bulb — straightforward. On LED assemblies the failure mode is different; the LED module itself can fail, or moisture intrusion into a non-sealed housing can corrode the internal connections. If voltage is present at the socket but the light doesn't illuminate, the assembly needs to be replaced. This is also a natural point to consider upgrading to LED headlights if you're still running older incandescent units — they draw less power, run cooler, and last significantly longer under normal golf cart use conditions.
Systematic Testing Saves Time and Money
The key takeaway with any golf cart electrical problem is to resist the urge to guess. A $5 test light or a basic multimeter lets you confirm or eliminate each component in the circuit methodically — power in, switch, wiring, ground, load. Work from the power source toward the light and you'll find the break in the chain every time. When you do identify a failed component, match the replacement to your cart's voltage system and wiring configuration, and make sure any new switch or light assembly is rated for outdoor use and the vibration environment a golf cart creates.