When the lights on your golf cart stop working, it's tempting to assume the worst and start ordering parts. But most electrical and lighting failures on golf carts come down to a short list of root causes — and a methodical approach will save you time and money. Whether you're dealing with headlights that went dark overnight, a turn signal that stopped blinking, or a cart that loses power intermittently, the diagnostic process is largely the same regardless of your cart's make, model, or age.
Start With the Obvious: Power Supply and Fuses
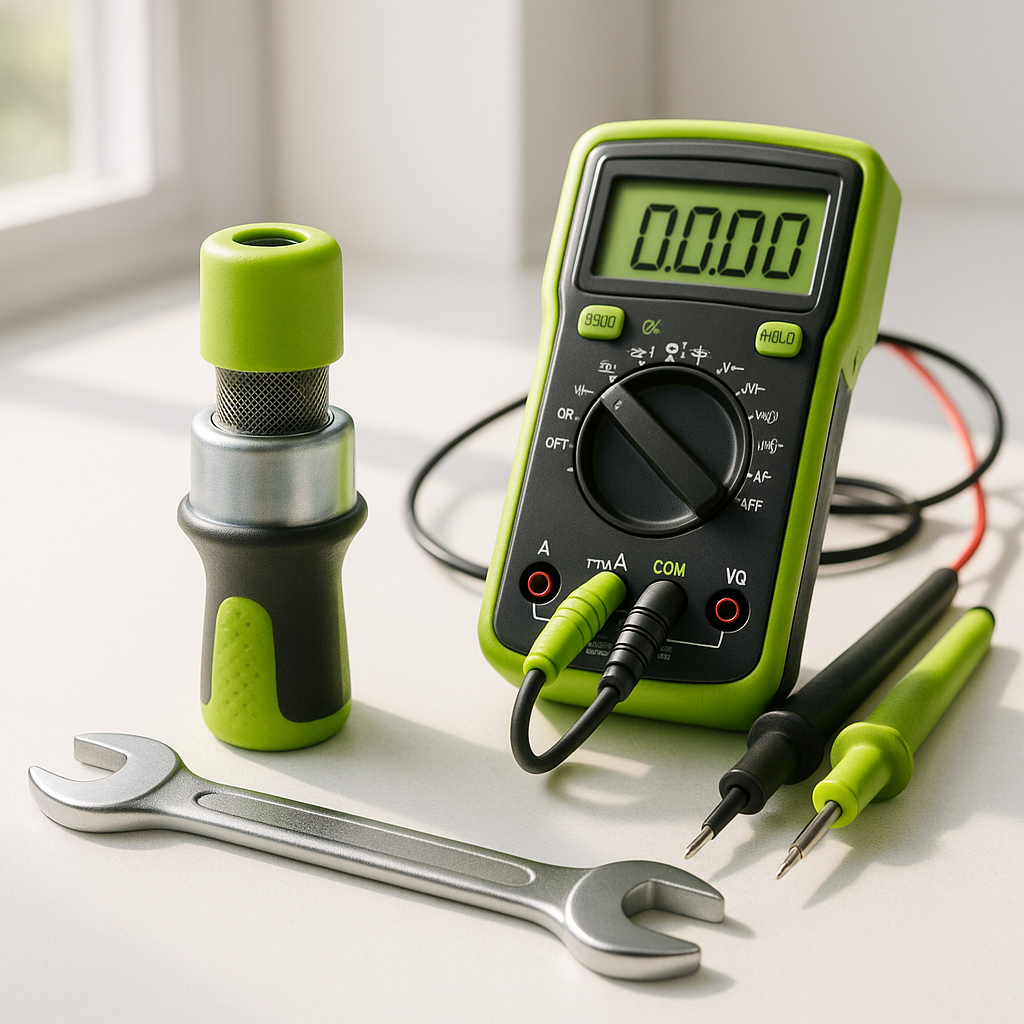
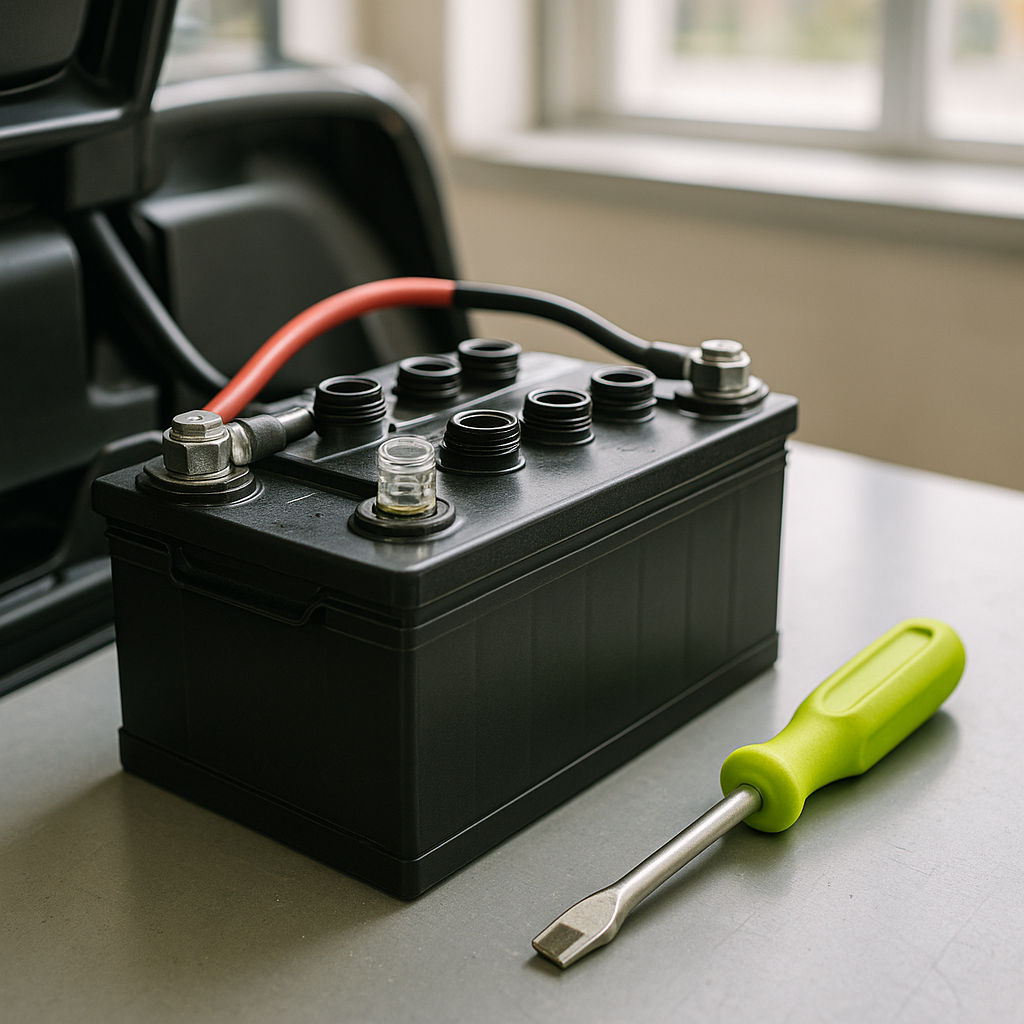
Before you touch a single wire, check your battery pack voltage with a multimeter. A low or failing battery bank causes all kinds of strange electrical behavior that looks like a wiring or component fault. If the pack is healthy, move to your fuse block. Golf carts use fuses to protect lighting circuits just like any vehicle, and a single blown fuse is the most common reason a lighting circuit goes completely dead. Fuses are cheap and easy to inspect — pull each one and hold it to the light to check the filament, or use a multimeter set to continuity mode. Replace any blown fuses with the correct amperage rating; never upsize a fuse to solve a tripping problem.
Check Your Connections and Ground Points
Golf carts live outside, get vibrated over rough terrain, and often sit for months at a time — all conditions that corrode and loosen electrical connections. A poor ground is one of the most misdiagnosed electrical problems on any vehicle, and carts are no exception. Trace the ground wire from your lighting circuit back to the chassis or battery negative terminal and look for green or white corrosion, loose terminal screws, and frayed wire ends. Clean connections with a wire brush, reconnect firmly, and retest before assuming the component itself is bad.
Test the Switch Before Replacing It
Forward/reverse switches and light switches can fail internally without showing any visible damage. Set your multimeter to continuity or resistance mode and test the switch in both positions. A healthy switch should show continuity (or near-zero resistance) when closed and no continuity when open. If it fails that test, the switch is the problem. If it passes, the switch is fine and you need to keep tracing the circuit. A switch that tests fine under a multimeter but behaves erratically under load — meaning with current actually flowing through it — may have worn internal contacts; in that case, swapping it is a reasonable next step.
Inspect the Wiring for Damage
Run your hands and eyes along the wiring harness from the switch to each light. Look for spots where the insulation has worn through from rubbing against a metal edge, pinch points where the wire passes through a bracket or body panel, and any signs of heat damage like melted or discolored insulation. A wire that's partially shorted to ground will cause a fuse to blow repeatedly — if you're on your second or third fuse in the same circuit, stop replacing fuses and start looking for a short. Temporarily disconnecting sections of the circuit one at a time is the fastest way to isolate which segment is shorted.
Check the Bulbs or LED Assemblies Themselves
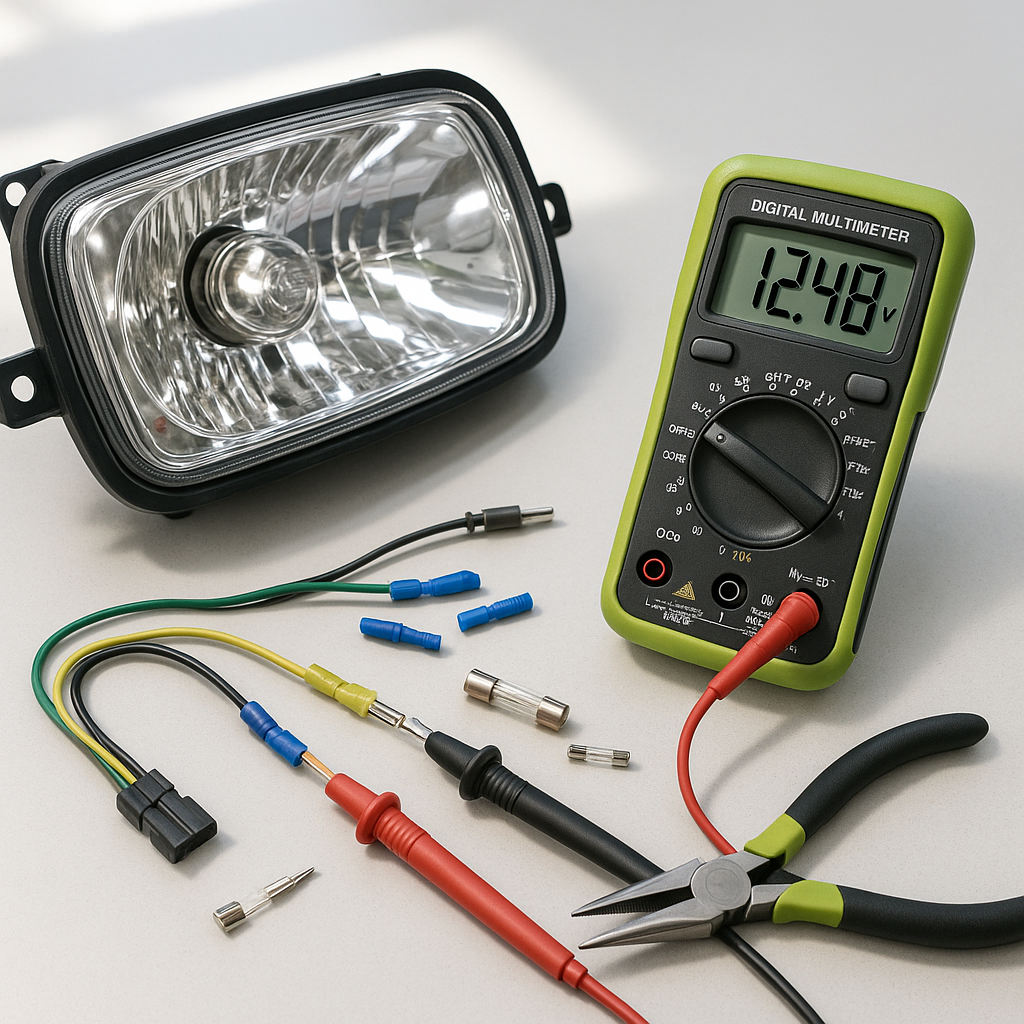
If power is reaching the fixture but the light still doesn't work, the bulb or LED assembly itself may have failed. With traditional incandescent bulbs, a visual check of the filament usually tells you immediately. With LED assemblies the failure is less obvious — use a multimeter to check whether voltage is present at the connector, and if it is, the assembly is the problem. Keep in mind that some LED lighting setups are polarity-sensitive, meaning they won't illuminate if wired backwards even though everything else in the circuit is correct. If you recently installed new lights and they won't come on, reversing the positive and negative leads at the connector is a quick test worth trying.
When to Suspect the Controller or Solenoid
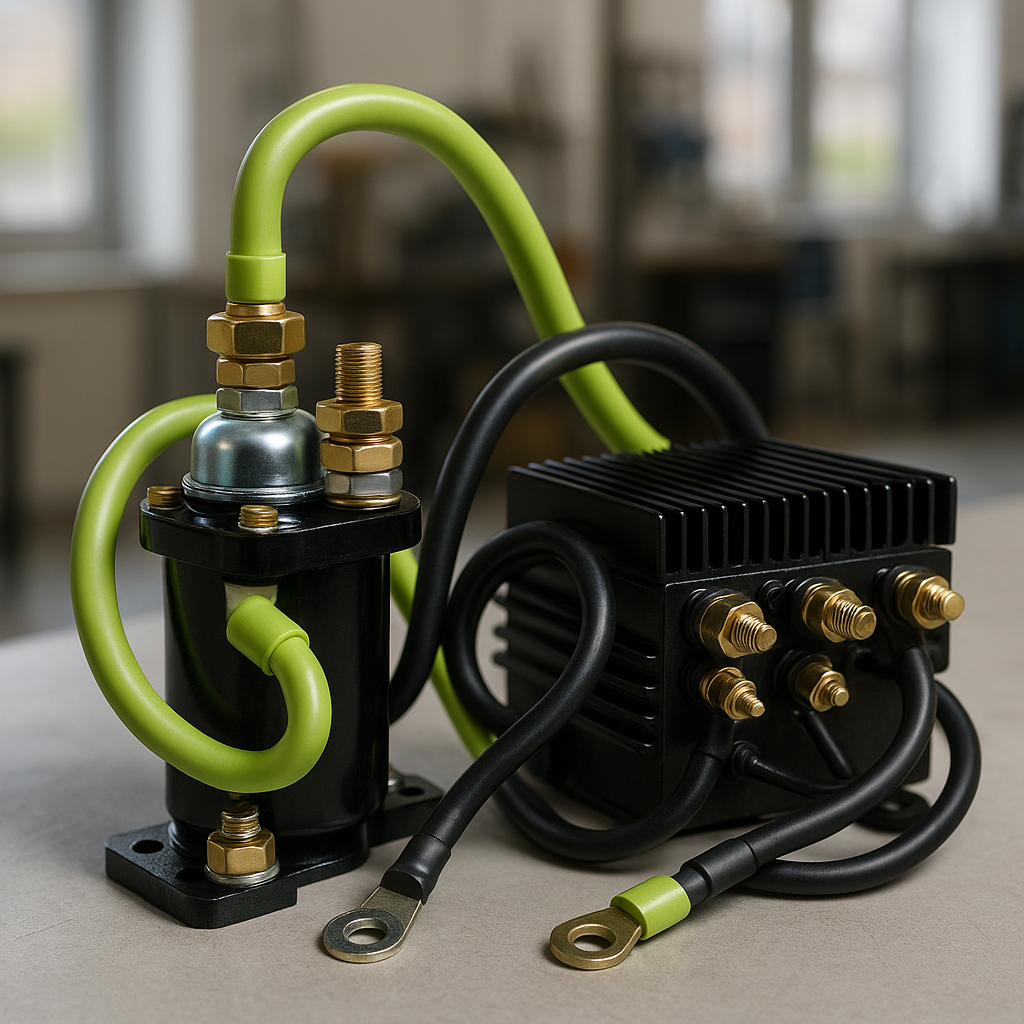
If you've verified battery voltage, fuses, grounds, the switch, wiring continuity, and the light fixtures themselves and still can't find the fault, the problem may be upstream in the cart's main controller or solenoid. Some golf cart controllers manage power distribution to accessory circuits, and a failing controller can starve those circuits even when the drive function still works. This is less common than the causes above, but it does happen — particularly on older carts with high mileage or on carts that have experienced a significant electrical event like a flooded battery or reversed charging leads. At this point, consulting a golf cart service technician or pulling wiring diagrams specific to your cart's year and model is the right call.