A golf cart that runs fine on flat ground but stumbles, slows dramatically, or cuts out entirely when climbing a hill or carrying passengers is one of the more frustrating problems to chase down. The symptom points toward the motor controller — which manages how much current flows to the motor based on throttle input and load — but several other components can mimic the same behavior before the controller itself is actually failing. Working through a logical sequence saves you from replacing expensive parts unnecessarily.
Start With the Batteries
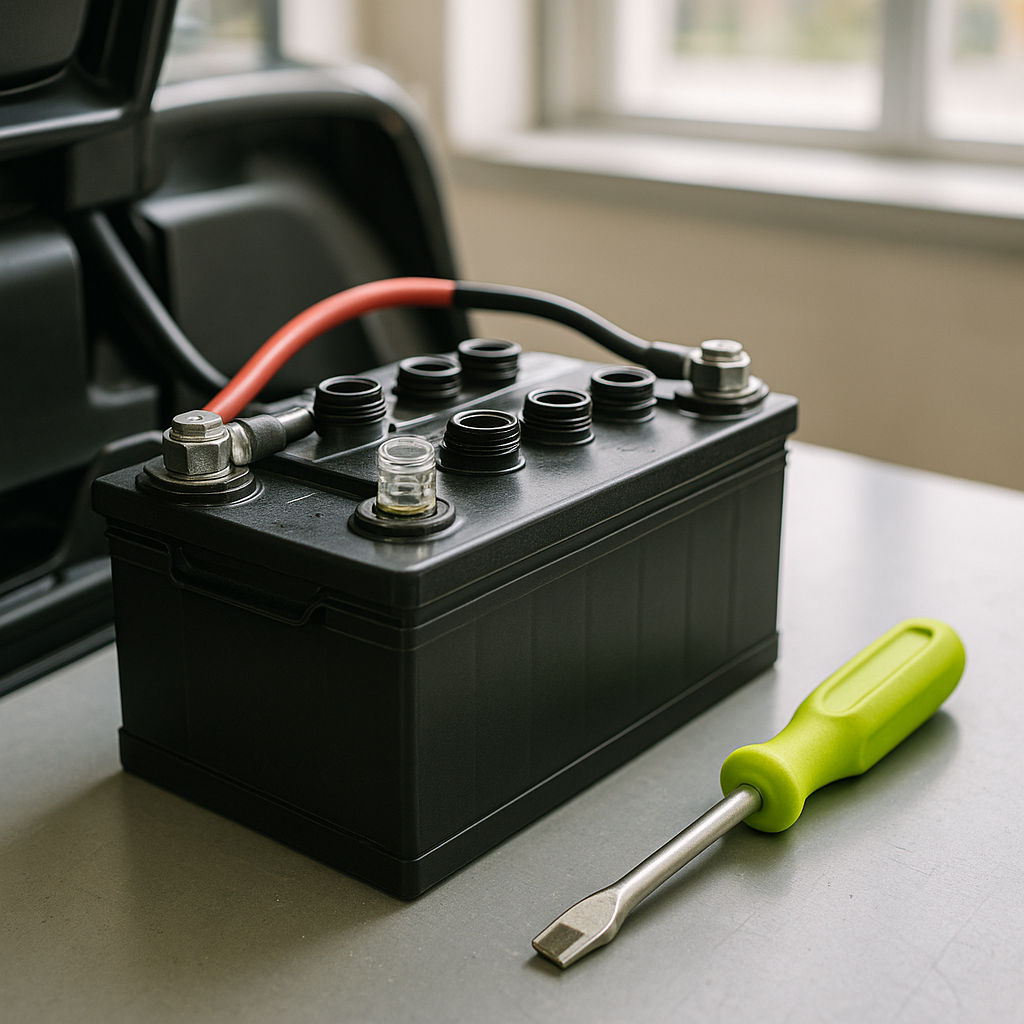
Voltage sag under load is the single most common cause of power loss on hills, and it has nothing to do with the controller. When a battery pack is aging, sulfated, or has one weak cell in a series string, the pack voltage can look acceptable at rest but collapse the moment the motor draws serious current. Before touching anything else, load-test your batteries. A resting voltage check alone will not catch this. You want to measure pack voltage while the cart is under actual load — preferably on an incline or with a load tester — and watch for a sharp drop. If voltage sags well below the pack's rated voltage under load, the batteries are your most likely culprit, not the controller.
Check Your Battery Connections and Cables
High-resistance connections cause exactly the same symptom as a weak battery. Loose terminals, corroded cable ends, or undersized cables all restrict current flow the moment demand spikes. Inspect every connection in the battery series string, including the main positive and negative leads going to the controller. Look for corrosion, heat discoloration around terminals (a sign of arcing or high resistance), and cables that feel warm or hot after a hill run. Tighten, clean, or replace any suspect connections before moving on.
Inspect the Motor
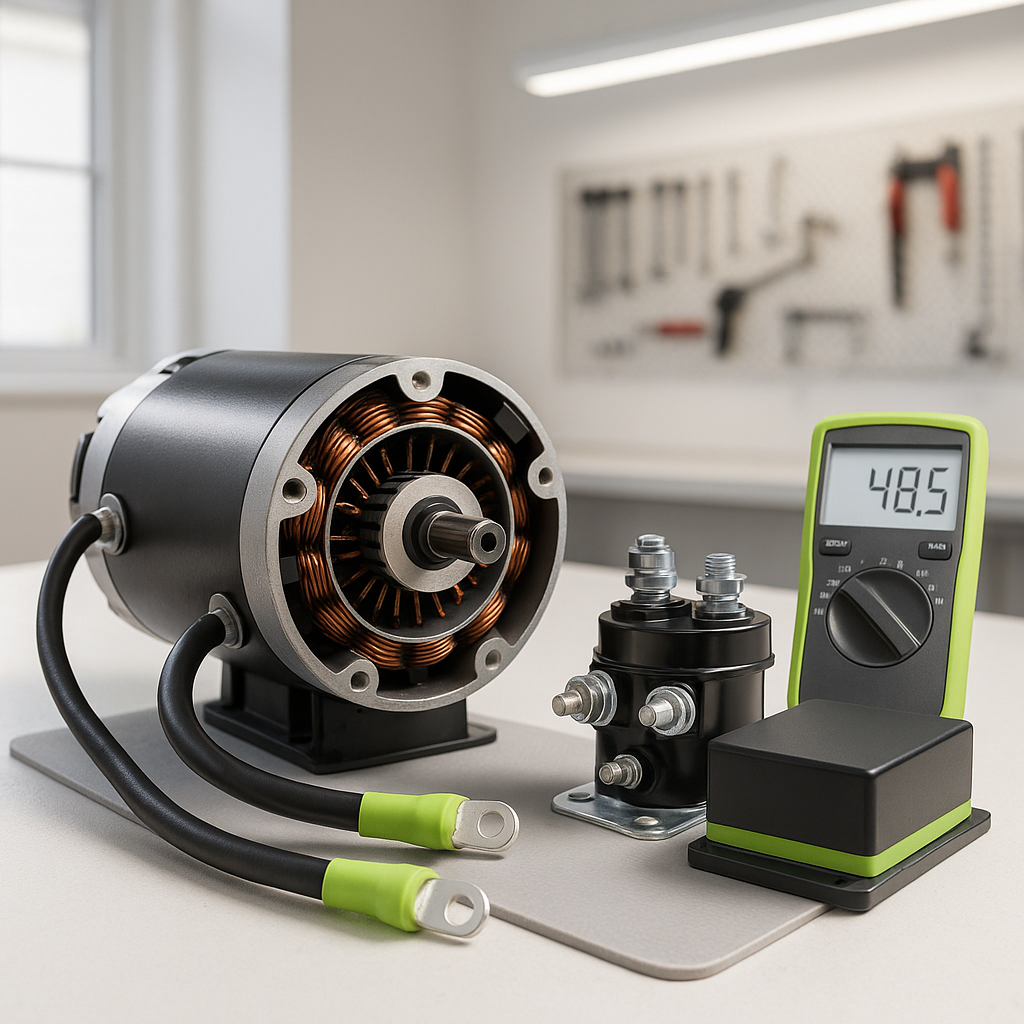
A motor that's worn, has damaged brushes (on brush-type motors), or is running hot can't respond to controller commands the way it should. If the motor is making new noises — a rough grinding, intermittent clicking, or unusual whine specifically under load — it may be the source of the drag rather than the controller upstream of it. Check that the motor vents aren't blocked with debris, and if your cart has a brush-type DC motor, check brush wear if you're comfortable doing so. A motor that's fighting itself mechanically will make any controller look like it's underperforming.
Look at the Throttle Input
Controllers respond to a signal from the throttle position sensor or potentiometer. If that signal is inconsistent — sending a weak or erratic input — the controller will limit output even when you're pressing the pedal to the floor. A failing throttle sensor often produces a cart that hesitates, surges, or plateaus at partial power rather than delivering full current under load. Some controllers have diagnostic modes or fault codes that flag sensor issues; check your specific cart's service documentation if available. As a basic check, inspect the throttle sensor wiring for corrosion, loose connectors, or chafed insulation.
Now Consider the Controller Itself
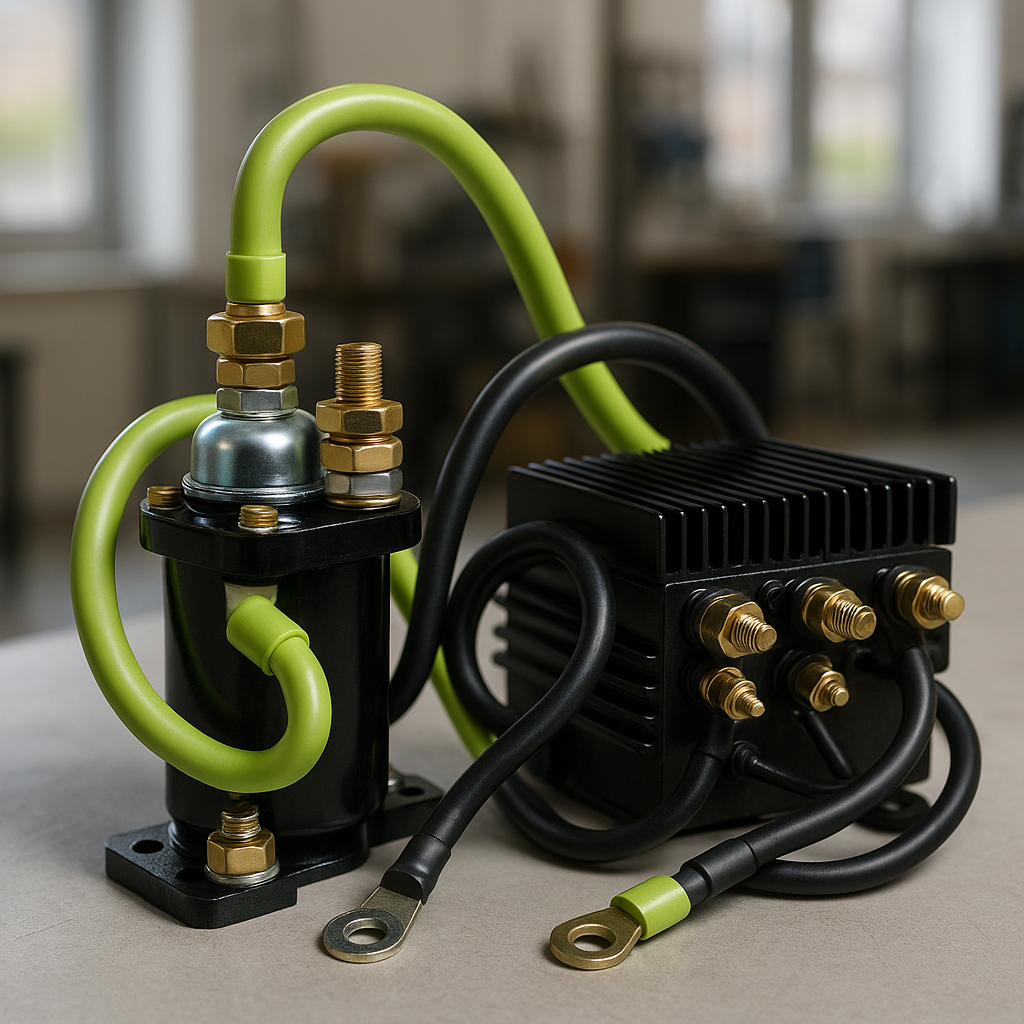
If batteries, connections, motor, and throttle input all check out, the controller becomes the prime suspect. Controllers regulate current through high-frequency switching and can fail in partial ways — delivering enough power for light-duty use but unable to sustain full current output under load. A controller running hotter than normal, exhibiting fault codes, or one that has physical signs of damage (burn marks, bulging, melted components on the housing) is likely failing. Controllers also have thermal protection built in: if the unit overheats — often from poor airflow or an existing electrical problem that's making it work harder — it will deliberately reduce output to protect itself. Check that the controller's mounting surface and any heat sink are free of debris and making solid contact.
Solenoid and Wiring Checks
Don't overlook the solenoid and the main wiring harness. A solenoid with worn contacts creates resistance that the controller experiences as a restricted supply, especially under heavy draw. Measure voltage on both sides of the solenoid while under load — a meaningful voltage drop across the solenoid contacts when they should be closed indicates it's time to replace it. Similarly, inspect all wiring between the battery pack, solenoid, controller, and motor for damage, undersized gauge, or connections that weren't properly crimped or soldered.
When to Replace the Controller
Controllers are repairable in some cases but are more often replaced outright, especially on older carts where the cost of repair approaches the cost of a replacement unit. If you've confirmed the controller is the fault — through process of elimination or confirmed fault codes — the replacement needs to match your cart's voltage system and be rated for sufficient amperage to handle your motor and any performance demands you're placing on it. Going with a higher-amperage-rated controller than your stock unit is a common upgrade path if you're running a modified motor or larger tires, but the rest of your drivetrain components need to be verified as compatible before you go that route. When in doubt, match or exceed the factory spec.